prep time: 1 hr | bake time: 30 min | total time: 2 hrs
Home » Moist Chocolate Cake
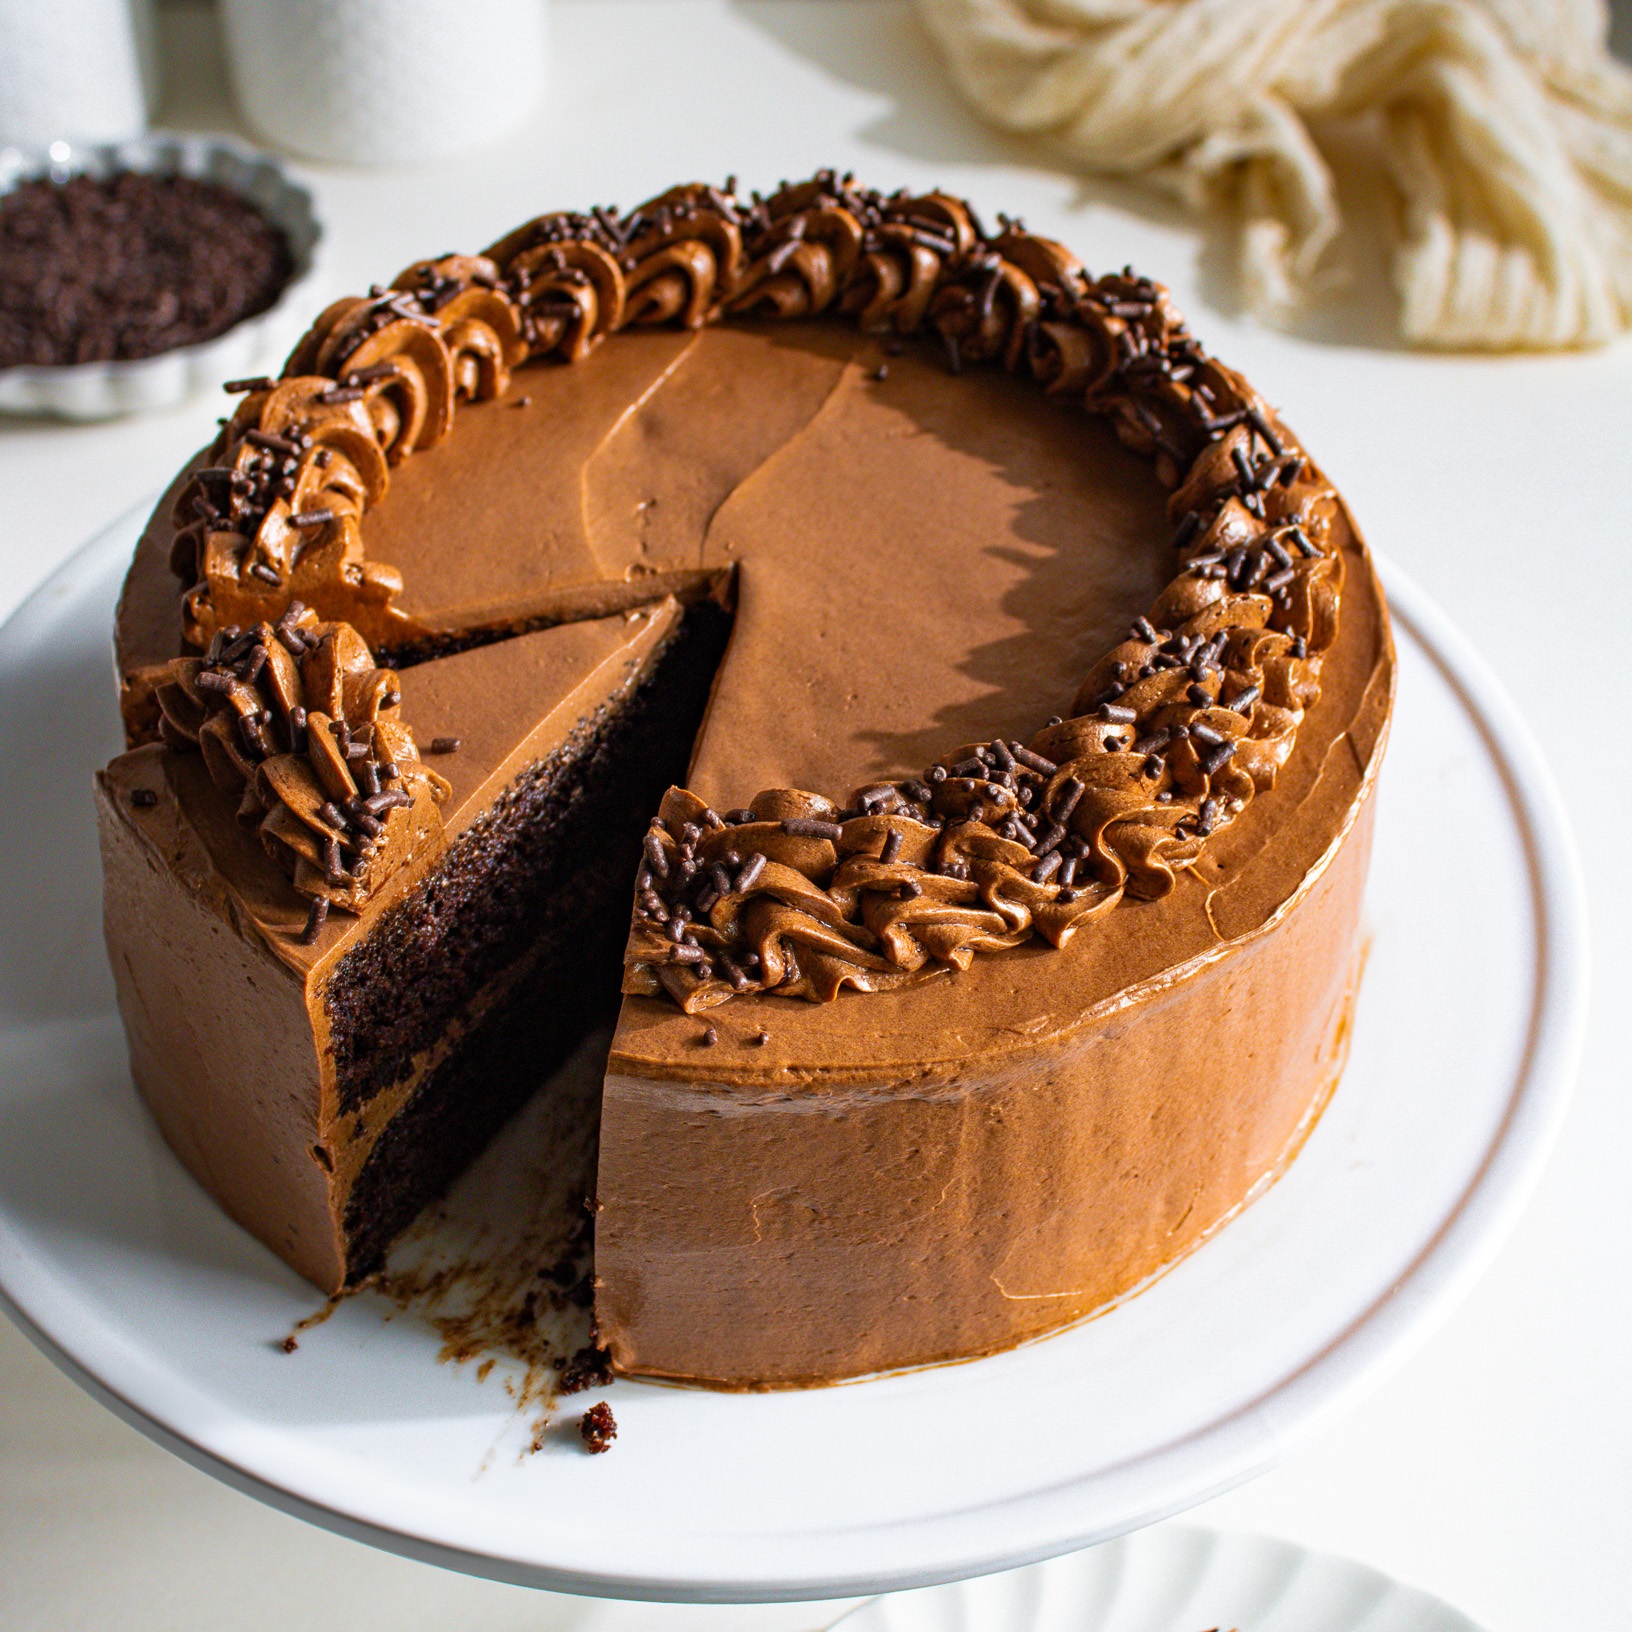
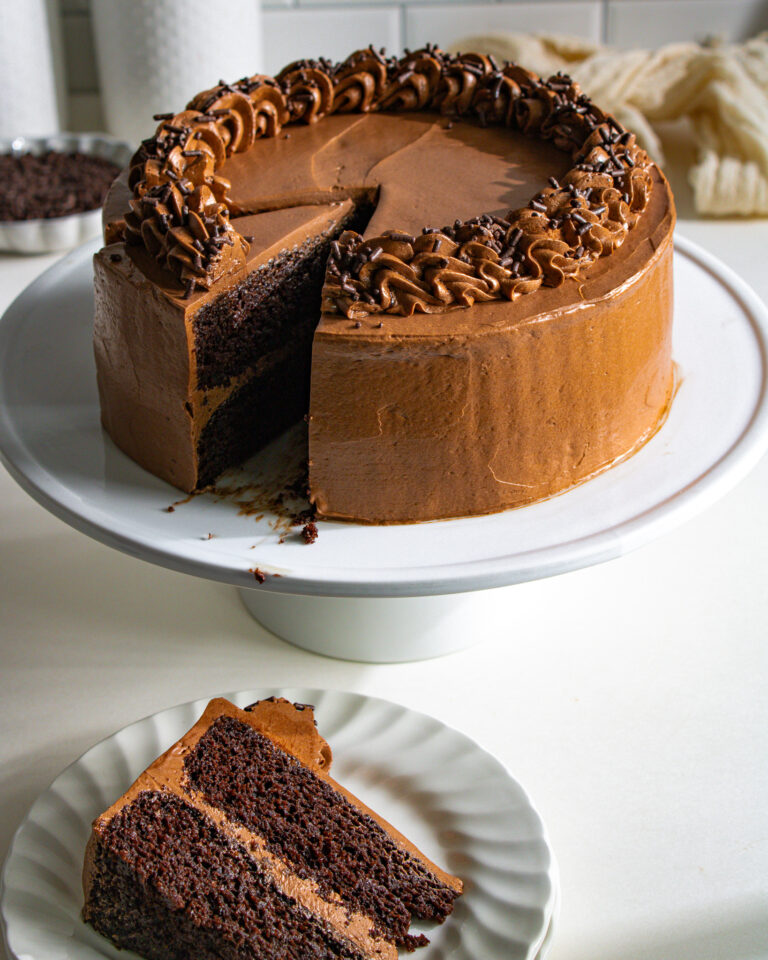
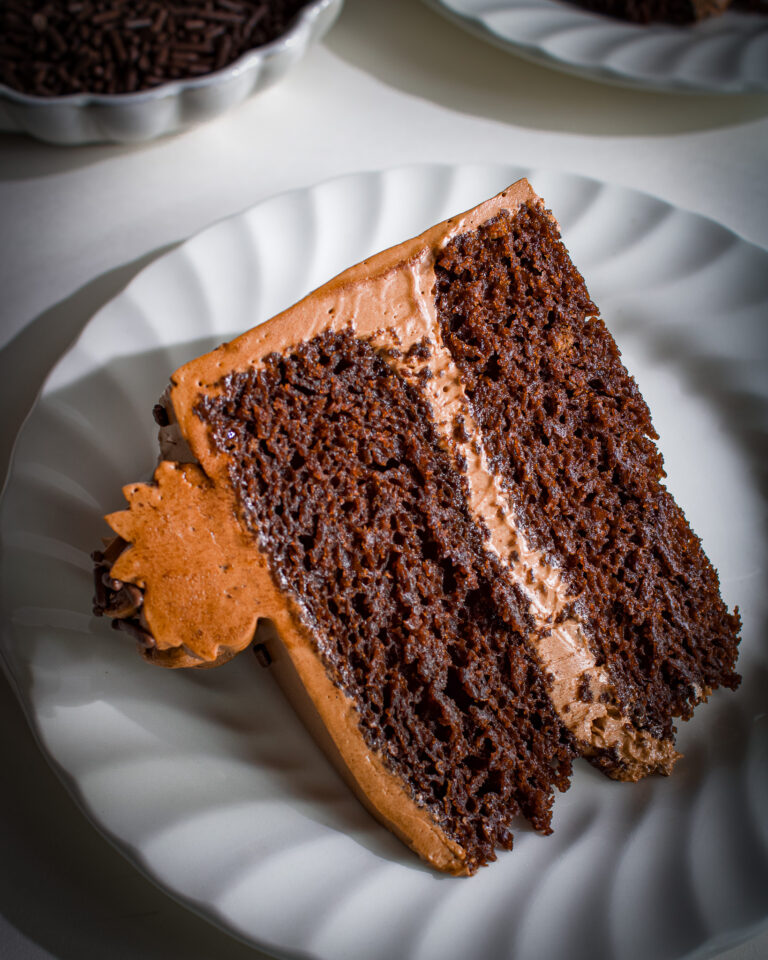
If you’re searching for a moist chocolate cake recipe that’s eggless, rich, and easy to bake, this one delivers every time. Made with simple pantry staples and zero eggs, it creates a fluffy texture and intense chocolate flavor, thanks to the addition of boiling water or freshly brewed coffee.
This method “blooms” the cocoa powder, enhancing the depth of flavor without making the cake bitter. Whether you’re baking for birthdays, special occasions, or a weeknight indulgence, this eggless moist chocolate cake is sure to satisfy every chocolate lover.
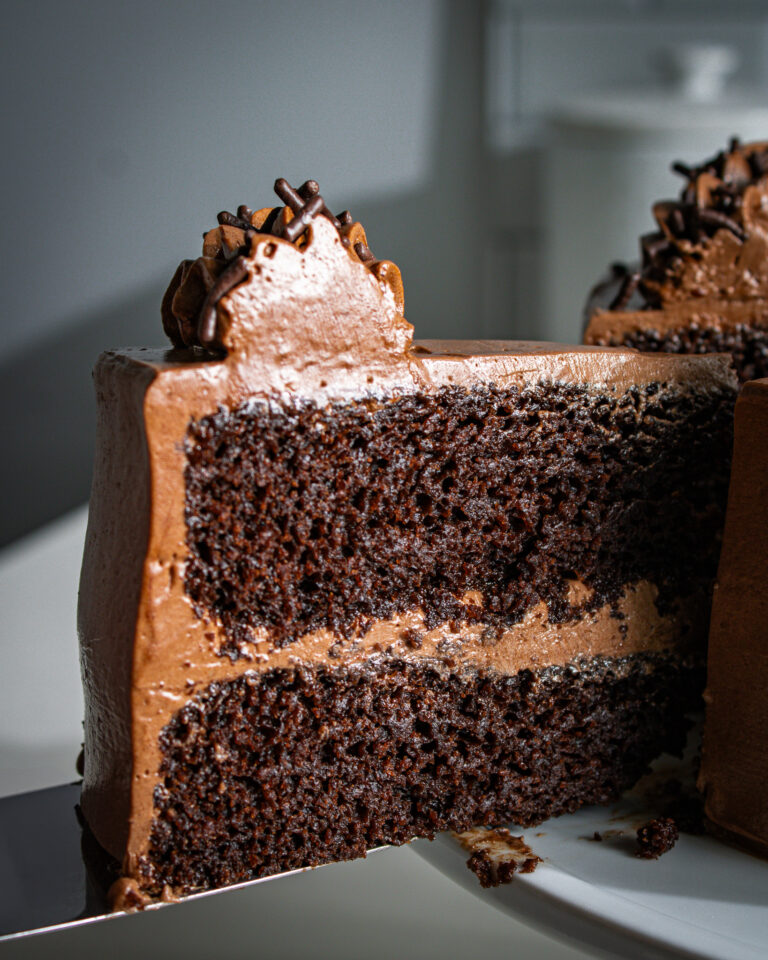
What sets this recipe apart is the ” no powdered sugar ” chocolate buttercream frosting—creamy, smooth, and perfectly balanced.
Unlike traditional buttercream, which can be overly sweet or gritty, this frosting uses a sugar syrup for a silky finish that pairs beautifully with the cake’s rich, moist crumb. Together, the tender chocolate layers and luscious frosting create a showstopping dessert!
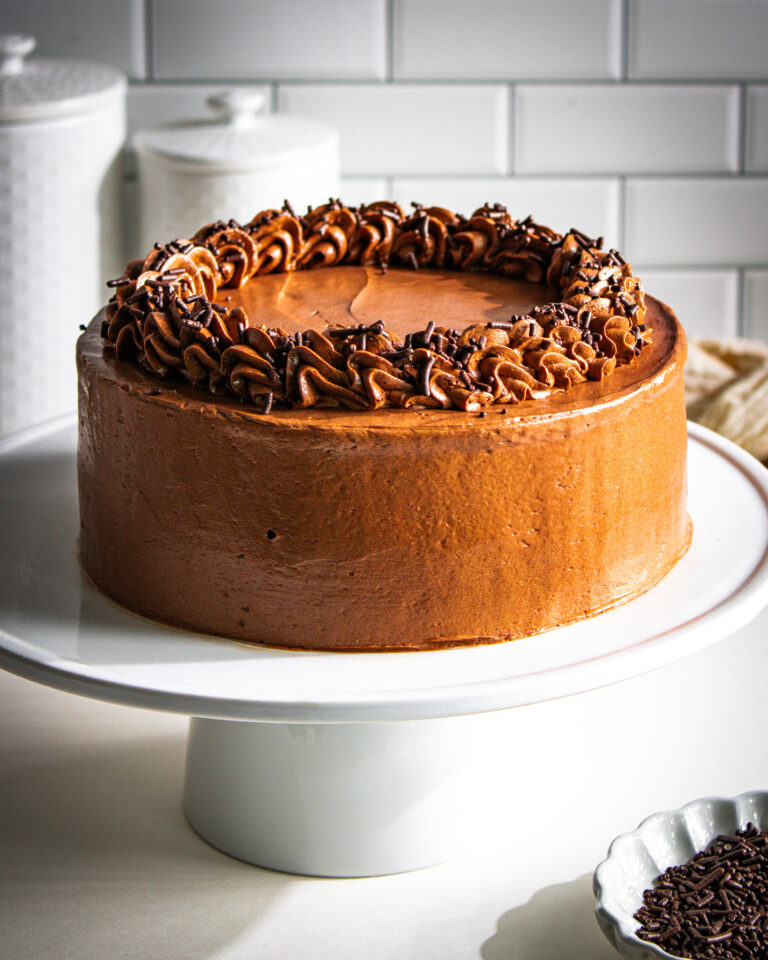
Begin by preheating your oven to 350°F (175°C). Prepare two 8-inch (20 cm) round cake pans by greasing them thoroughly and lining the bottoms with baking paper. This ensures your cakes release easily after baking and maintain their perfect shape.
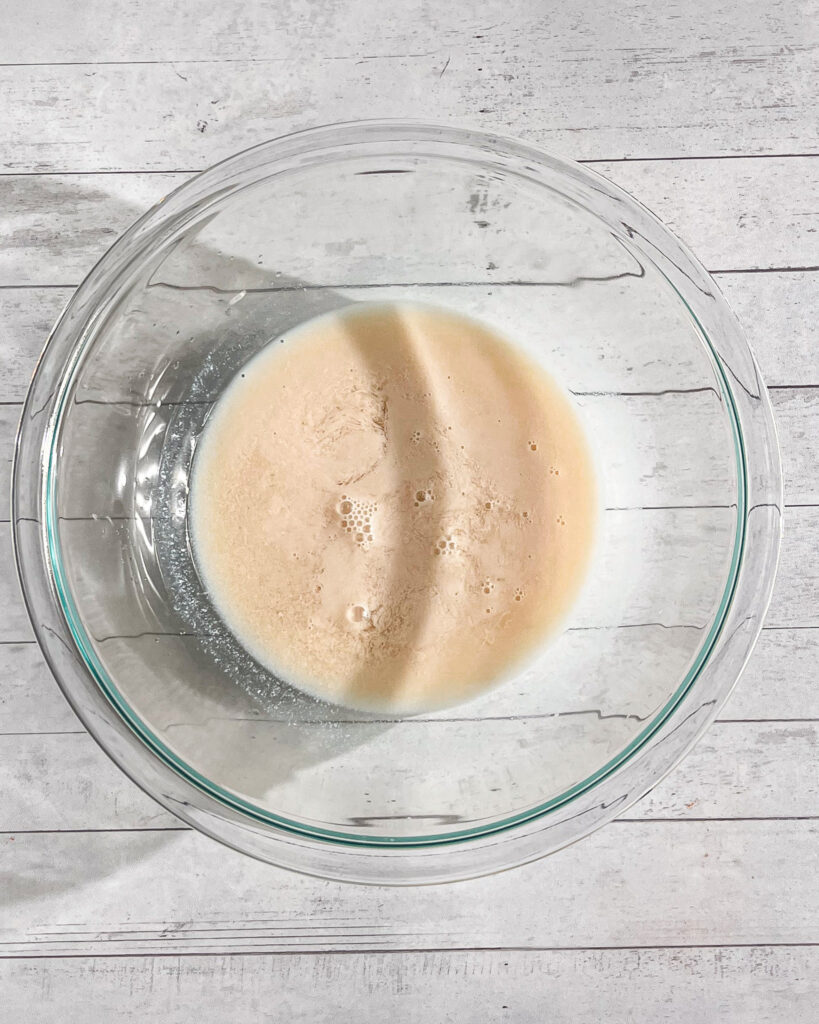
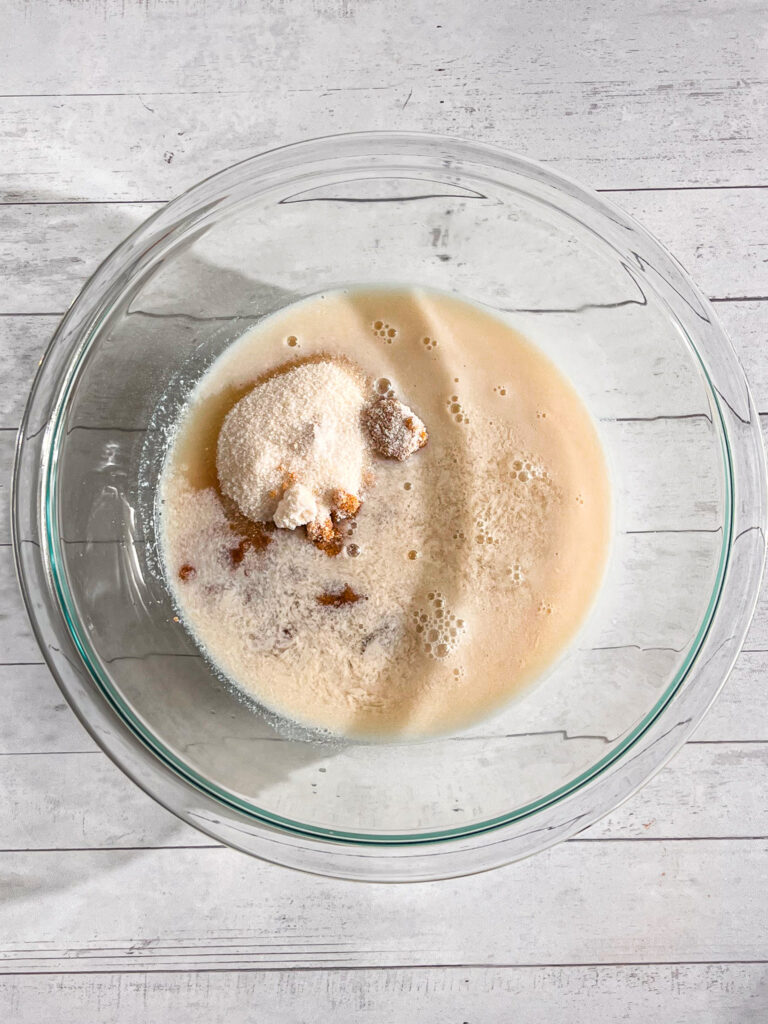
In a medium bowl, combine the milk with vinegar and let the mixture rest for about 5 minutes. During this time, the milk will curdle slightly, creating a natural buttermilk substitute that adds tenderness and a subtle tang to your cake.
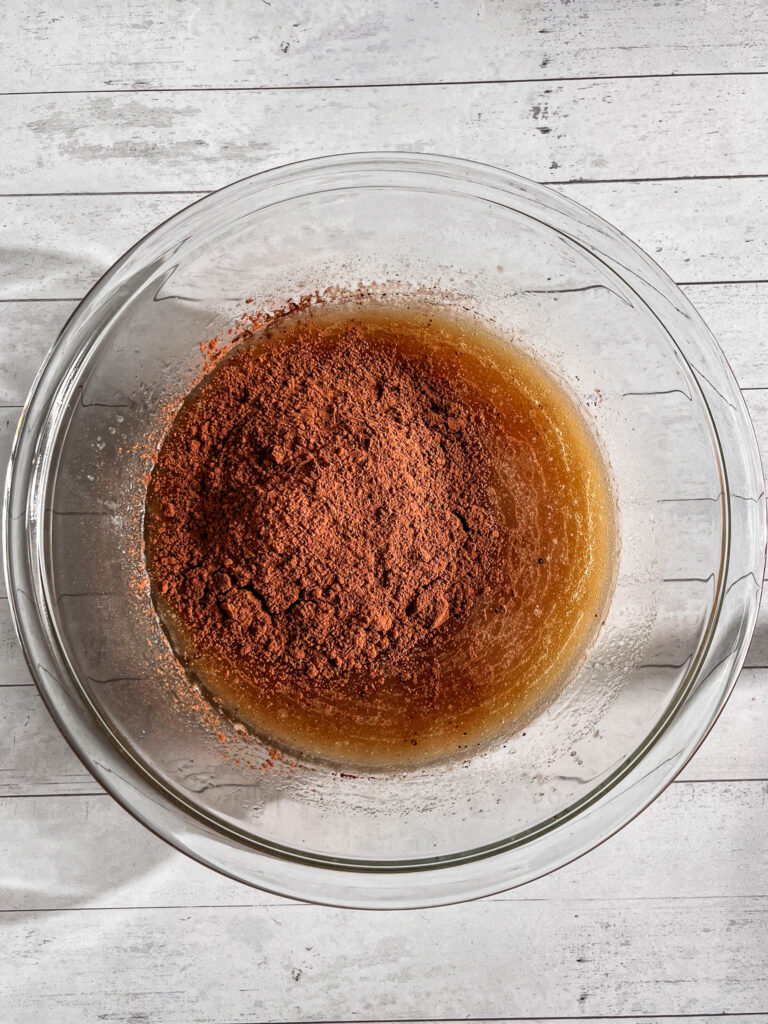
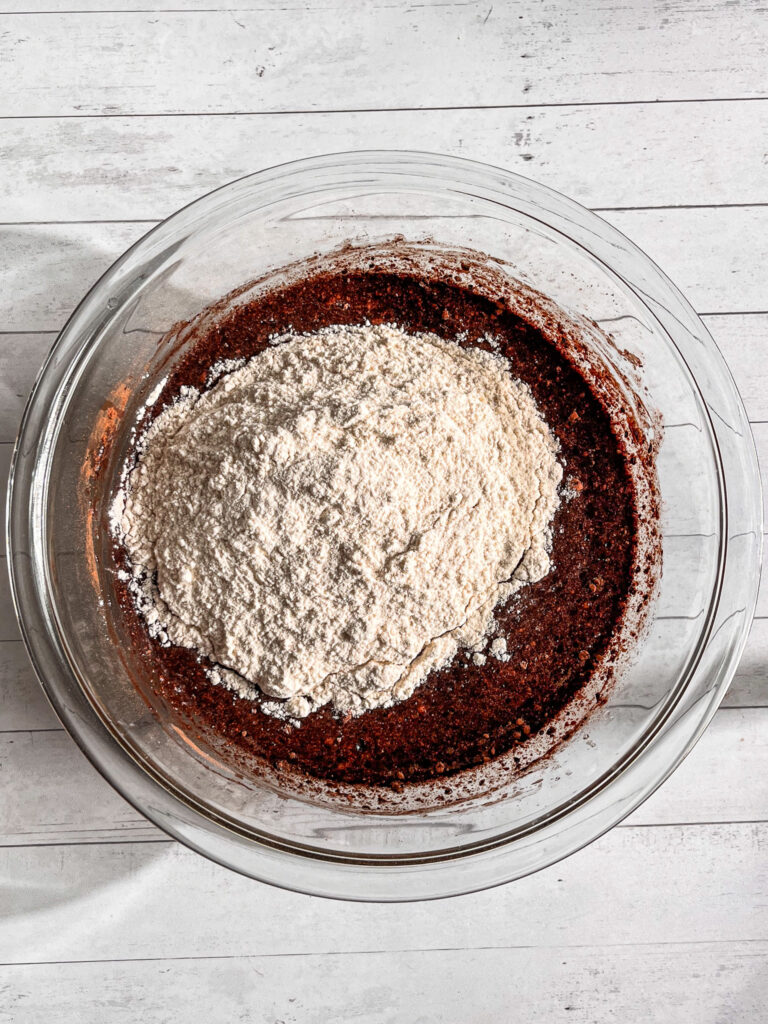
Next, add the cane sugar, brown sugar, vegetable oil, and vanilla extract to the curdled milk. Whisk gently until the sugars dissolve and the mixture becomes smooth and uniform. Meanwhile, in a separate bowl, sift together the all-purpose flour, cocoa powder, baking soda, baking powder, and salt to evenly distribute the dry ingredients and prevent lumps.
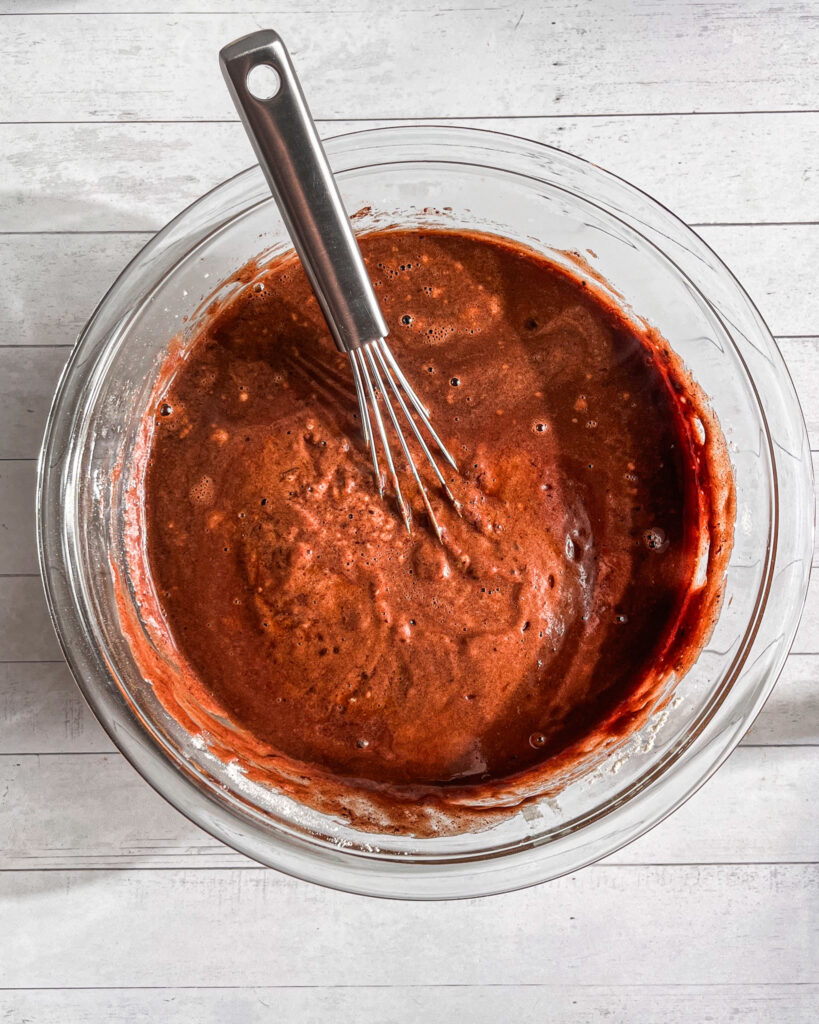
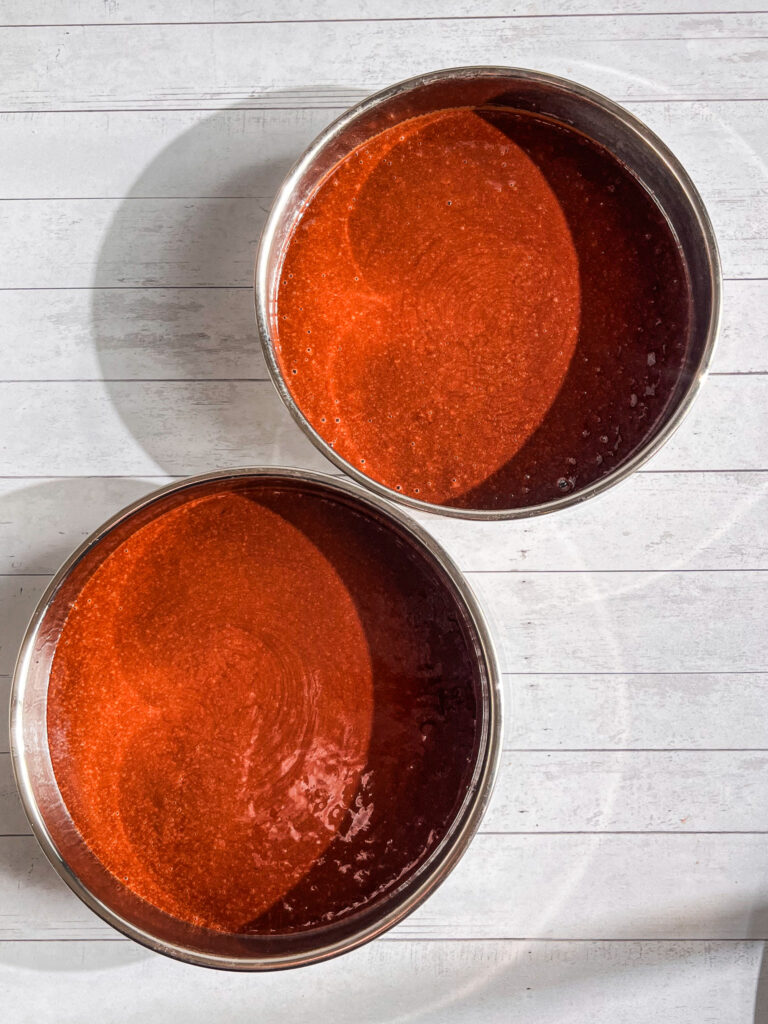
Slowly incorporate the dry mixture into the wet ingredients, whisking until you achieve a smooth, lump-free batter. Finally, pour in the freshly brewed coffee or boiling water and stir until fully combined. The hot liquid not only deepens the chocolate flavor but also contributes to the cake’s moist texture.
Divide the batter evenly between the prepared pans, smoothing the tops with a spatula. Bake in the preheated oven for 25 to 30 minutes, or until a toothpick inserted into the center comes out clean and the surface springs back when gently pressed.
Once baked, allow the cakes to cool in their pans for 10 minutes to set, then carefully transfer them to a wire rack to cool completely. Cooling the cakes thoroughly before frosting ensures a smooth, even finish and prevents the frosting from melting.
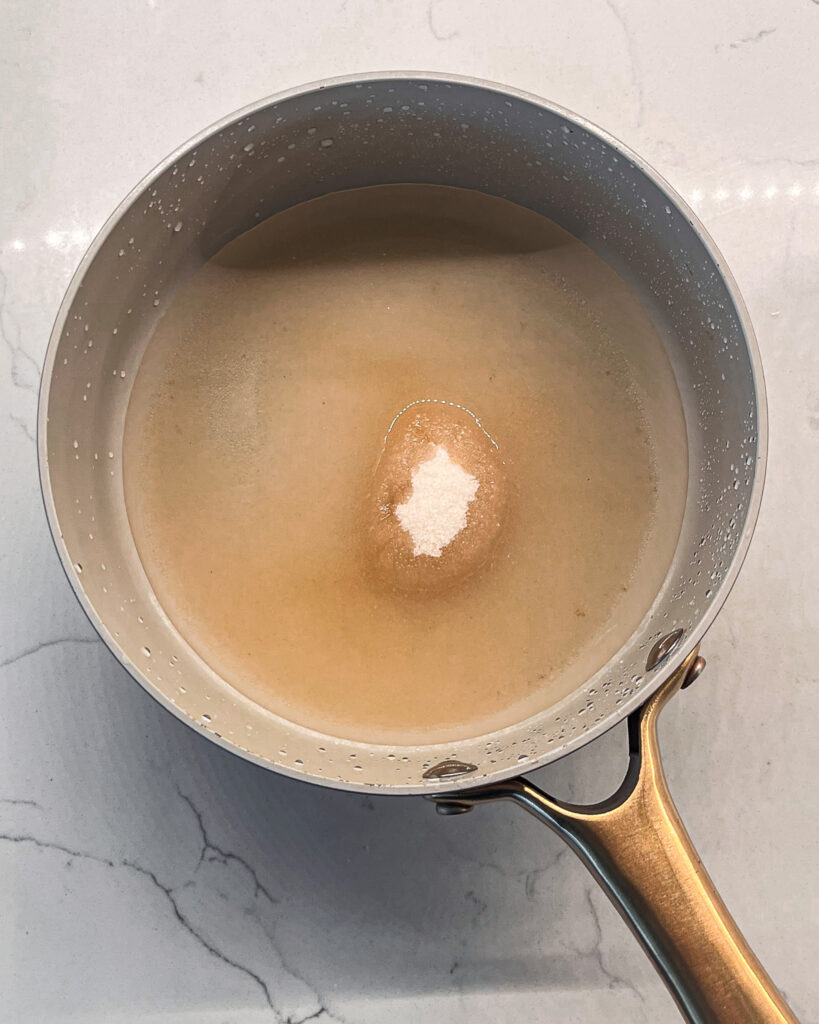
Begin by combining the sugar, water, and cocoa powder in a small saucepan. Warm the mixture over low heat, stirring occasionally until the sugar completely dissolves. This gentle heating creates a smooth chocolate syrup that forms the flavorful base of your frosting. Once fully dissolved, remove the saucepan from the heat and allow the syrup to cool to room temperature before proceeding.
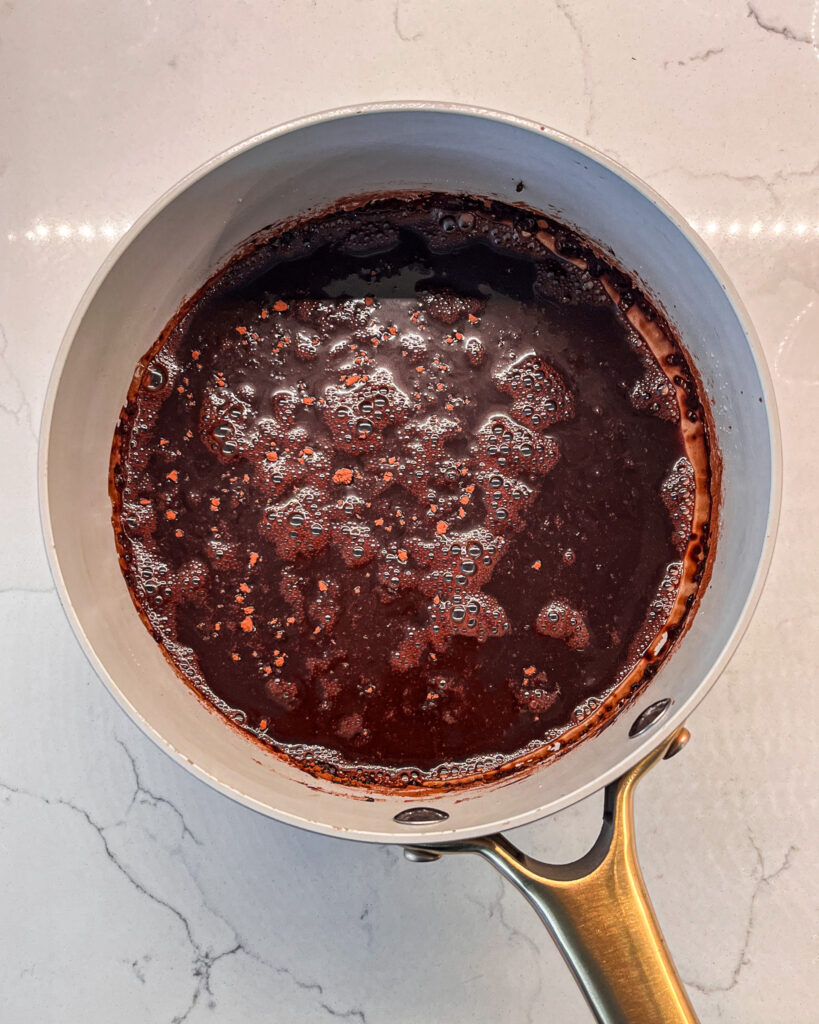
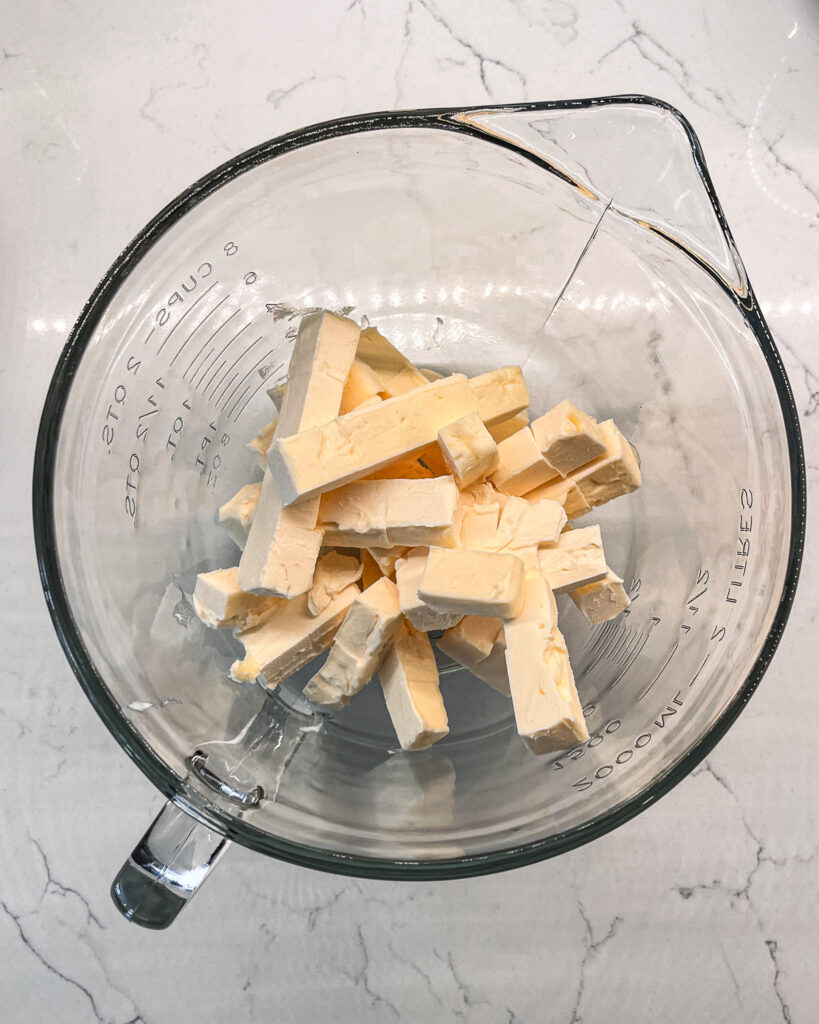
In a separate mixing bowl, beat the butter using an electric mixer or paddle attachment for 2 to 3 minutes. This process aerates the butter, making it light, fluffy, and creamy—essential for a smooth frosting texture. Gradually add the cooled chocolate syrup in two to three portions, mixing thoroughly for about a minute after each addition to ensure full incorporation.
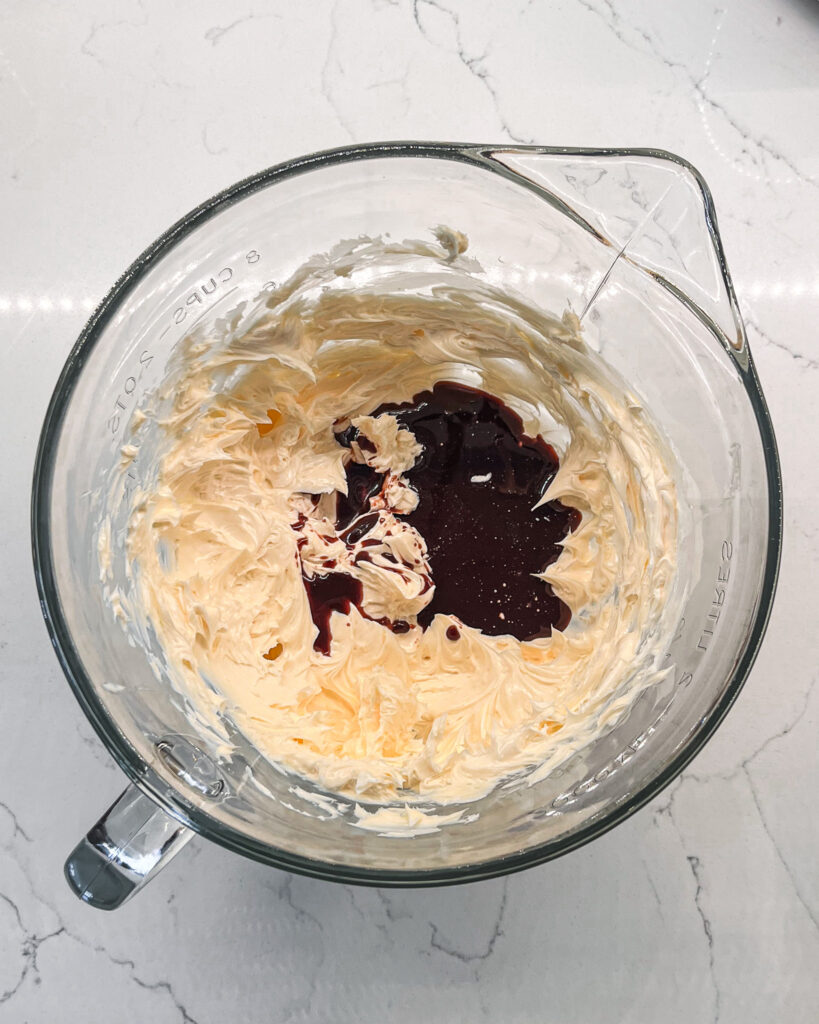
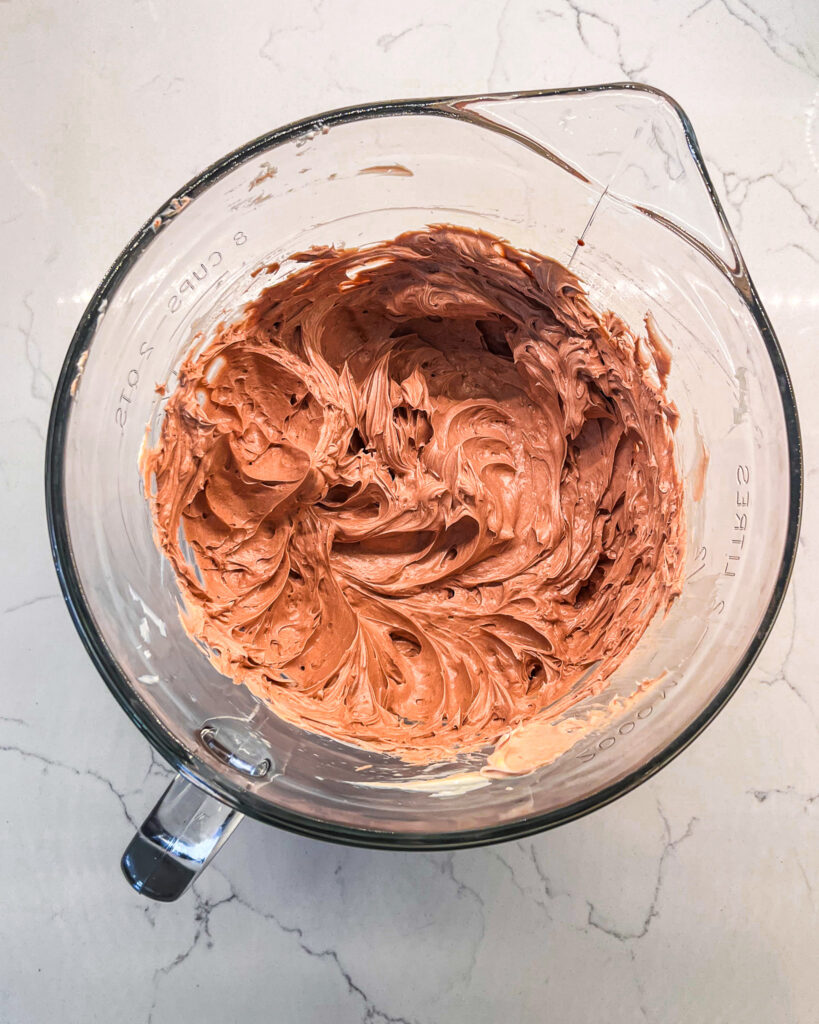
Next, add the vanilla extract, whipping cream, and a pinch of salt. Continue mixing until the frosting is smooth, glossy, and well blended. If necessary, gently fold the frosting with a spatula to even out the texture and release any trapped air bubbles. This step helps achieve a silky, spreadable consistency perfect for frosting your cake.
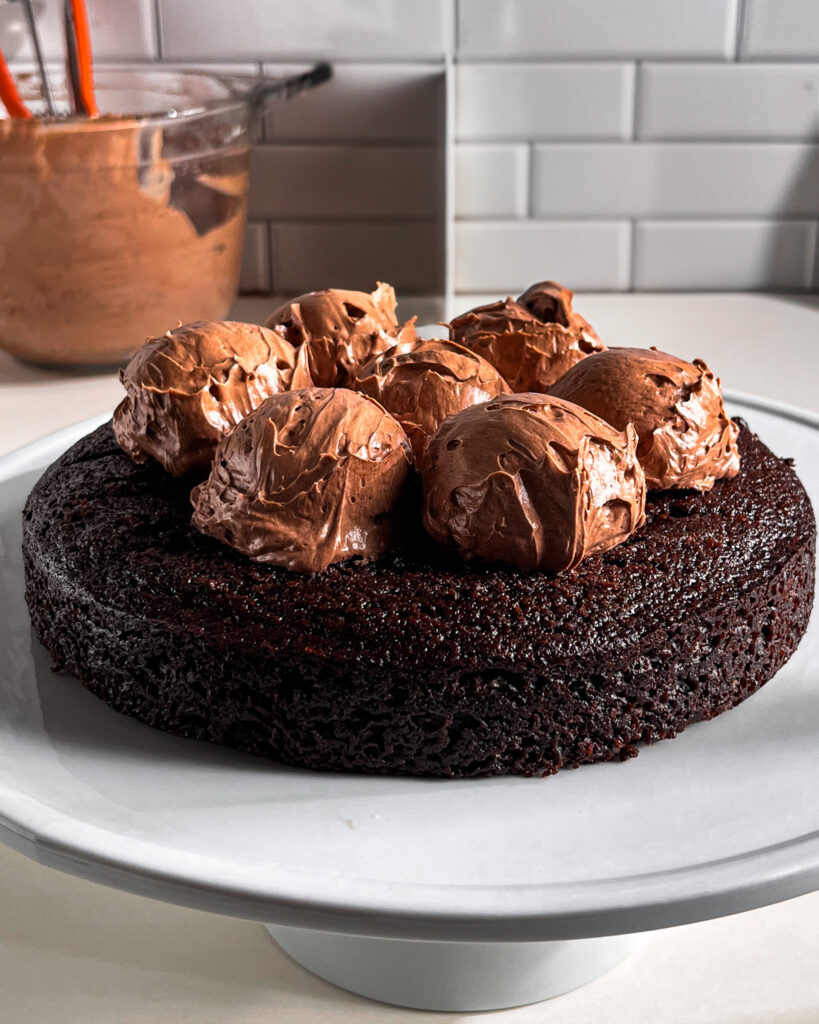
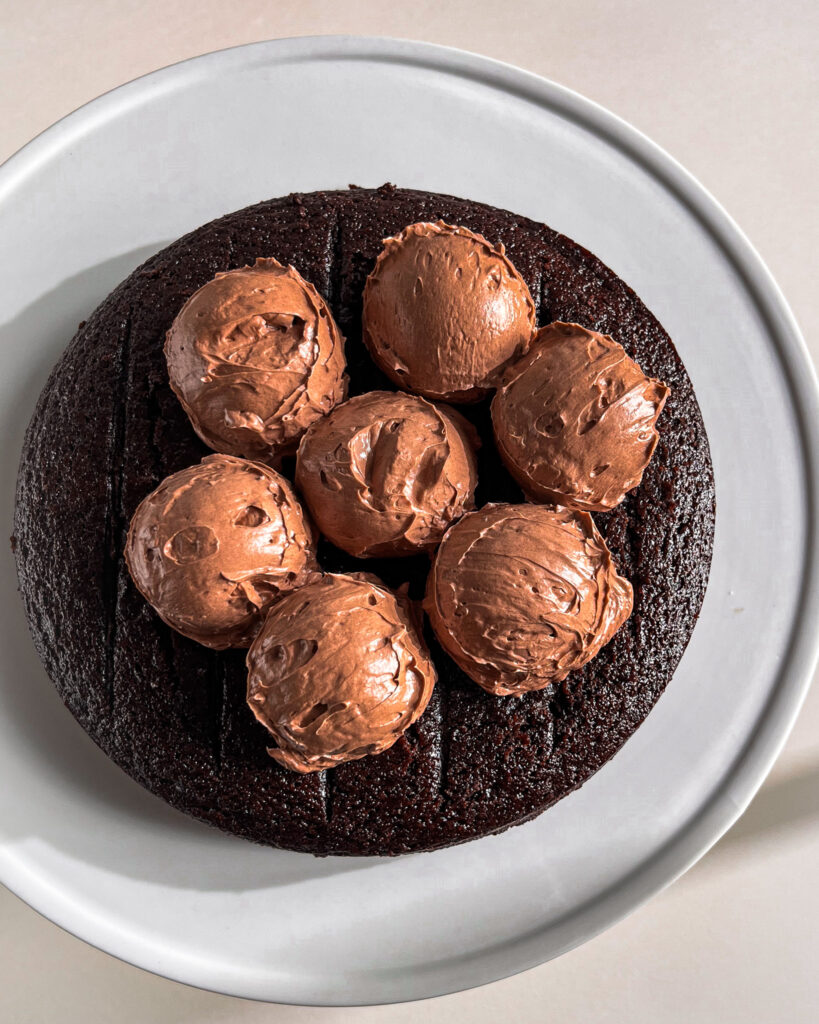
Begin by placing one cake layer onto a cake stand or serving plate, ensuring it sits flat and stable. Scoop 5 to 6 generous portions of frosting onto the top and spread it evenly to create a smooth, uniform layer. To help hold the next layer in place, use a spoon or offset spatula to gently create a shallow well in the center of the frosting.
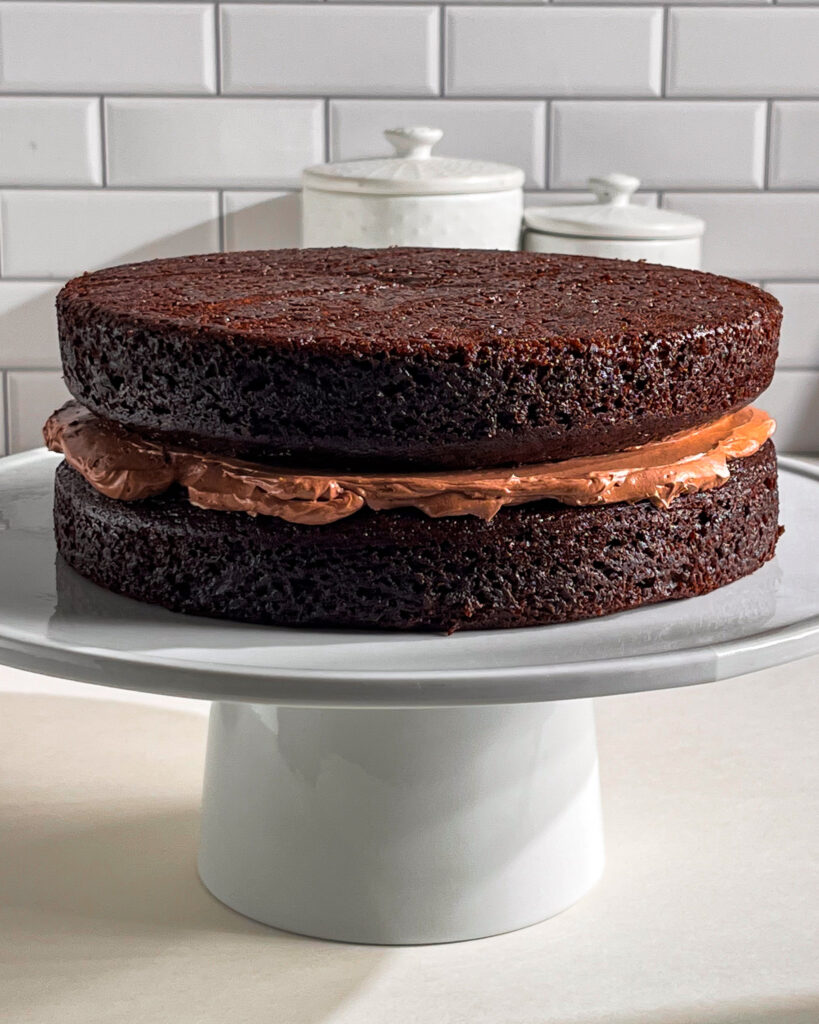
Carefully place the second cake layer on top, aligning it evenly with the first. Next, apply a thin layer of frosting—known as the crumb coat—over the entire cake. This thin layer seals in any loose crumbs, creating a clean surface for the final frosting application.
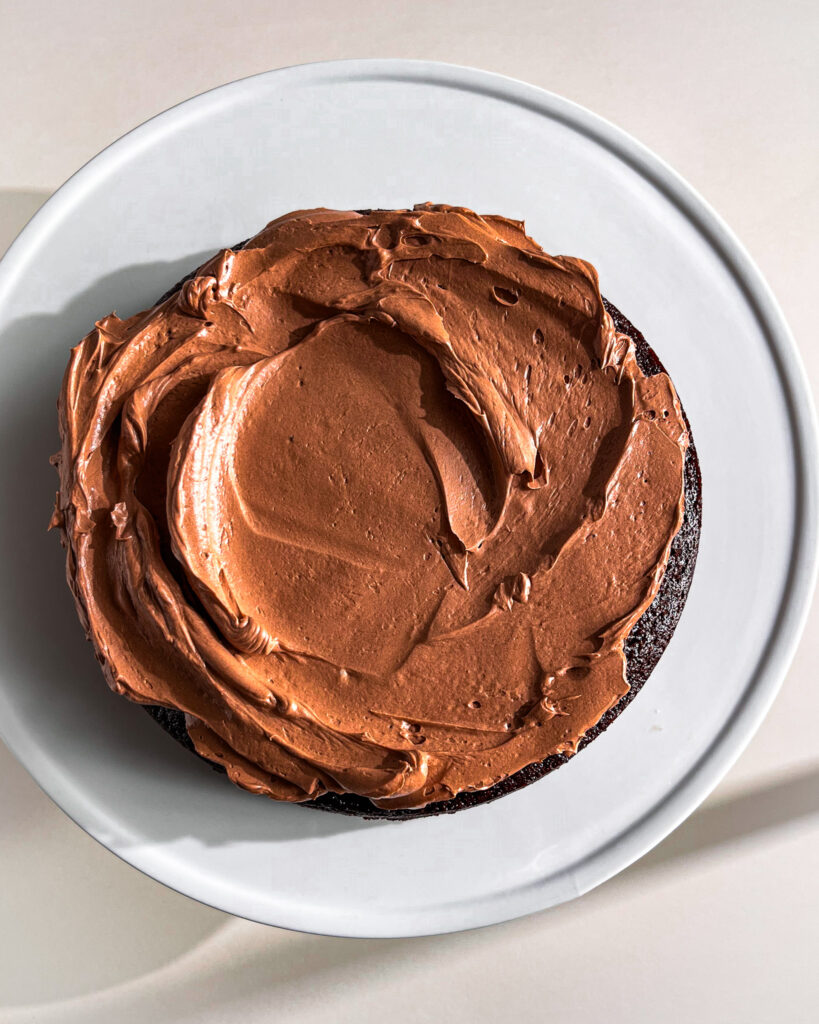
Chill the cake in the refrigerator for about 30 minutes to allow the crumb coat to set firmly. Once chilled, generously spread the remaining frosting over the cake, smoothing the surface with a spatula or cake scraper for a polished finish.
Finally, decorate the cake with sprinkles or toppings of your choice to add a festive touch. For the best flavor and texture, serve this cake at room temperature.
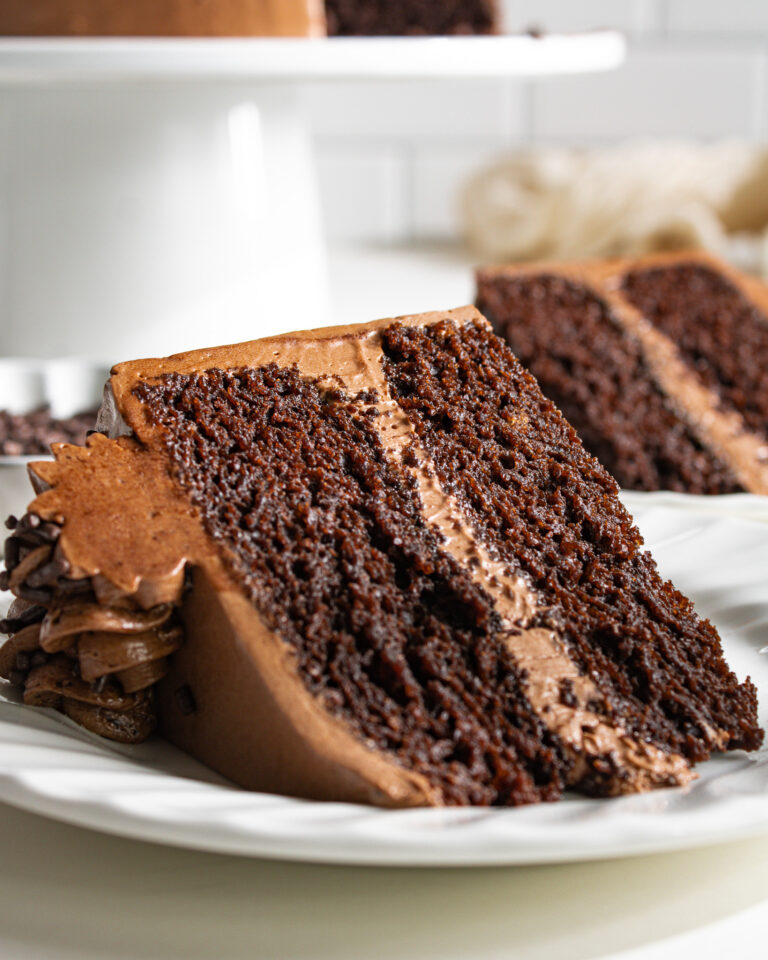
The frosting is delightfully smooth and never gritty because it’s made with a carefully cooked syrup instead of powdered sugar. This technique creates a creamy, stable buttercream that isn’t overly sweet, giving you a luscious texture and rich flavor that complements the cake perfectly.
Yes, you can easily skip the coffee if you prefer. Simply substitute the coffee with the same amount of boiling water. While coffee enhances and deepens the chocolate flavor, it doesn’t make the cake taste like coffee, so you won’t miss it if you omit it.
Definitely! You can bake this cake in a 9×13-inch pan for a single-layer version or even in cupcake tins. Just remember that baking times will vary depending on the size and shape of your pan. To check doneness, insert a toothpick into the center—if it comes out clean or with just a few crumbs, your cake is ready.
Dutch-processed cocoa powder is preferred here because it gives the cake a richer, smoother chocolate flavor and a darker, more appealing color. However, natural unsweetened cocoa powder works fine too; just note the flavor will be a bit more acidic and bright.
Yes, you can! While vegetable oil works wonderfully for its neutral flavor and moist texture, you could substitute with oils like avocado or sunflower oil. These options might add subtle flavor notes or slightly alter the texture, but they’re excellent alternatives if you want to experiment.
Absolutely! You can bake the cake layers up to two days in advance. Once cooled completely, wrap them tightly in plastic wrap and store in an airtight container at room temperature. When you’re ready to assemble, prepare the buttercream and frost the cake fresh for the best results.
All-purpose flour is the best choice for this recipe to achieve the right texture and crumb. If you need a gluten-free option, use a 1:1 gluten-free flour blend that includes xanthan gum—this helps mimic the elasticity and structure gluten provides. Brands like Bob’s Red Mill Gluten-Free Flour or Divided Sunset brand are reliable picks for baking success.
Yes, you can easily make a dairy-free version! Replace the butter with dairy-free butter sticks and use a plant-based whipping cream. This swap keeps the frosting creamy and stable while catering to dairy-free diets without compromising on taste or texture.
Store leftover cake in an airtight container at room temperature for up to three days to maintain freshness. If you want to keep it longer, freeze the cake layers for up to two months—make sure to wrap them tightly in plastic wrap and aluminum foil to protect from freezer burn. Thaw completely before frosting or serving.
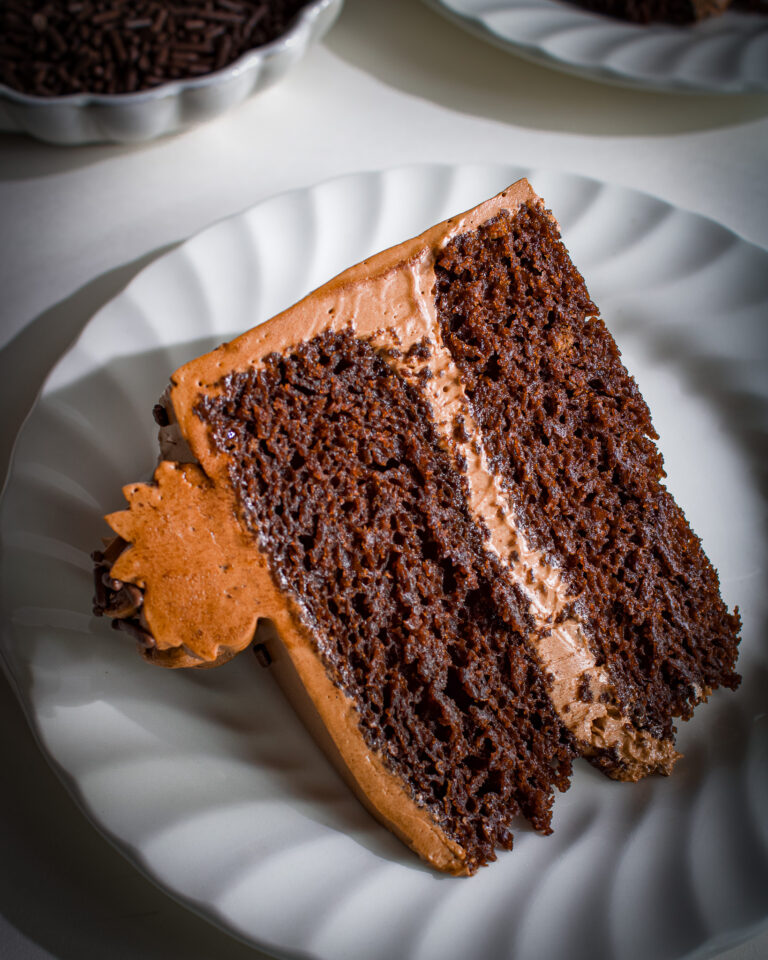
There’s nothing like a chocolate cake that’s downright moist, tender, and packed with rich cocoa flavor. Whether you threw it together for a birthday, a chill night at home, or just because you were craving something sweet, I hope it hit the spot.
If you grabbed a pic, send it my way! Tag me @pastrybysaloni and let me see how yours turned out. It’s always awesome to see your baking come to life in real kitchens.
And if you found yourself going back for seconds (or thirds), don’t worry—you’re in good company. Keep the good vibes going with more recipes that bring bold flavor and easy baking straight to your table. Up next in your baking lineup:
Looking to build confidence in the kitchen without relying on eggs or dairy? My cookbook Vegan Baking Made Simple is packed with recipes that taste just as good as the classics—maybe better. It’s available now on Amazon. Grab your copy HERE.
