prep time: 35 min | bake time: 30 min | total time: 2 hrs
Home » Strawberry Cake
Who says you need eggs to bake a moist, flavor-packed strawberry cake that keeps well? This eggless layer cake flips the script with one powerful upgrade: a homemade strawberry curd filling. Instead of relying on fresh berries—which release water and can make cake soggy—this rich, cooked curd delivers concentrated strawberry flavor and helps the cake stay tender for days. It’s not just a swap—it’s an upgrade, especially if you’re planning ahead.
What makes this cake truly special is how all the layers work together. The sponge is soft and fluffy. The buttercream is so light and fluffy, and that bright, tangy curd ties it all together with a pop of real fruit flavor. Because the curd is cooked, it holds up beautifully—no weeping, no dulling, no mess. Just bold berry flavor that stays vibrant even after a few days in the fridge.
Start by washing your strawberries thoroughly to remove any dirt or residue, then hull them by removing the green leafy tops. Chop the berries into smaller pieces to help them blend more easily. Next, pulse them in a blender or food processor until you get a smooth, vibrant purée.
If you prefer a sweeter purée, add a little sugar or honey and blend again until fully incorporated. For an ultra-smooth texture without the crunch of seeds, strain the purée through a fine mesh sieve—this step is especially helpful for delicate desserts or sauces.
Fresh strawberry purée is best used right away to capture its bright, natural flavor, but you can also store it in an airtight container in the refrigerator for up to 3 to 4 days. For longer storage, freezing the purée preserves its freshness and lets you enjoy strawberry goodness any time of year.
To begin, preheat your oven to 350°F (175°C). Prepare two 8-inch round cake tins by greasing them thoroughly and lining the bottoms with baking paper to prevent sticking. In a large mixing bowl, combine all the dry ingredients—flour, corn starch, baking powder, baking soda, salt, and sugar—whisking them together until evenly blended.
In a separate bowl, mix the soda water, apple cider vinegar, vegetable oil, and vanilla extract. Slowly add this wet mixture to the dry ingredients in two to three batches, whisking continuously or using an electric mixer to ensure the batter becomes smooth and airy without lumps.
Once the batter is well combined, divide it evenly between the prepared cake tins. Place them in the preheated oven and bake for 25 to 30 minutes. You’ll know the cakes are ready when the tops feel firm to the touch and a toothpick inserted into the center comes out clean.
After baking, allow the cakes to cool in their tins for about 30 minutes. Then carefully transfer them to a wire rack to cool completely. For a firmer texture that’s easier to slice, wrap the cooled cakes tightly in plastic wrap and chill them briefly in the freezer. When fully cooled, use a serrated knife to trim each cake horizontally resulting in even cake layers ready for assembling.
To make the strawberry purée, start by washing, hulling, and dicing fresh strawberries. Place the diced strawberries into a food processor or blender and blend until completely smooth, aiming for about 350 grams of purée. For an extra silky texture, you can strain the purée through a fine sieve to remove seeds, which is especially helpful if you plan to use it in a smooth curd.
Next, pour the puréed strawberries into a saucepan and add the sugar. If the mixture seems too thick, add a small splash of water to help it cook evenly. Heat the mixture over low to medium heat, stirring occasionally until it begins to gently boil. While the purée is heating, dissolve the cornstarch in water in a small bowl to prevent lumps.
Slowly pour the cornstarch mixture into the boiling strawberry purée, stirring constantly to ensure it blends smoothly without clumping. Allow the mixture to cook for about one minute, until it thickens noticeably, then remove it from the heat. Stir in fresh lemon juice and cubed butter, continuing to mix until the butter is fully melted and the curd is smooth and glossy.
Transfer the strawberry curd to a bowl and press plastic wrap directly onto the surface to prevent a skin from forming as it cools. Chill the curd completely in the refrigerator for 4 to 5 hours before using to let the flavors develop and the texture set properly. Store the finished curd in an airtight container in the fridge for up to 2 to 3 days.
Begin by placing room-temperature butter into a large mixing bowl. Using a hand mixer or stand mixer set to medium-high speed, beat the butter for about three to five minutes until it becomes pale in color and develops a light, fluffy texture. This step is crucial for creating a smooth and airy buttercream.
Next, gradually sift the powdered sugar into the bowl while mixing on low speed to prevent the sugar from creating a cloud of dust. Once the sugar is fully incorporated, increase the mixer speed back to medium-high and continue beating the mixture for another two to three minutes until the buttercream is smooth, light, and well combined.
Add the vanilla extract and mix just until it’s evenly distributed throughout the frosting. Then, slowly add the cooled strawberry curd, one spoonful at a time, beating thoroughly after each addition. This gradual incorporation helps the buttercream emulsify properly and evenly infuses the strawberry flavor.
Continue beating the mixture until the buttercream becomes light, creamy, and fully emulsified, with a silky texture perfect for spreading or piping onto your cake layers.
To assemble the cake, start by placing one sponge cake layer on a serving platter or cake stand, creating a sturdy base for your dessert. Evenly spread a generous layer of strawberry buttercream over the top, ensuring it reaches the edges to provide both flavor and stability.
Next, spoon three to four scoops of the strawberry curd filling onto the buttercream and gently spread it out to cover the layer without disturbing the buttercream beneath. Carefully place the second sponge layer on top and press down lightly to level the cake and help the layers adhere.
Cover the entire cake with the remaining strawberry buttercream, smoothing the top and sides to create a clean, polished finish. For a beautiful and flavorful garnish, decorate the top with additional strawberry curd and fresh strawberries that have been lightly tossed in maple syrup or simple syrup, adding a glossy shine. If you have any leftover strawberry filling, drizzle it artfully over the top for an extra burst of color and taste.
Finally, refrigerate the assembled cake for at least 30 minutes before serving. This chilling step allows the buttercream to firm up and the flavors to meld, making slicing easier and enhancing the overall eating experience.
Absolutely. A milk-based sponge works wonderfully with the strawberry curd and buttercream. If you’re looking for a reliable base, my Perfect Vanilla Birthday Cake recipe is a great choice—it’s light, fluffy, and provides a neutral canvas that lets the fresh strawberry flavors shine. The combination results in a moist, balanced cake that’s perfect for spring or summer celebrations.

Yes, this cake is ideal for make-ahead prep. You can bake the sponge layers a day in advance, then wrap them tightly in plastic wrap and freeze if needed. When you’re ready to assemble, simply thaw the layers, then fill and frost with the strawberry curd and buttercream. This approach not only saves time but also makes the cake easier to slice and stack.
To achieve a light, fluffy texture without eggs, make sure you’re using a reliable combination of baking powder and baking soda, along with an acid like vinegar or lemon juice. These ingredients help create the lift that eggs would normally provide. Also, be careful not to overmix the batter—doing so can deflate the air bubbles and lead to a dense crumb.
Yes, frozen strawberries can be used if fresh ones aren’t available. Just make sure to thaw them completely and drain any excess liquid before blending. While frozen berries still offer good flavor, fresh strawberries tend to deliver a brighter taste and a slightly better texture, especially when making purée or curd.
There’s something magical about a homemade strawberry cake—especially one that’s light, fluffy, bursting with real fruit flavor, and made completely without eggs. Whether you baked it for a birthday, a special dinner, or just to treat yourself, I hope every bite made you smile! If you captured your creation, tag me @pastrybysaloni—I love seeing your beautiful bakes come to life.
Fallen in love with the bright, berry-filled flavor of this cake? There’s so much more to explore. From zesty lemon loaves to creamy chocolate layer cakes, my eggless dessert collection is packed with bakes that skip the eggs but never the flavor. Because everyone deserves show-stopping cakes—no compromises.
Next up in your eggless baking journey:
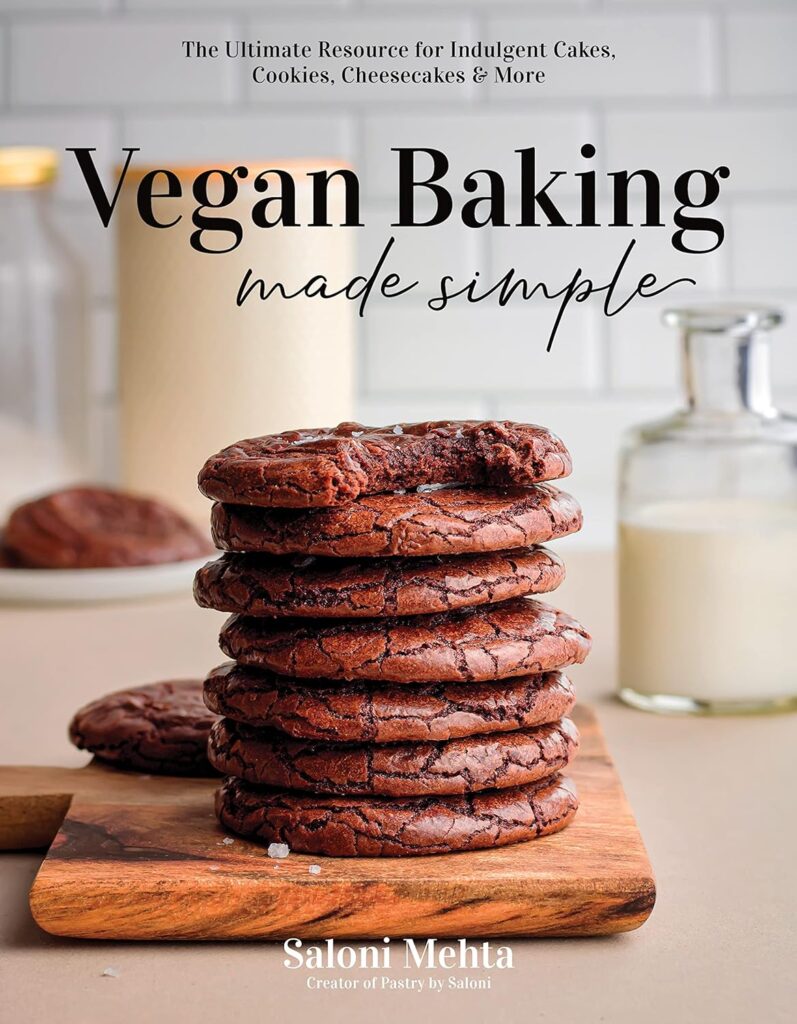
Want to go even deeper into eggless, vegan-friendly baking? My cookbook Vegan Baking Made Simple is your go-to guide for mastering classic desserts—made completely dairy-free. Grab your copy on Amazon [HERE]!

2 Responses
This sponge turned out so so soft and moist. Recipe was easy to follow. Cannot wait to frost it and see how it all turns out.
Thank you so much for trying the recipe