prep time: 15 min | bake time: 15 min | total time: 1 hr
Home » Eggless Chocolate-Dipped Butter Cookies (Heart-Shaped)
There’s something extra special about hand-piped, heart-shaped cookies. They feel thoughtful, homemade, and just a little nostalgic. These eggless chocolate-dipped butter cookies (little hearts) are one of my favorite recipes when I want a dessert that looks elegant but is still simple to make. The heart shape makes them especially perfect for Valentine’s Day, anniversaries, birthdays, or any celebration that calls for a sweet touch.
The cookie dough is smooth, buttery, and easy to pipe, with no chilling required. Once baked, the heart-shaped cookies have delicate crisp edges and a tender, melt-in-your-mouth center. Dipping them in chocolate adds just the right amount of richness and gives them a beautiful bakery-style finish.
Butter Cookies are a classic cookie, often associated with the holidays. Known for their high butter content, these cookies have a delicate, crumbly texture and a light, sweet flavor. They’re typically piped or pressed into shapes before baking, giving them an elegant appearance that’s perfect for festive occasions. Unlike shortbread, butter cookies are slightly sweeter and have a crisp texture, making them ideal for adding flavors like vanilla or even a touch of chocolate.
For dipping, you can use a variety of chocolates depending on the flavor and look you want:
These cookies come together with just a few essential ingredients:
Start by placing soft (not melted) butter in a mixing bowl. Using a hand mixer or stand mixer fitted with a paddle attachment, beat the butter on medium speed for 2–3 minutes until it becomes smooth, pale, and creamy. You can also mix by hand with a whisk if preferred.
Gradually add the powdered sugar while continuing to beat. Mix for another 2–3 minutes until the mixture is light and fluffy, with no sugar lumps. Scrape down the sides of the bowl occasionally to ensure everything is well combined. Add the milk gradually and mix until fully incorporated.
Add the flour, cornstarch, salt, and vanilla extract. Gently mix until just combined avoid overmixing to keep the cookies tender.
For perfectly uniform heart-shaped cookies, draw hearts of your desired size on the back of parchment paper. Flip the paper over onto your baking tray, then pipe the dough on top, tracing the shapes from underneath. This keeps the marker from touching the cookies while helping you maintain evenly spaced, consistent hearts.
Fill a sturdy piping bag fitted with a star tip (Ateco 826) with the prepared dough. Line a baking tray with parchment paper (avoid using a Silpat mat) and pipe the dough into 1.5-inch-wide heart shapes or your preferred size. If the dough feels firm, gently soften it with your hands or a spatula.
If a cookie doesn’t come out the way you like, scrape it off the tray, return the dough to the piping bag, and re-pipe. Make sure the butter doesn’t melt; if it starts to soften too much, chill the dough briefly before continuing.
Bake in a preheated oven at 350°F (175°C) for 12–15 minutes, or until the edges are golden. For extra-crispy cookies, bake a little longer. Let the cookies cool completely before chocolate dipping.
For an indulgent touch, dip the cooled cookies in melted chocolate. I used Valrhona Raspberry Inspiration chocolate, which is natural, vegan, and gives a beautiful raspberry color and flavor. If the melted chocolate is too thick for coating, stir in a little oil to thin it. Cool the chocolate to room temperature, then dip each cookie individually using a fork, tapping gently to remove excess chocolate.
Store the cookies in an airtight container at room temperature for up to 7 days.
Piping Tip for Perfect Heart Shapes:
Draw heart shapes of your desired size on the back of the parchment paper, then flip the paper over onto your baking tray. Pipe the dough on top, tracing the hearts from underneath. This keeps the marker from touching the cookies while giving you perfectly spaced, uniform heart shapes.
Cornstarch helps to give these cookies their signature melt-in-your-mouth texture, making them tender and delicate. While you can skip it in a pinch, the texture might be slightly different without it.
Yes, baking paper is preferable in this recipe. Silicone mats tend to retain too much moisture, which can result in cookies that spread more than desired. Parchment paper helps prevent sticking and ensures the cookies bake to the perfect crispness with clean edges.
While a piping bag with a star tip gives these cookies their signature shape, you can use a cookie press or even shape the dough by hand into simple rounds or any other desired shape.
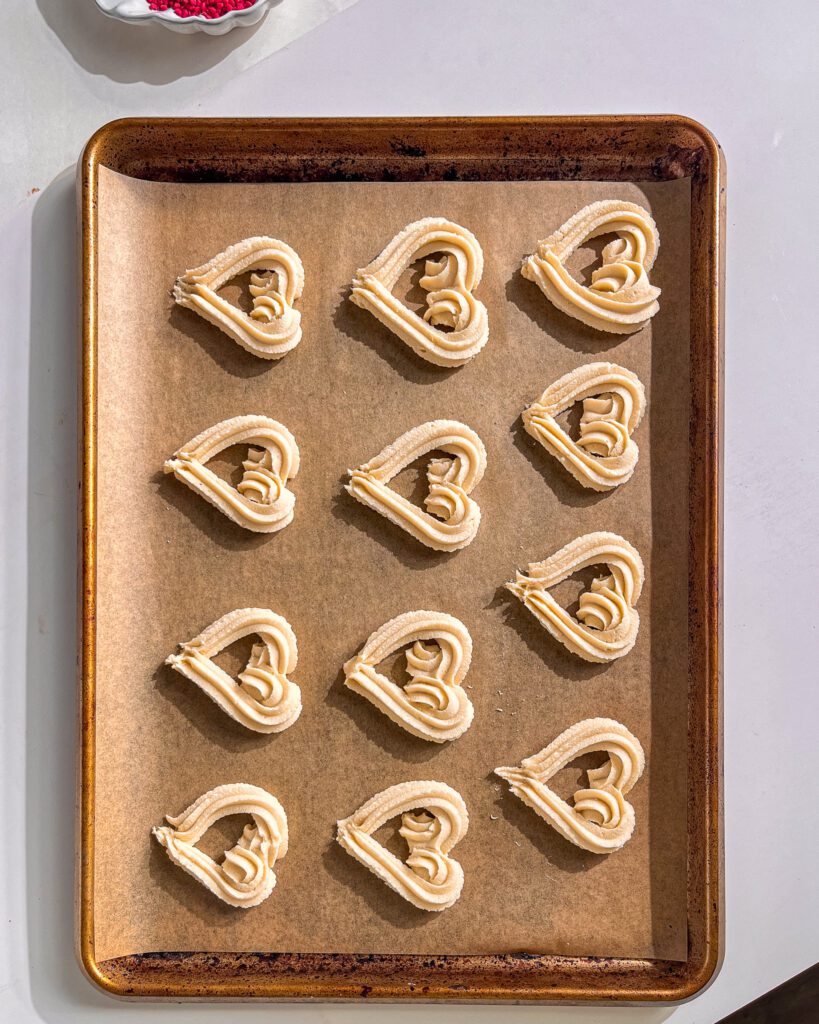
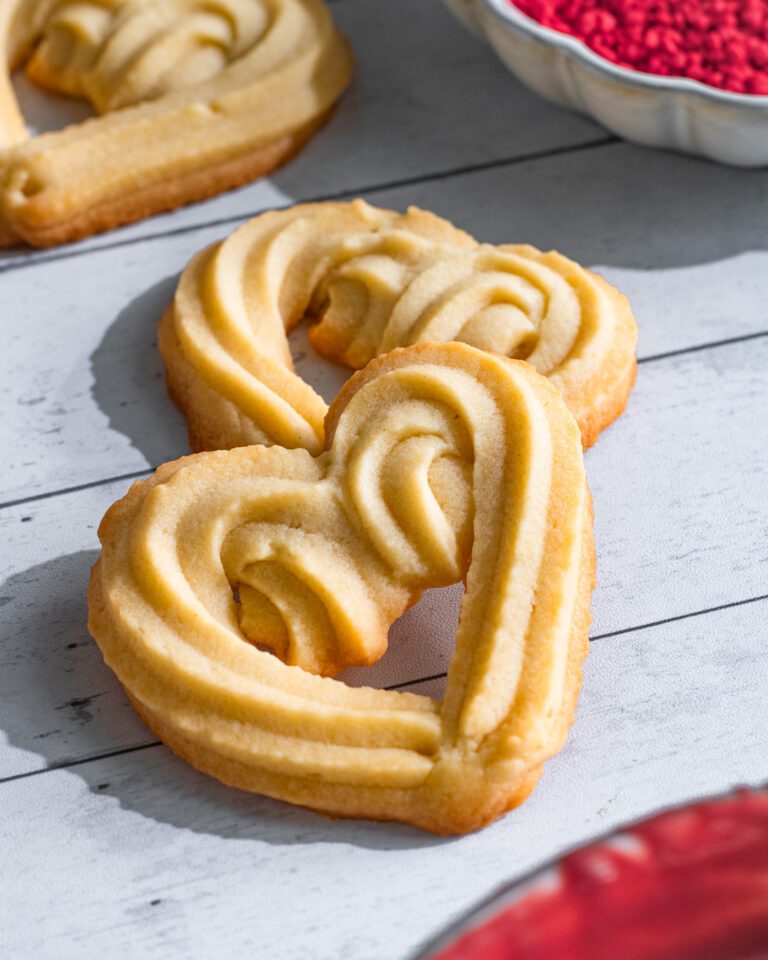
Yes, you can freeze the piped or portioned unbaked cookies for up to 1 month. Simply wrap the portioned cookie dough tightly in plastic wrap and place it in an airtight container or a resealable freezer bag. When you’re ready to bake, arrange the frozen dough on a baking sheet and bake as usual. There’s no need to thaw the dough beforehand! Just add a couple of extra minutes to the baking time if needed
To make these cookies gluten-free, substitute the all-purpose flour with a gluten-free flour blend that includes xanthan gum. Make sure the cornstarch and other ingredients are also gluten-free.
Yes! You can add a teaspoon of almond extract, lemon zest, or a dash of cinnamon to the dough for added flavor. Just be sure to adjust the amounts based on your preference.
Store the baked cookies in an airtight container at room temperature for up to a week. If you want to keep them fresh for longer, you can freeze them in a single layer and then transfer them to a sealed bag for up to 2 months.
Leave a rating and review below to let me know how yours turned out! Try these recipes next:
