Eggless Red Velvet Cake with Whipped Cream Cheese Frosting
prep time: 30 min | bake time: 40 min | total time: 2.30 hrs
This eggless red velvet cake with whipped cream cheese frosting is light, tender, and can be made dairy-free. Perfect for valentine’s day, birthdays, anniversaries, and holidays.
Home » Eggless Red Velvet Cake with Whipped Cream Cheese Frosting
Eggless Red Velvet Cake with Whipped Cream Cheese Frosting-tastes Just Like the Classic!
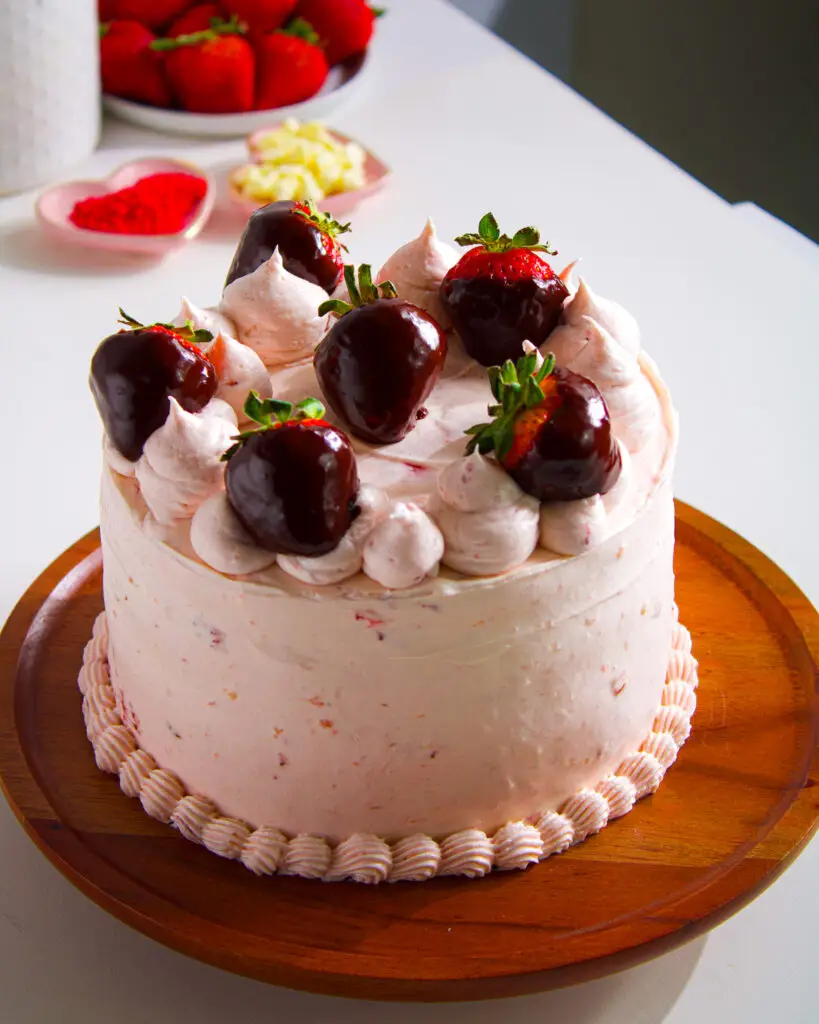
This eggless red velvet cake is soft, tender, and light, with a classic bakery-style crumb that proves eggs aren’t necessary. Each sponge layer stays moist without feeling heavy and has that subtle cocoa flavor that makes red velvet so special. It is assembled as a four-layer cake, with soft red velvet sponge and whipped cream cheese frosting layered throughout for the perfect balance in every bite.
Instead of a traditional butter-based cream cheese frosting, this version uses a whipped cream cheese frosting made without butter. It’s lighter, less rich, and smooth, pairing beautifully with the tender sponge.
The recipe can easily be made dairy-free using plant-based alternatives, making it perfect for valentine’s day, christmas, birthdays, anniversaries, and other celebrations. If you’re looking for a classic butter-based cream cheese frosting, you’ll find that version in my classic red velvet cake recipe on the blog.
Why You’ll Love This Eggless Red Velvet Cake
A stunning 4-layer celebration cake this cake is made with four soft layers of eggless red velvet sponge and whipped cream cheese frosting, making it perfect for special occasions and celebrations.
Completely eggless, without compromise the sponge is light, tender, and moist with a true bakery-style crumb, no eggs needed.
Light whipped cream cheese frosting made without butter, this frosting is airy, smooth, and less sweet, balancing the richness of the red velvet sponge beautifully across all four layers.
Perfect for special occasions with its vibrant color and elegant layers, this cake is ideal for Valentine’s Day, Christmas, birthdays, anniversaries, and festive gatherings.
Ingredients for Red Velvet Cake
Milk: Adds moisture and richness to the cake, helping create a soft and tender crumb. Using room-temperature milk ensures it blends smoothly with the batter, preventing lumps.
White Vinegar or Lemon Juice: Reacts with the baking soda to help the cake rise, producing a light and fluffy texture. It also enhances the red velvet color by balancing the acidity of the cocoa.
Unsweetened Yogurt: Keeps the sponge moist and tender while adding a subtle tang that complements the cocoa flavor. It works as a natural binder, replacing eggs in the recipe.
Oil: Keeps the cake incredibly moist and soft, giving it a tender, melt-in-your-mouth texture. Unlike butter, oil helps the sponge stay light and fluffy, even without eggs.
Sugar: Sweetens the cake while helping to tenderize the sponge.Using cane or castor sugar ensures even sweetness and a smooth texture throughout the batter.
Red Food Color: Gives the cake its signature vibrant red hue that makes red velvet so visually striking. Gel or powder forms are more concentrated than liquid, allowing precise control over the intensity of the color. Adjusting the amount lets you achieve anything from a soft pink to a deep, dramatic red.
All-Purpose Flour: Provides the structure and body of the cake, giving it a tender but stable crumb. Using all-purpose flour ensures a balanced texture that’s not too dense or too light.
Cocoa Powder: Adds the subtle chocolate flavor that defines red velvet cake. Using unsweetened cocoa ensures the cake maintains its mild chocolate taste without overpowering the tang of the frosting.
Cornstarch: Lightens the sponge by reducing gluten formation, resulting in a softer, more delicate texture. It helps create that fine, bakery-style crumb that makes the cake tender.
Baking Soda: It reacts with acidic ingredients like vinegar, yogurt, or lemon juice to create tiny air pockets in the batter. This reaction is essential for achieving a soft, airy texture in eggless cakes.
Salt: Enhances the flavor of the cake, balancing the sweetness and highlighting the cocoa notes.
Vanilla Extract: Adds warmth and depth to the cake, complementing both the cocoa and cream cheese frosting.
Ingredients for Whipped Cream Cheese Frosting
Cream Cheese: This is the base of the frosting, providing a rich, tangy flavor that complements the red velvet sponge perfectly.
Powdered Sugar: Sweetens the frosting evenly while keeping it light and smooth. Sifting the sugar prevents lumps and ensures a silky texture that’s easy to spread.
Whipping Cream: Adds airiness and volume to the frosting, making it light, fluffy, and less dense than traditional butter-based frosting. Cold cream whips more efficiently, creating soft peaks that hold well between layers.
Vanilla Extract: Enhances the flavor of the frosting by adding warmth and depth.
Special Ingredient Notes & Dairy-Free Options for Eggless Red Velvet Cake
Milk: For dairy-free versions, use unsweetened soy milk or almond milk. Soy milk works especially well because it curdles similarly to dairy milk when combined with vinegar or lemon juice, helping create a soft, tender cake crumb.
Yogurt: Choose a thick, unsweetened dairy-free yogurt for the sponge. Good options include Silk Soy Yogurt, Forager Plain Cashew Yogurt, or Kite Hill Plain Almond Yogurt. Avoid flavored or sweetened varieties, as they can alter the cake’s taste and texture.
Cream Cheese: For a dairy-free frosting, use plain plant-based cream cheese. Violife Creamy Original, Kite Hill Plain, or Miyoko’s Classic Cream Cheese are reliable choices. Keep the cream cheese cold before whipping to achieve a stable, smooth, and creamy frosting.
Whipping Cream: Use a plant-based whipping cream specifically designed for whipping. Options like Country Crock Plant Cream, Silk Heavy Whipping Cream, Califia Farms Heavy Whip, or Nature’s Charm Whipping Cream whip well when thoroughly chilled, creating a light, fluffy frosting.
Butter Substitutes (If Needed): This recipe’s frosting is naturally butter-free, so no substitute is required. If using butter in other frostings or decorations, plant-based butter like Country Crock Plant Butter works as a 1:1 replacement for dairy butter.
Food Coloring: For the best red velvet color, use gel or powder food coloring, which won’t affect the batter’s consistency. Brands like AmeriColor and Chefmaster offer vegan-friendly options—always check the label to confirm.
How to Make Red Velvet Cake:
Preheat your oven to 350°F (180°C). Grease two 8-inch cake pans and line the bottoms with parchment paper to prevent sticking.
In a large bowl, whisk together milk, yogurt, and vinegar. Let it sit for a few minutes until it curdles slightly, this helps the cake rise and stay tender.
Mix sugar, oil, and vanilla extract into the curdled milk mixture until the sugar mostly dissolves. Stir in the red food coloring, adjusting the amount to get your desired shade.
In a separate bowl, whisk together flour, cocoa powder, cornstarch, baking soda, and salt. This ensures even distribution and a smooth, lump-free batter.
Gently fold the dry ingredients into the wet ingredients until just combined. Be careful not to overmix, or the sponge may become dense.
Pour the batter evenly into the prepared pans. Tap the pans gently on the counter to remove air bubbles. Bake for 30–40 minutes, or until a toothpick inserted in the center comes out clean and the cakes feel set to the touch.
Let the cakes cool in the pans for 30 minutes, then carefully invert them onto a wire rack to cool completely. If you plan to assemble the cake the next day, wrap the cooled cakes tightly in plastic wrap to keep them moist.
Trim a thin layer from the tops of the cakes to make them flat. Using a serrated knife, slice each cake horizontally to create two even layers per cake, giving you four layers in total. Reserve the trimmings for decoration if desired.
How to Make Whipped Cream Cheese Frosting
Soften the cream cheese. Place cold cream cheese in a large mixing bowl. Using a stand mixer with the paddle attachment or a handheld electric mixer, beat it briefly until it’s just softened and smooth, making sure there are no lumps.
Sift the powdered sugar and add it in two batches. Beat on medium speed for 4–5 minutes until the mixture is light, smooth, and lump-free.
Add the cold whipping cream in two portions along with vanilla extract. Continue mixing until the frosting is smooth, fluffy, and holds medium peaks. Be careful not to overwhip, or it may become too stiff.
How to Assemble Eggless Red Velvet Cake
Prepare the cake layers. Level all cake layers if needed so they stack evenly. Reserve any trimmed cake pieces in an airtight container and process them in a food processor to create fine crumbs for decoration.
Stack the layers. Place a small dollop of frosting in the center of a cake stand or serving plate to act as glue. Position the first cake layer on top and press gently to secure. Spread a generous layer of whipped cream cheese frosting evenly using an offset spatula.
Layer the remaining cakes. Place the second layer on top, aligning it carefully, and spread frosting evenly. Repeat this process until all four layers are stacked, ensuring each layer is level and secure.
Apply a thin crumb coat over the entire cake to seal in loose crumbs. Once set, frost the cake completely, smoothing the sides with a bench scraper or spatula for a clean, professional finish.
Decorate the cake. Use reserved cake crumbs or piped frosting for decoration as desired. Chill the cake until the frosting is firm. For more elaborate designs, prepare extra frosting to pipe decorations.
FAQs for Eggless Red Velvet Cake with Whipped Cream Cheese Frosting
This whipped cream cheese frosting is made without butter, making it lighter, less dense, and less sweet than classic cream cheese frosting, while still creamy and flavorful.
Absolutely. By using plant-based milk, dairy-free cream cheese, and non-dairy whipping cream, you can make the cake fully dairy-free without compromising texture or taste.
Yes! Its vibrant color, four-layer design, and tender sponge make it perfect for Valentine’s Day, Christmas, birthdays, anniversaries, and other celebrations.
Whether you’re baking for a birthday, Valentine’s Day, Christmas, an anniversary, or simply because the craving strikes, this eggless red velvet cake delivers every time. And because it’s 100% egg free, it’s a dependable, allergy-friendly option without sacrificing flavor, texture, or visual appeal.
When you make this moist egg-free red velvet cake, take a moment to enjoy the process, then share your finished cake on Instagram and tag me @pastrybysaloni
Keep the Baking Inspiration Going
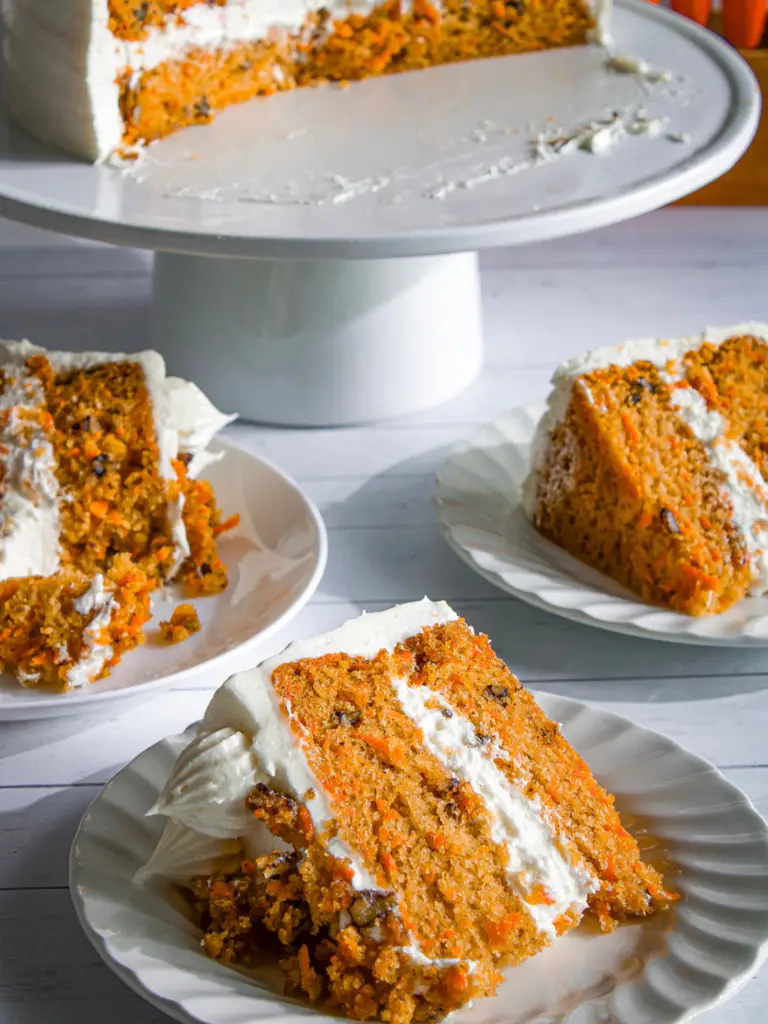
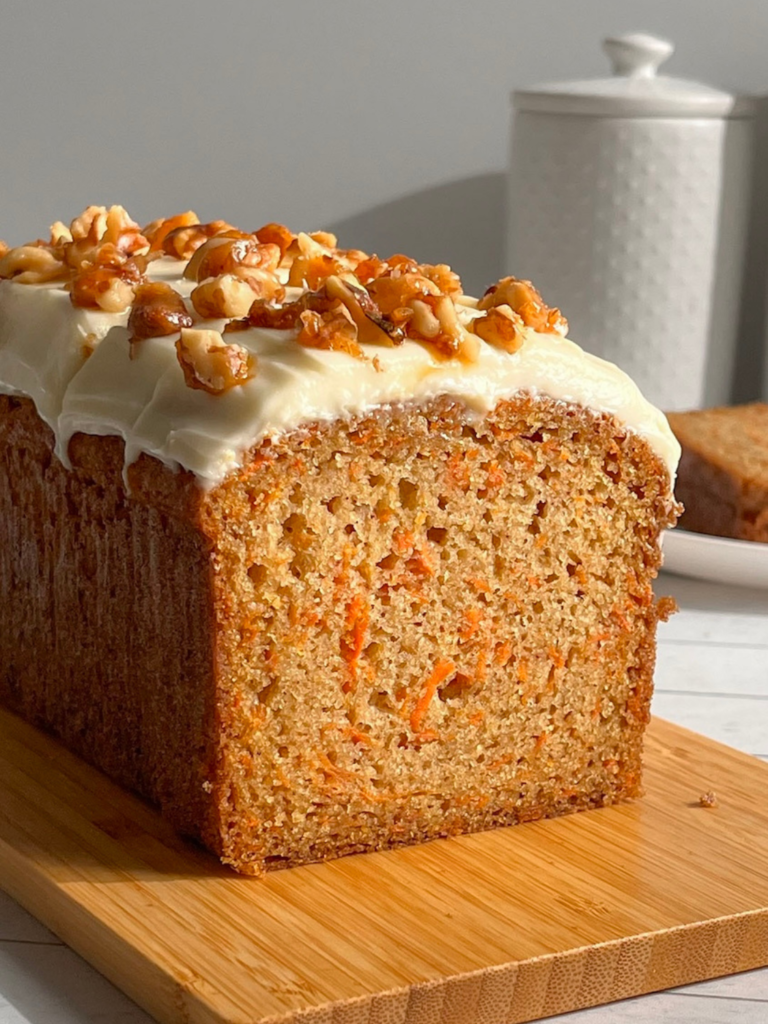
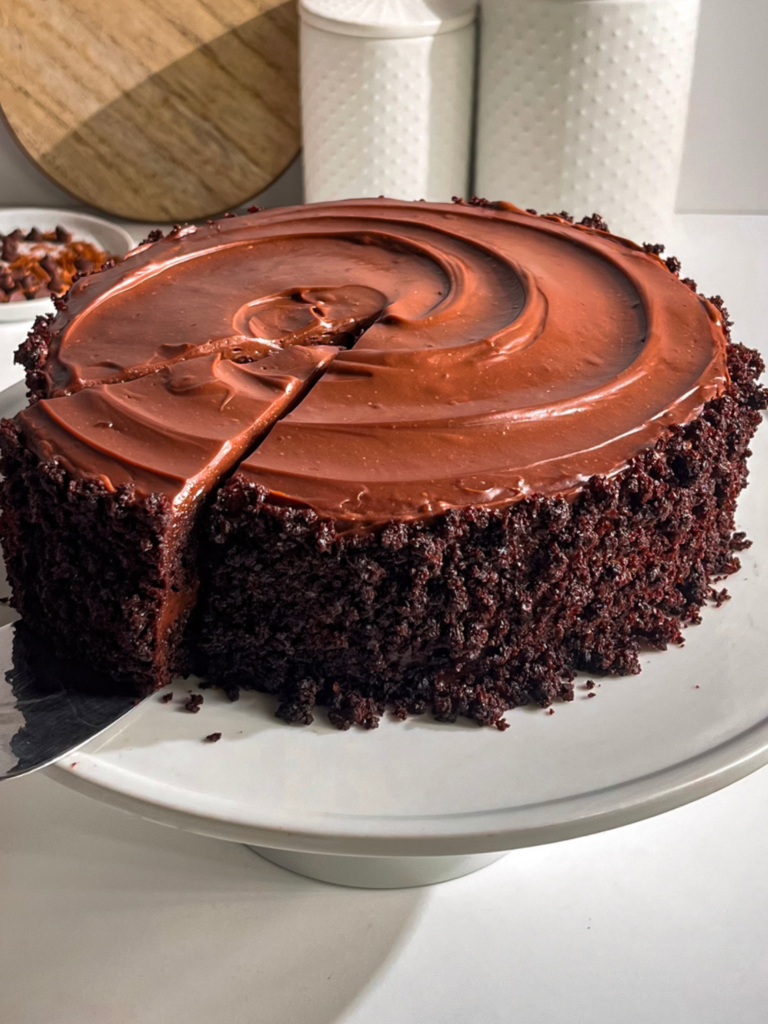
Once you fall in love with this recipe, here are more eggless desserts you may enjoy next:
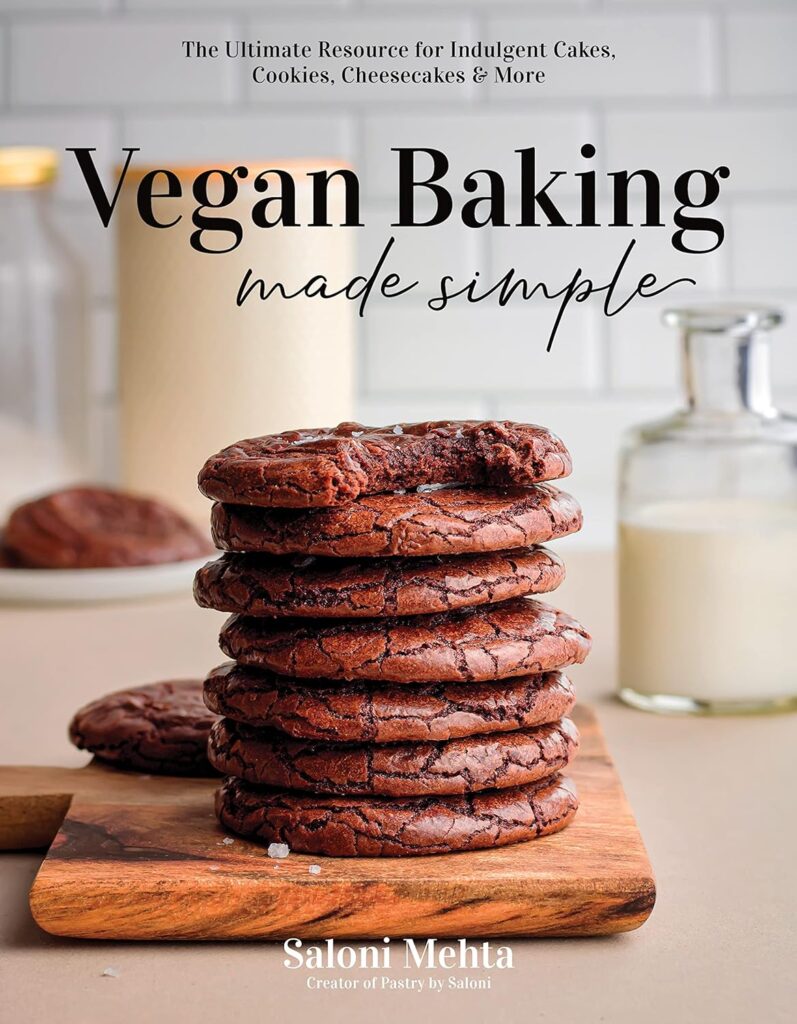
And if you’re looking for even more dependable, beginner-friendly eggless and vegan recipes, explore my cookbook Vegan Baking Made Simple. It’s filled with easy cakes and desserts designed to bring confidence and joy into your kitchen all year long.
Meet Saloni
I’m a former pastry chef with a love for breads, cakes and everything in between! My recipes are easy to follow, egg free and are designed to be shared with others!
Eggless Red Velvet Cake with Whipped Cream Cheese Frosting
This eggless red velvet cake with whipped cream cheese frosting is light, tender, and can be made dairy-free. Perfect for valentine’s day, birthdays, anniversaries, and holidays
1-2 tspRed Food Color Gel or Powder adjust the qty of color as desired
360gAll Purpose Flour
22gCocoa Powder
7gCorn Starch
1tspBaking Soda
1/4tspSalt
1tspVanilla Extract
Whipped Cream Cheese Frosting
550gCream Cheese*cold; see notes for options
180gPowdered Sugar*or icing sugar; sifted
480mlWhipping Creamcold;see notes for options
2 tspVanilla Extract
Instructions
How to Make Red Velvet Cake
Preheat your oven to 350°F (180°C). Grease two 8-inch cake pans and line the bottoms with parchment paper to prevent sticking.
In a large bowl, whisk together milk, yogurt, and vinegar. Let it sit for a few minutes until it curdles slightly this helps the cake rise and stay tender.
Mix sugar, vegetable oil, and vanilla extract into the curdled milk mixture until the sugar mostly dissolves. Stir in the red food coloring, adjusting the amount to get your desired shade.
In a separate bowl, whisk together flour, cocoa powder, cornstarch, baking soda, and salt. This ensures even distribution and a smooth, lump-free batter.
Gently fold the dry ingredients into the wet ingredients until just combined. Be careful not to overmix, or the sponge may become dense.
Pour the batter evenly into the prepared pans. Tap the pans gently on the counter to remove air bubbles. Bake for 30–40 minutes, or until a toothpick inserted in the center comes out clean and the cakes feel set to the touch.
Let the cakes cool in the pans for 30 minutes, then carefully invert them onto a wire rack to cool completely. If you plan to assemble the cake the next day, wrap the cooled cakes tightly in plastic wrap to keep them moist.
Trim a thin layer from the tops of the cakes to make them flat. Using a serrated knife, slice each cake horizontally to create two even layers per cake, giving you four layers in total. Reserve the trimmings for decoration if desired.
How to Make Whipped Cream Cheese Frosting
Soften the cream cheese. Place cold cream cheese in a large mixing bowl. Using a stand mixer with the paddle attachment or a handheld electric mixer, beat it briefly until it’s just softened and smooth, making sure there are no lumps.
Sift the powdered sugar and add it in two batches. Beat on medium speed for 4–5 minutes until the mixture is light, smooth, and lump-free.
Add the cold whipping cream in two portions along with vanilla extract. Continue mixing until the frosting is smooth, fluffy, and holds medium peaks. Be careful not to overwhip, or it may become too stiff.
How to Assemble Eggless Red Velvet Cake
Level all cake layers if needed so they stack evenly. Reserve any cake trimmings in an airtight container for decoration. Process the cake trimmings in a food processor to fine crumbs.
Place a small amount of frosting in the center of a cake stand or serving plate to act as glue. Place the first cake layer on top and press gently to secure.
Spread a generous layer of whipped cream cheese frosting evenly over the cake using an offset spatula.
Place the second cake layer on top, align it carefully, and repeat frosting. Continue layering until all four cake layers are stacked.
Apply a thin crumb coat over the entire cake, then frost fully, smoothing the sides with a bench scraper if desired.
Decorate with piped frosting and reserved cake crumbs. Chill the cake until the frosting is set. For a highly decorative cake you need to make more frosting.
Before serving, let the cake sit at room temperature for 10–15 minutes to enhance flavor and texture. Store the cake under a cake cloche or in an airtight container to keep it moist for several days.
Notes
Milk: For dairy-free versions, use unsweetened soy milk or almond milk. Soy milk works especially well because it curdles similarly to dairy milk when combined with vinegar or lemon juice, helping create a soft, tender cake crumb.
Yogurt: Choose a thick, unsweetened dairy-free yogurt for the sponge. Good options include Silk Soy Yogurt, Forager Plain Cashew Yogurt, or Kite Hill Plain Almond Yogurt. Avoid flavored or sweetened varieties, as they can alter the cake’s taste and texture.
Cream Cheese: For a dairy-free frosting, use plain plant-based cream cheese. Violife Creamy Original, Kite Hill Plain, or Miyoko’s Classic Cream Cheese are reliable choices. Keep the cream cheese cold before whipping to achieve a stable, smooth, and creamy frosting.
Whipping Cream: You can use a plant-based cold whipping cream specifically designed for whipping. Options like Country Crock Plant Cream, Silk Heavy Whipping Cream, Califia Farms Heavy Whip, or Nature’s Charm Whipping Cream whip well when thoroughly chilled, creating a light, fluffy frosting.
Food Coloring: For the best red velvet color, use gel or powder food coloring, which won’t affect the batter’s consistency. Brands like AmeriColor and Chefmaster offer vegan-friendly options always check the label to confirm.
Hello
Thanks for the observation. You may have missed what differentiates the two cakes. Both use a classic red velvet sponge, but the key difference is the frosting one is butter-based for a longer shelf life, while the other uses a lighter whipped-cream-based frosting for a softer, less rich finish.


5 Responses
if I have sweetened whipped cream ..i assume I can drop the powdered sugar.. correct?
Hi Neeti,
Yes that is correct.
Very good.thank you.I love eggless recipes
Recipe of Eggless and Red Velvet are the same
Hello
Thanks for the observation. You may have missed what differentiates the two cakes. Both use a classic red velvet sponge, but the key difference is the frosting one is butter-based for a longer shelf life, while the other uses a lighter whipped-cream-based frosting for a softer, less rich finish.