share this recipe

Perfect Vanilla Birthday Cake (Eggless and Dairy-free Option)

prep time: 30 min | bake time: 30 min | total time: 1 hr

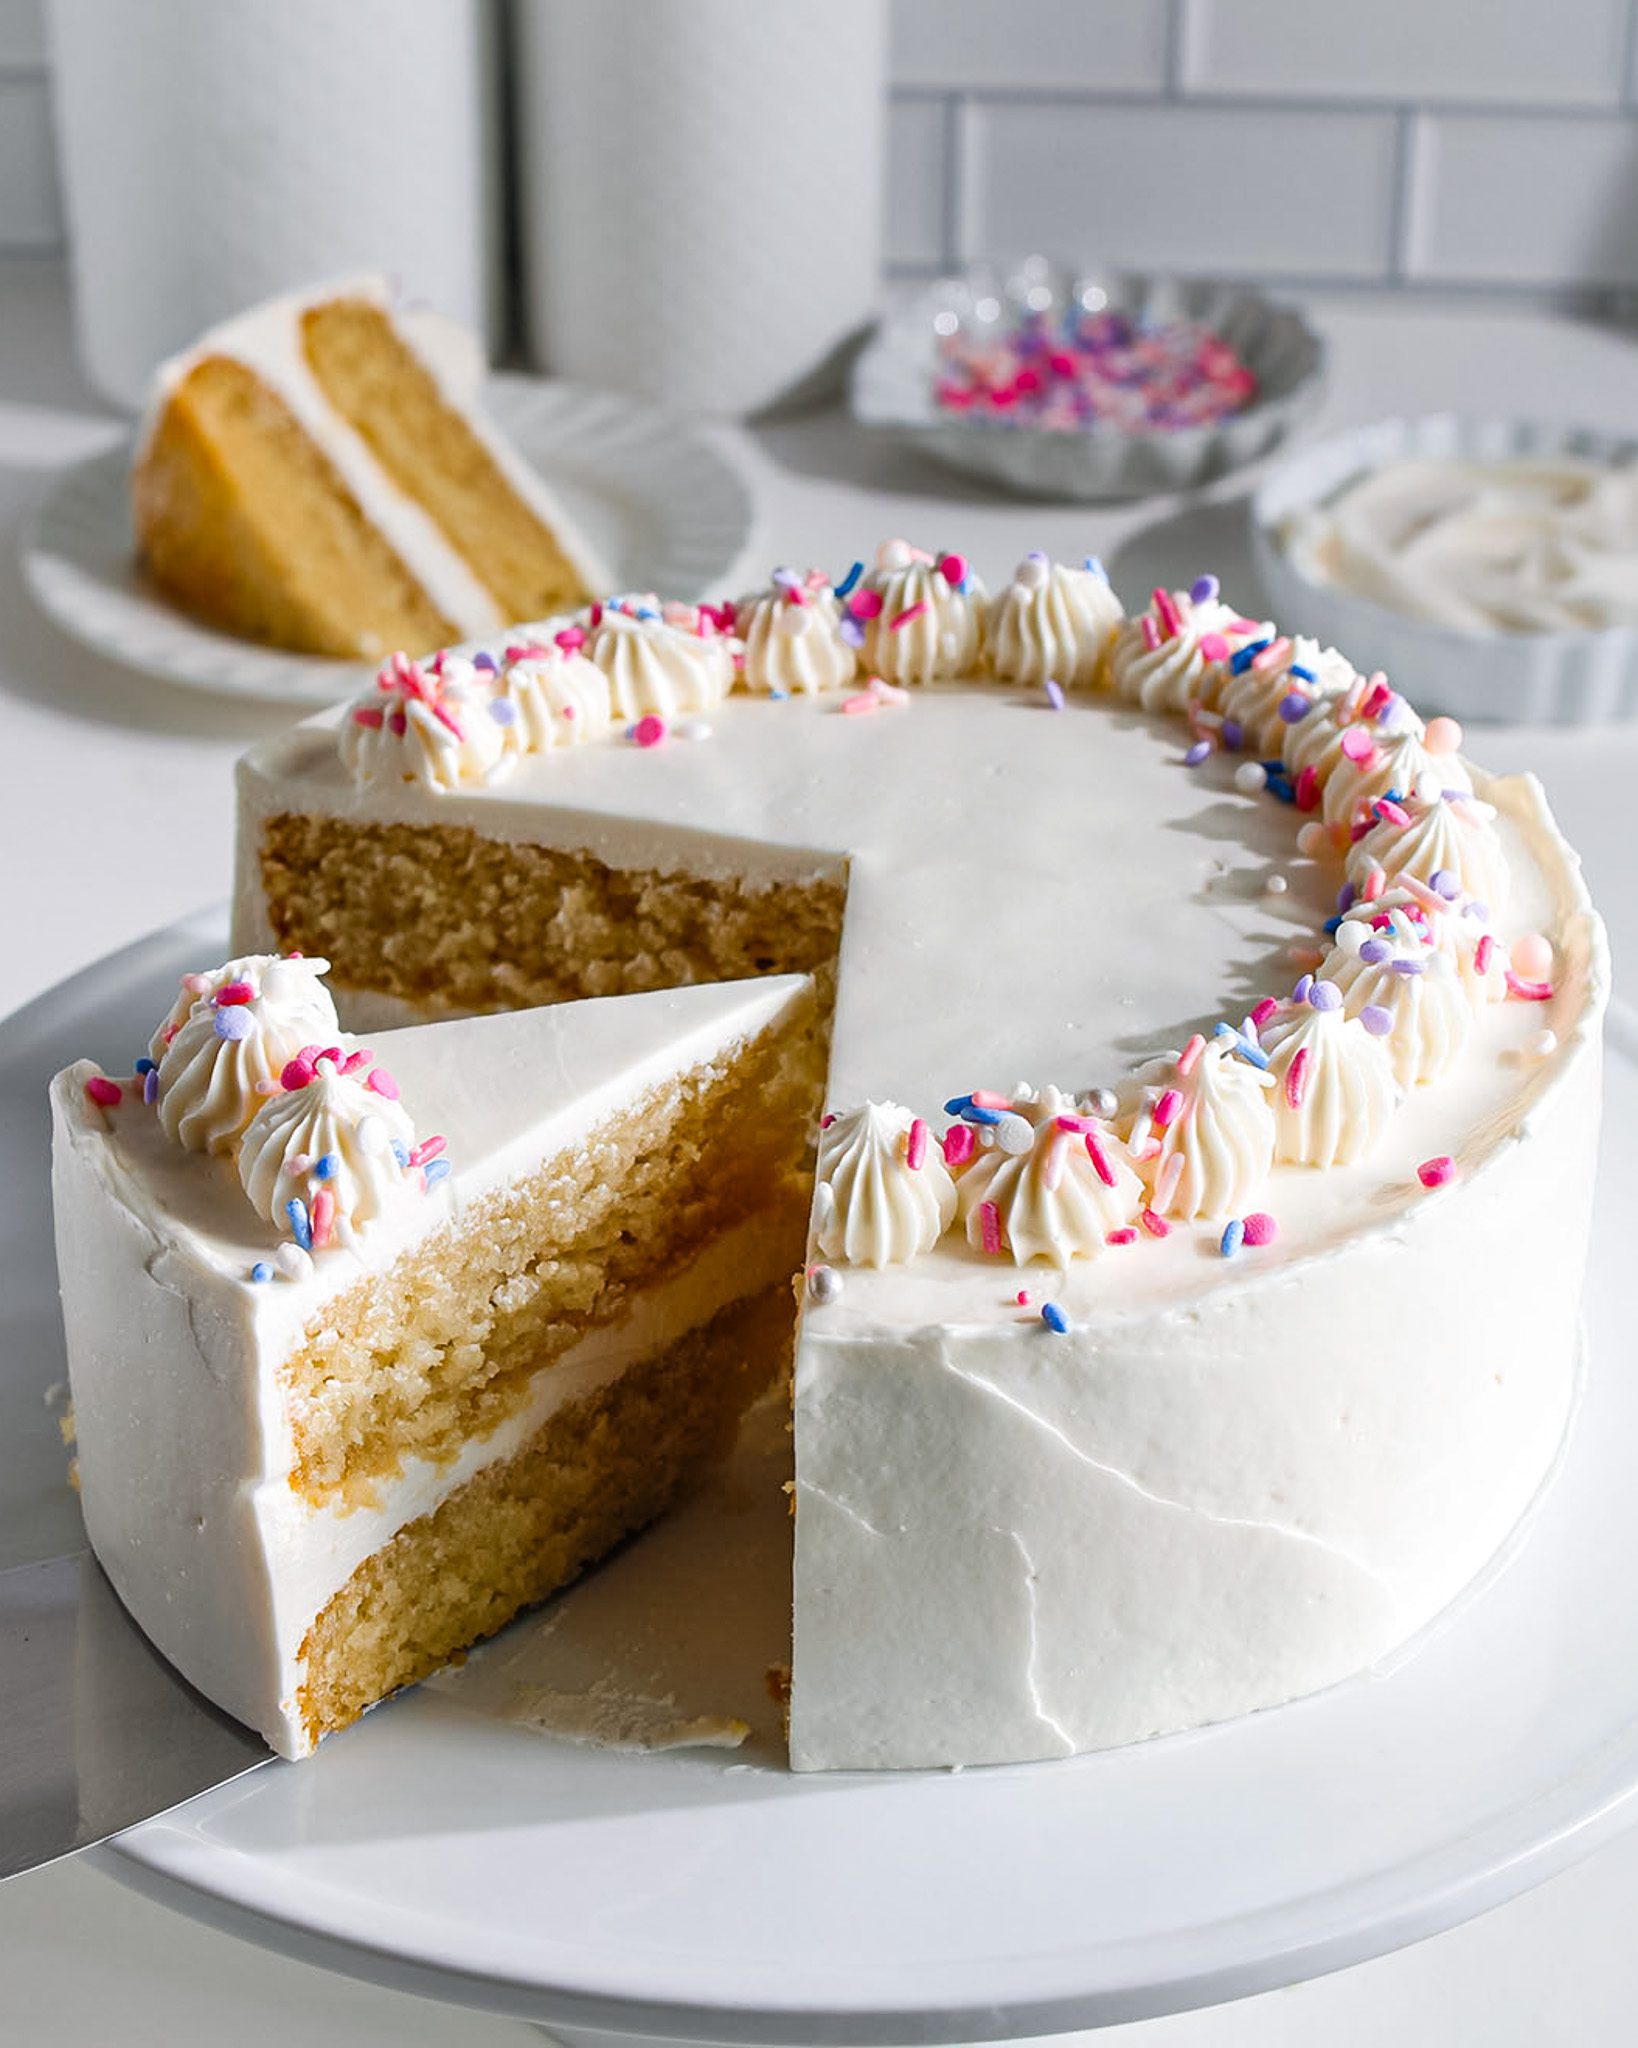
This Perfect Vanilla Birthday Cake is soft, fluffy, and full of buttery vanilla flavor the kind of classic cake that belongs at every celebration. It’s completely eggless without compromising on the light texture and moist, tender crumb. And I’ll admit, I was never really a sprinkles person until this cake came along!

Why This Eggless Recipe Is the Perfect Vanilla Birthday Cake

This recipe was updated on August 15, 2026.

I wanted to create a classic vanilla birthday cake that felt like the kind of cake you look forward to all year. Soft, fluffy layers, plenty of creamy frosting, and of course, sprinkles. Simple in flavor, but still special enough to sit at the center of a birthday table.

Because honestly, a good vanilla cake is harder to get right than it sounds. I wanted this one to be light and moist without being too delicate, with a proper vanilla flavor and a soft crumb that stays good for days. This cake is eggless and it can be made dairy-free.

This recipe became exactly that for me a dependable, celebratory vanilla cake you can make for birthdays, special occasions, or simply because you want cake.

how to make a soft and fluffy eggless vanilla birthday cake

Tools You’ll Need to Make the Perfect Vanilla Birthday Cake

Two Ways to Decorate This Vanilla Birthday Cake

You can decorate this cake in two simple ways, depending on the look you prefer.

Piped Frosting: For a more classic birthday cake look, use the remaining buttercream to pipe swirls or rosettes around the top of the cake. Finish with sprinkles for a fun, celebratory touch.

Spoon-Swirled Frosting: For an easier, more relaxed finish, spread the buttercream over the cake and use the back of a spoon to create soft swirls and texture. Add sprinkles on top and you’re done!

Eggless vanilla birthday cake with sprinkles

Ingredients for the Vanilla Birthday Cake

  • Milk: Adds moisture and creates a soft, tender crumb. Dairy-free option: Unsweetened oat, soy, or almond milk.
  • White Vinegar or Lemon Juice: Reacts with the baking soda to help the cake rise and stay light and fluffy.
  • Cane Sugar or Caster Sugar: Sweetens the cake while helping create a soft, fine crumb.
  • Oil: Keeps the cake moist, soft, and tender for longer. Use a neutral-flavored oil.
  • Vanilla Extract: Adds the classic vanilla flavor—use a good-quality vanilla extract for the best results.
  • Cornstarch: Helps create a lighter, softer, more tender crumb.
  • All-Purpose Flour: Provides structure while keeping the cake soft.
  • Baking Soda: Reacts with the vinegar or lemon juice to help the cake rise.
  • Baking Powder: Helps the cake rise evenly and creates a fluffy texture.
  • Salt: Balances the sweetness and enhances the vanilla flavor.

Ingredients for the Vanilla Buttercream Frosting

  • Cane Sugar or Caster Sugar: Sweetens the buttercream and creates a smooth, stable base when cooked with water.
  • Water: Helps dissolve the sugar and create the syrup for the buttercream.
  • Butter: Adds richness, structure, and a smooth, creamy texture. Dairy-free option: Country Crock Plant Butter, Miyoko’s Plant Milk Butter, or Earth Balance.
  • Vanilla Extract: Adds classic vanilla flavor and enhances the overall taste of the frosting.
  • Whipping Cream: Makes the buttercream lighter and creamier. Dairy-free option: Silk Dairy-Free Heavy Whipping Cream Alternative or Country Crock Plant Cream.
  • Salt: Balances the sweetness and enhances the vanilla flavor.
  • Funfetti or Sprinkles: Adds color, texture, and a fun birthday-cake finish.
Homemade vanilla birthday cake ready to serve
slice of Vanilla layer cake with colorful sprinkles

How to make the Vanilla Cake Layers

Preheat the oven to 350°F (175°C). Lightly grease the cake pans with oil and line the bottoms with baking paper. In a bowl, combine the milk and vinegar. Let it sit for a few minutes until it curdles slightly. Whisk in the sugar, oil, and vanilla extract until smooth and the sugar is mostly dissolved.

In a separate bowl, whisk together the cornstarch, baking soda, baking powder, flour, and salt. Sift the dry ingredients into the wet mixture and whisk until you have a thick, smooth, lump-free batter.

Divide the batter evenly between the prepared pans and bake for 20–22 minutes, or until the tops spring back when lightly pressed. Transfer them to a wire rack to cool completely before frosting.

Whisking wet ingredients for vanilla cake batter
Sifting dry ingredients for vanilla birthday cake
Dividing vanilla cake batter between cake pans
Freshly baked vanilla cake layers cooling
Adding buttercream between vanilla cake layers
Applying crumb coat to vanilla layer cake
Frosting vanilla birthday cake with funfetti buttercream
decorating eggless vanilla birthday cake with colorful sprinkles
Slice of vanilla cake with buttercream frosting

How to Make the Vanilla Buttercream Frosting

Start by making the sugar syrup. Heat the sugar and water in a small saucepan over low heat, stirring occasionally until the sugar dissolves. Remove from the heat and let it cool to room temperature.

Meanwhile, beat the butter with an electric or using a paddle attachment of a stand mixer for 3 minutes until smooth and creamy. Slowly add the cooled sugar syrup in 2-3 additions, mixing well after each addition. Add the vanilla, whipping cream, and salt, then beat until smooth and creamy for 5 – 10 minutes.

Cooking sugar and water for vanilla buttercream
Sugar syrup for eggless vanilla buttercream
Vanilla Buttercream frosting
Adding sugar syrup to whipped butter
Smooth vegan and eggless vanilla buttercream frosting
Adding buttercream between vanilla cake layers
Stacking vanilla birthday cake layers
Frosting vanilla birthday cake with funfetti buttercream

The Perfect Vanilla Birthday Cake Assembly

Place the first cake layer on a cake stand or serving plate, making sure it is centered. Add 4-5 scoops of frosting on top and spread it into an even layer.

Using a spoon or offset spatula, create a small well in the center of the frosting to help the next cake layer sit level. Place the second cake layer on top.

Apply a thin crumb coat over the entire cake to trap any loose crumbs, then refrigerate for about 30 minutes to set.

Once chilled, frost the cake with the remaining buttercream, smoothing the sides and top with an offset spatula or cake scraper. Finish with your favorite sprinkles. For the best texture and flavor, let the cake sit at room temperature before slicing and serving.

Slice of vanilla birthday cake with buttercream frosting

Perfect Vanilla Birthday Cake FAQs

Watch this Video for Making Vanilla Custard Cake

Did You Make My Recipe for the Perfect Vanilla Birthday Cake?

I’m beyond excited to see your eggless vanilla birthday cakes come to life! Whether it’s for a milestone celebration or a just-because treat, this cake is sure to be the star of the show. Snap a pic, tag me @pastrybysaloni, and let’s make your bake the center of all the sweet celebrations!

If you’re loving this cake, you’re in for more delights! My collection of eggless and dairy-free bakes is packed with show-stopping treats, from light and airy cakes to rich, indulgent desserts. Every bite is a celebration because you deserve a slice of joy, no eggs required!

Here are three must-try recipes next:

And if you’re looking to master the art of eggless baking, grab a copy of my cookbook Vegan Baking Made Simple—your guide to making classic desserts with a plant-based twist. Available now on Amazon HERE!

Saloni Mehta Pastry Chef and Food Blogger

Meet Saloni

I’m a former pastry chef with a love for breads, cakes and everything in between! My recipes are easy to follow, egg free and are designed to be shared with others!

popular recipes

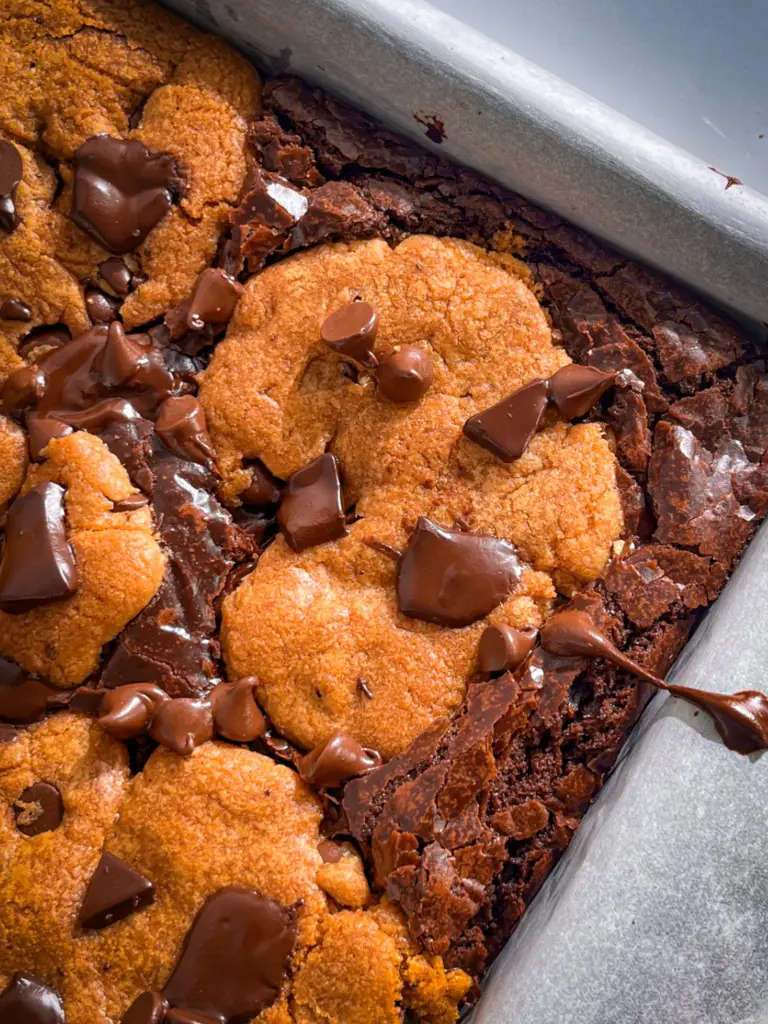
How to make moist brookies without eggs
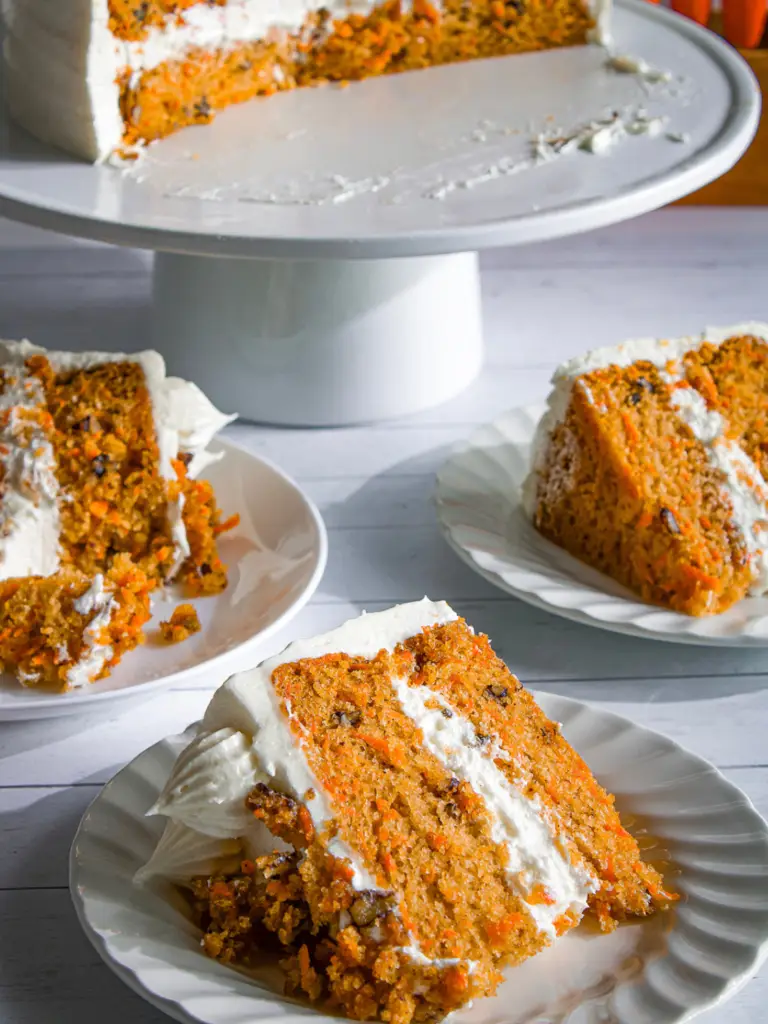
Eggless Carrot Cake with cream cheese frosting and can be made vegan dairy-free.

Get new recipes first!

Check out my Cookbook

Get tips from a pro!

how to make vanilla cake without eggs
5 from 11 votes

Perfect Vanilla Birthday Cake

This perfect vanilla birthday cake is everything you want in a celebration dessert soft, fluffy, and totally irresistible. And the best part? It’s a eggless vanilla cake that doesn’t compromise on texture or flavor. With its light crumb, buttery vanilla flavor, and just the right amount of moisture, this easy birthday cake recipe is a crowd-pleaser you’ll come back to again and again. You can make it Dairy-free.
This recipe was updated on 15 August, 2026
Author: Saloni Mehta
Rate
Yield: 10 servings
Prep: 30 minutes
Bake Time: 30 minutes
Total: 1 hour 30 minutes

Equipment

Ingredients

Ingredients for the Vanilla Cake

  • 360 ml Milk at room temperature, see notes for options
  • 1+1/2 tbsp White Vinegar or lemon juice
  • 265 g Cane Sugar or castor sugar
  • 120 ml Oil vegetable or sunflower
  • 2 tsp Vanilla Extract
  • 2 tbsp Corn Starch
  • 270 g All Purpose Flour
  • 3/4 tsp Baking Soda
  • 2 tsp Baking Powder
  • 1/4 tsp Salt

Ingredients for the Vanilla Buttercream Frosting

  • 110 g Cane Sugar or castor sugar
  • 80 ml Water
  • 330 g Butter unsalted butter at room temp; see notes for options
  • 2 tsp Vanilla Extract
  • 20 ml Whipping Cream see notes for options
  • Pinch of Salt
  • 1/4 cup Funfetti or Sprinkles of your choice

Instructions

How to Make the Perfect Vanilla Birthday Cake

  • Set your oven to 350°F (175°C). While it’s heating, grease two 8-inch (20 cm) round or three 6-inch (15cm) round cake pans with oil. Line the bottoms of each pan with parchment paper to prevent sticking.
  • In a medium bowl, pour in the room temperature milk and add the vinegar. Stir gently, then let it sit for 5 minutes. The mixture will curdle slightly, this is your homemade buttermilk.
  • To the curdled milk, add the sugar, oil, and vanilla extract. Whisk everything together by hand until the sugar is mostly dissolved and the mixture looks smooth and slightly glossy.
  • In a separate large bowl, add the flour, cornstarch, baking soda, baking powder, and salt. Mix well, then sift the dry ingredients directly into the wet mixture. This helps prevent lumps and ensures an even batter.
  • Gently whisk the wet and dry ingredients together until you get a smooth, lump-free batter. Avoid over-mixing, stop as soon as everything is combined.
  • Divide the batter evenly between the two prepared cake pans. Use a spatula to spread the batter evenly and smooth the tops.
  • Place the pans in the center of the oven and bake for 20-22 minutes. The cakes are done when the tops spring back when lightly pressed or a toothpick inserted into the center comes out clean.
  • Remove the pans from the oven and place them on a wire rack. Let the cakes cool in the pans for about 30 minutes, then carefully run a knife around the edges and turn them out onto the rack to cool completely.

How to Make the Vanilla Buttercream Frosting

    You may need to make extra frosting depending on how you plan to decorate the cake, especially if you want to add piped swirls, rosettes, or a thicker layer of buttercream.
  • In a small saucepan, combine the sugar and water. Place over low heat and stir occasionally until the sugar is fully dissolved. Do not let it boil. Once dissolved, remove the pan from the heat and set the syrup aside to cool completely.
  • In a large mixing bowl, add the butter. Using an electric mixer (or stand mixer with the paddle attachment), beat the butter on medium speed for 3-5 minutes, until it becomes pale, light, and creamy in texture.
  • Once the sugar syrup has cooled, slowly pour it into the whipped butter in 2–3 additions. Mix well after each addition about 1 minute until fully incorporated. The mixture should look smooth and glossy.
  • Add the vanilla extract, whipping cream, and a pinch of salt. Beat the mixture again until everything is well combined and smooth for 5- 10 minutes on low-medium speed.
  • If there are any air bubbles, use a spatula to gently stir the frosting by hand. This will help create a smooth, spreadable finish perfect for decorating your cake.

How to Assemble the Perfect Vanilla Birthday Cake

  • Place one cake layer on a cake stand or serving plate. Make sure it’s centered.
  • Scoop about 5–6 tablespoons of frosting onto the top of the first layer. Use an offset spatula or the back of a spoon to spread it evenly. Create a slight well in the center to help hold the next layer in place and prevent frosting from spilling out the sides.
  • Carefully place the second cake layer on top, aligning it with the bottom layer. Press down gently to secure.
  • Spread a thin layer of frosting over the entire cake. This is the crumb coat—it traps any loose crumbs and creates a smooth base for the final layer of frosting.
  • Place the cake in the refrigerator for about 30 minutes to let the crumb coat firm up. This will make final frosting easier and cleaner.
  • Once the cake is chilled, spread the remaining frosting evenly over the top and sides. Use a spatula or cake scraper to smooth the surface to your desired finish.
  • Top the cake with sprinkles or decorations of your choice.
  • Let the cake come to room temperature before serving for the best flavor and texture.

Notes

  • Measuring by Weight vs Cups: U.S. cup measurements are fine for casual baking, but they can vary depending on how ingredients are packed. For the best results especially in baking use a digital kitchen scale and measure in grams.
  • Spoons Matter: When a recipe calls for teaspoons (tsp) or tablespoons (tbsp), use proper measuring spoons not everyday eating utensils.
  • Milk: Use whole milk or any unsweetened plant-based milk, such as almond, soy, or oat, for a dairy-free option.
  • Lemon Juice / Vinegar: These are interchangeable in this recipe. Use lemon juice, apple cider vinegar, or white vinegar—whichever you have on hand.
  • Sugar: Cane sugar, granulated sugar, or caster sugar all work well. If baking vegan, check that your sugar is vegan-friendly.
  • Butter: Use unsalted dairy butter or vegan butter. For a dairy-free option, I recommend Country Crock Plant Butter, Miyoko's Plant Milk Butter, or Earth Balance Buttery Sticks.
  • Whipping Cream: Use full-fat dairy whipping cream, or for a dairy-free option, try Silk Dairy-Free Heavy Whipping Cream Alternative or Country Crock Plant Cream.
  • Sprinkles: Use your favorite funfetti or sprinkles. If making the cake fully vegan, check the label to ensure they don't contain dairy or other animal-derived ingredients.

Did you try this recipe? Leave a review!

53 Responses

  1. Hi, i just want to ask can i use ready made buttermilk instead of the milk and vinegar as substitute. If so what should be the quantity of buttermilk?
    Thank you in advance. Looking fwd to try this recipe soon x

  2. Okay I am making an extremely pink cake. The frosting will be a pale peony color and the inside will be electric pink color. It’s a two layered 11 x 15 cake. And it’s for a graduation party. Any tips and suggestions? Because I also have to travel from Virginia to Maryland with this cake.

    1. Hi Katie,
      You can definitely tint the cake layers electric pink with gel food coloring. For the frosting, I haven’t tested this frosting for long-distance travel, and it is more delicate, so I can’t guarantee how well it will hold.

      For extra stability, I would suggest using a sturdy American buttercream for the outer frosting and decorations. You can use my buttercream for the filling and crumb coat if you prefer. It is smoother, taste delicious and without gritty texture. I’d also make sure the cake is well chilled before traveling and transport it in a cool car if possible.

    1. Hi!
      You can use any good-quality pure vanilla extract available to you. I recommend checking the ingredients and choosing one with real vanilla rather than artificial essence

    1. Hi Katie
      Yes, the cake itself is sturdy enough for layering and stacking, making it a great option for wedding or celebration cakes. For easier assembly, I recommend making the cake layers ahead of time, wrapping each layer individually in plastic wrap, and refrigerating or freezing them before stacking.
      The only thing I’d recommend changing is the buttercream the frosting in this recipe isn’t designed for tall stacked cakes.

  3. How tall will the 8 inch layers be – as @ ingredient weight of 580 g, that is normally expect of a single layer ± 3 cm tall.
    Does it mean if I want a regular height cake then I must either do 3 or 4 thin layers ?

    1. Hi Andre

      The cake as written isn’t very tall — each 8-inch layer will be about 1.5inches(4cm)high.
      If you’d like a taller cake, I suggest making 1½ times the recipe, and increasing the frosting as well (you may even want to double it for a taller cake).
      Also, my cake recipes are usually a bit lighter on frosting, so if you prefer a more generously frosted finish, definitely scale that up. Happy Baking!

  4. The cake recipe is very nice everyone loved the same.I have few questions
    1.How to convert the cake to butter scotch flavor
    2.If I make butter scotch flavor do I need to add butter scotch essence in sponge.
    3.do I need to frost with butter cream or non diary cream
    it would be a great help if you could share any video for butterscotch cake

    1. Hi
      Thank you so much, I’m glad everyone loved the cake!

      Here are the answers to your questions:
      -To convert this cake to butterscotch flavor, keep the same sponge base and add butterscotch elements like butterscotch sauce and praline for flavor.
      -You don’t need to add butterscotch essence to the sponge if you’re using a good-quality butterscotch sauce and praline. Essence is optional and should be used very lightly if you prefer.
      -You can frost the cake with either buttercream or non-dairy whipping cream—choose based on your preference and shelf-life needs.

      I don’t have a dedicated butterscotch cake video at the moment, but you can use this base recipe and finish it with butterscotch frosting and filling for great results.

  5. 5 stars
    Saloni ma’am recipes are very easy to make and are so tempting that you can’t wait to start making.

  6. 5 stars
    Hi, thank you for the recipe! ☺️

    I baked this today for my daughter’s birthday this weekend. Unfortunately it did not yield the quantities stated. I did 2x thinking I would get 4 8” layers but I only got 2 😢. It did bake beautifully though and feels very light and moist.

    1. Hi Dan,

      Thanks so much for trying the recipe 😊 I didn’t make the layers very thick, so that might be why the yield was different. Glad it baked up nicely though, hope your daughter had a wonderful birthday!

  7. Hey saloni. From nigeria pls i dont really understand grams can u combine the measurement using cups or mls thank you looking forward to ur response

    1. Hello

      Thank you for your question! On the recipe card, you’ll find a toggle to switch between US cups and gram measurements. For baking purposes, grams and mls are equivalent for all ingredients.

  8. 5 stars
    Hi Saloni,
    I have tried the brownie recipe and it came out very well . Thank you for the wonderful recipes you post. i would like to try this recipe too but can I stack the cakes for a 2 or 3 tier cakes ? And also can I soak the cake with sugar syrup , will it become soggy?

    1. Hi
      I’m so glad you enjoyed the brownie recipe thank you for the kind words! Yes, you can stack this cake for a 2 or 3-tier setup. Soaking with sugar syrup is optional; just use a light hand so it doesn’t get soggy. You can make the layers 1–2 days ahead wrap them well in plastic and freeze. It actually helps with easier stacking.

  9. 5 stars
    Hello

    I’ve tried your recipes and they are amazing.
    I wanted to ask what if I just want to bake just the cake without any frosting?
    Do I need to add sugar and will I be able to bake in a single 8 inch cake pan ?

    1. Hi Yamini,

      Thank you so much—I’m really glad you’re enjoying the recipes!😊

      Yes, you can definitely bake the cake without any frosting.Just be sure to still include the sugar in the batter—it helps balance the flavor even without the frosting. If you’re baking just a single layer in an 8-inch pan, you can cut the recipe in half. That should give you the perfect amount of batter for one layer without overflowing.Just keep an eye on the baking time, it may be slightly shorter, so do a toothpick test around the 20–25 minute mark.

    2. how do I adjust the ingredients if I want to put eggs in the cake? and how to adjust the ingredients for a thicker 2-layer 9- inch cake?

  10. 5 stars
    Hello!
    I absolutely love using your chocolate custard cake recipe! It’s an absolute gem of a cake which I’ve baked for my family a few times now and is easily becoming a most requested recipe.

    With this vanilla cake, will the recipe still work if I was to add Oreos to it for a cookies and cream twist? (I wonder if they would just sink to the bottom) Would I also then have to leave out some of the sugar to avoid making it overly sweet?

    Thank you so much for your help! 🙏🏾
    D.

    1. Hi Devi,

      So glad you love the chocolate custard cake—thank you! 😊

      Yes, you can definitely add Oreos chunks to the vanilla cake for a cookies and cream version. Just chop them up and press the chunks into the batter after you divide it into the cake pans. The cake isn’t too sweet on its own, so you likely won’t need to adjust the sugar but you can slightly reduce in the frosting it if you prefer.

      Can’t wait to hear how it turns out!

      – Saloni M.

  11. 5 stars
    I made this for my boyfriend who is allergic to eggs and has never had a birthday cake. This was the first thing I have ever baked on my own, and it turned out beautifully! So happy with this recipe!

  12. 5 stars
    made a rainbow cake with this recipe for my mom’s birthday and everybody loved it! it was such a hit! thank you so much for such an easy yet delicious recipe 🙂

    1. That’s so wonderful to hear! I’m so glad the cake was a hit and that your mom had a special birthday! 🎉 Thanks for trying the recipe and for the kind words — you totally made my day!

  13. Hello!

    I would love to make this and want to know if I can subsititue 2/3 cup sugar with 1/3 cup honey? I try not to bake for it granulated sugar and only use refined free sugar as honey in baking. Please let me know if this works if I can use honey how much I would I use? I appreciate all the time and effort and hard work you put into your recipes! They are amazing! Thanks!

    1. Hi Deanyah

      Hi there! Thanks so much for the kind words — I really appreciate it! 😊 I personally use cane sugar in this recipe since it’s a bit less processed than regular white sugar, but I haven’t tried baking it with honey yet. If you do give it a go, I’d love to hear how it turns out! Typically, when substituting honey for sugar, you can use about 1/2 to 2/3 the amount of honey (so around 1/3 to 1/2 cup honey for 2/3 cup sugar), and you might want to reduce the liquid in the recipe slightly and lower the oven temp by 25°F since honey browns faster. Hope that helps, and happy baking!

    1. Hi Saloni, I have tried this recipe twice, but it sank in the middle on both the occasions. kindly let me know what may be the reason.

      1. Hi!

        Thank you for trying the recipe and for your feedback. I’m sorry to hear the cake sank in the middle—there could be a few reasons for this. It often happens if the cake is underbaked, if the oven door was opened too early. Make sure to check your oven temperature with an oven thermometer, and try not to open the door until it’s mostly baked.

5 from 11 votes

Leave a Reply

Your email address will not be published. Required fields are marked *

Recipe Rating


Try these recipes next!

error: Content is protected !!