share this recipe

Red Velvet Cake

prep time: 45 min | bake time: 30 min | total time: 4 hrs

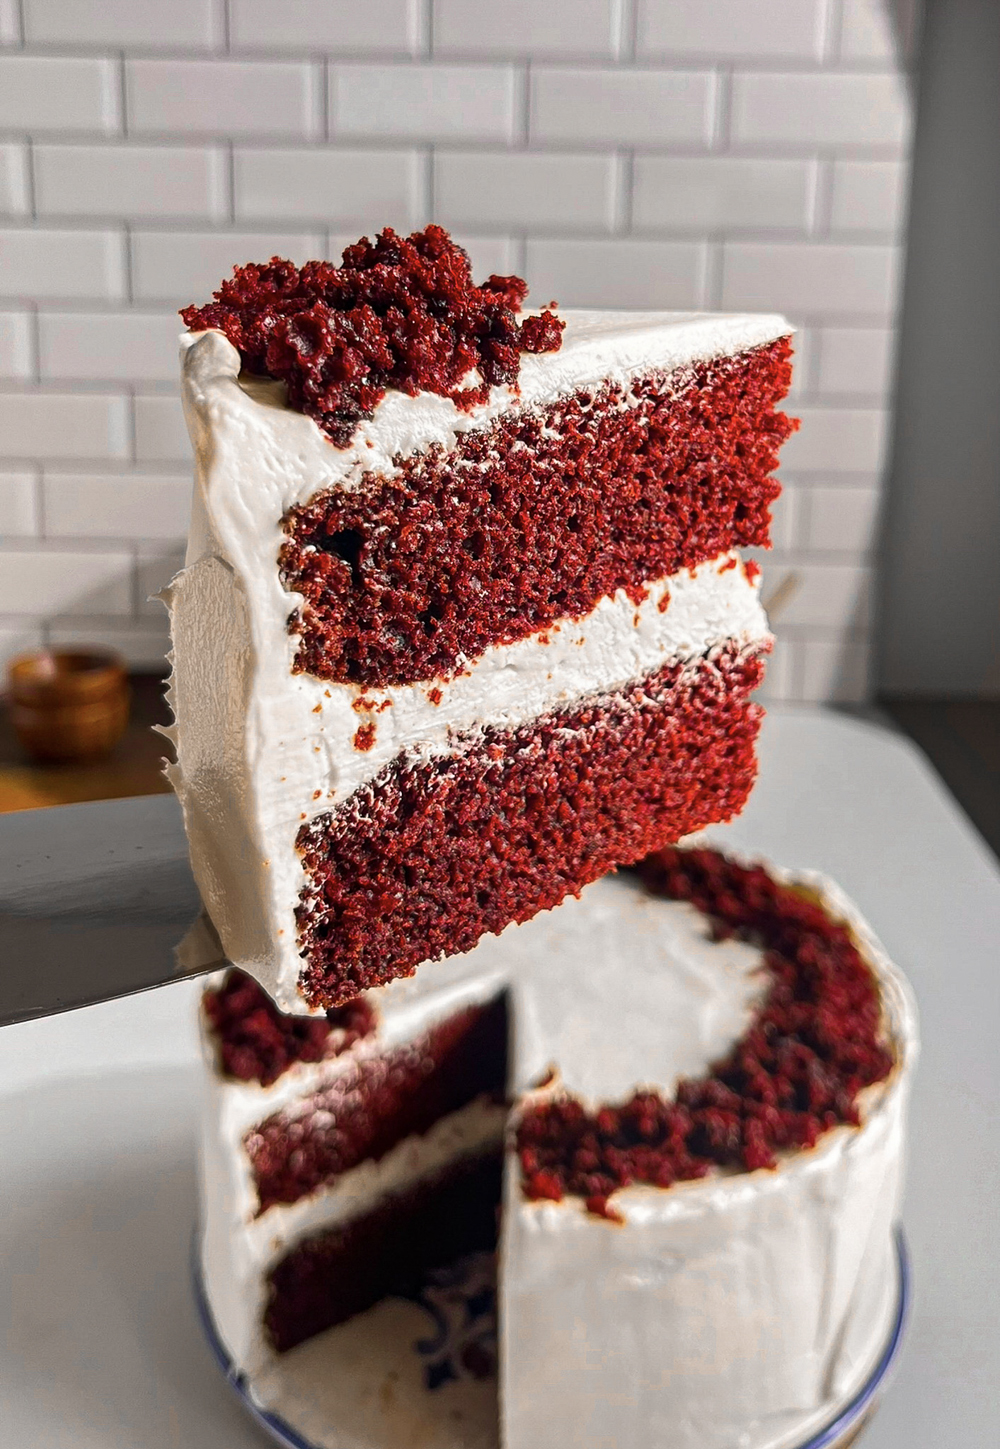
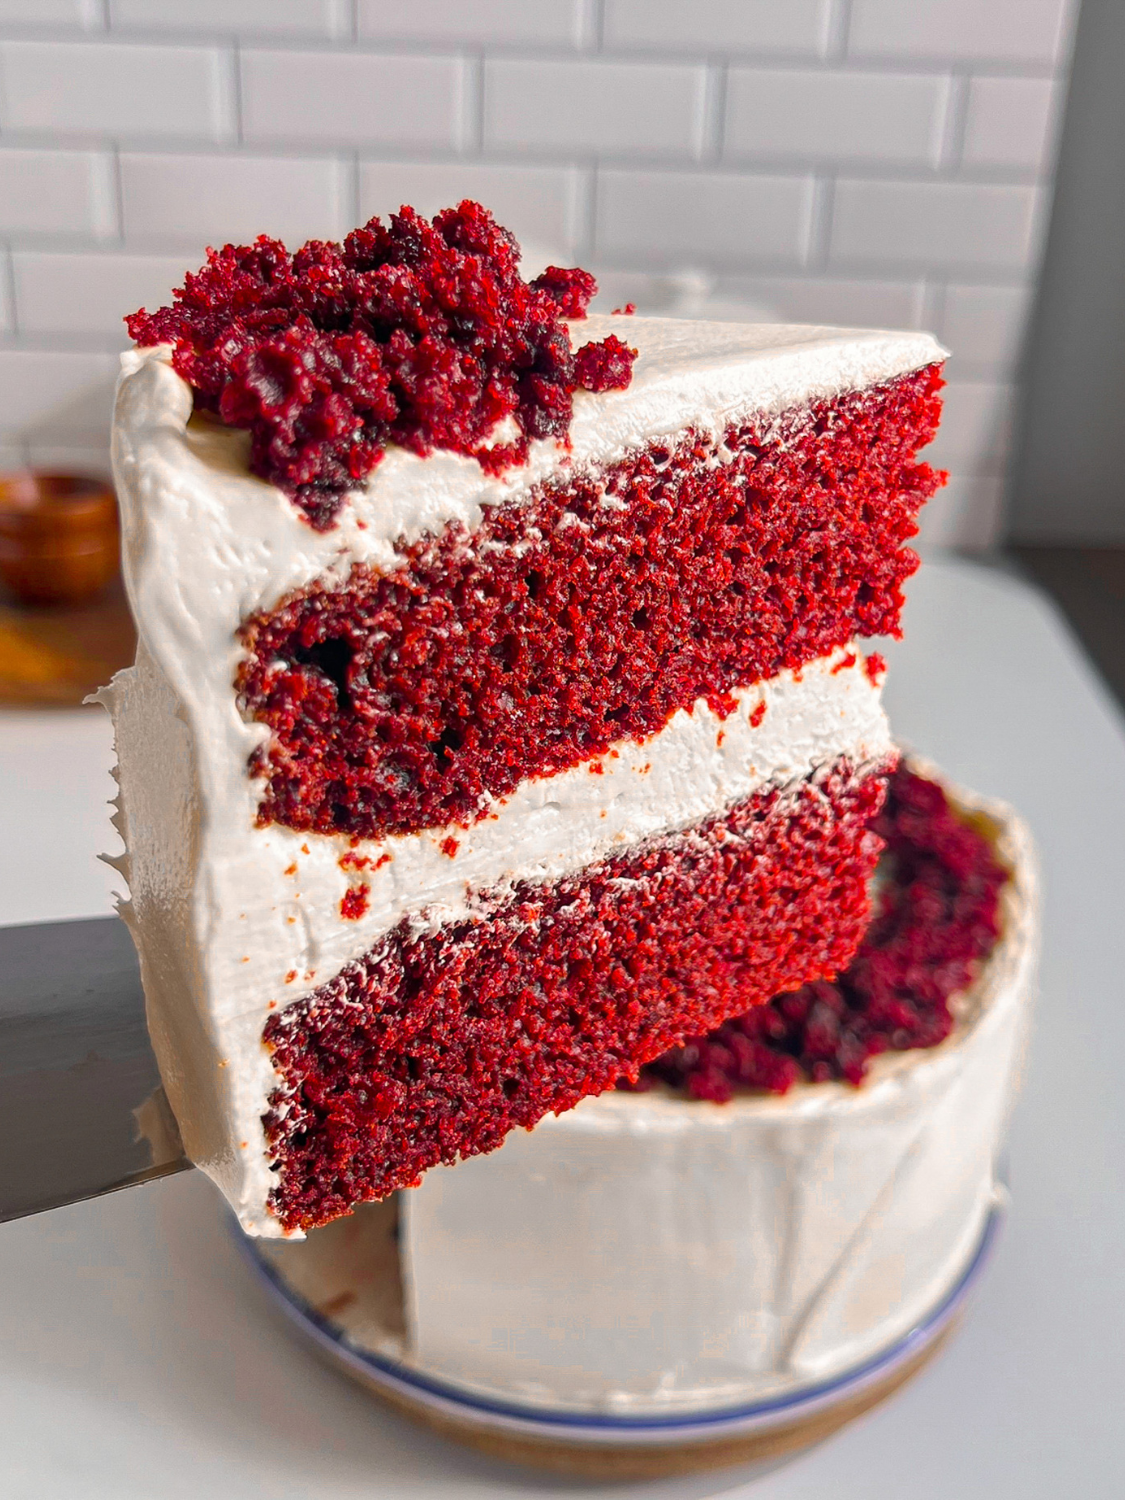
Red Velvet Cake is the ultimate celebration cake for so many reasons! This showstopper will catch the attention of everyone with its striking red color, rich cocoa flavor, and the perfect contrast of tangy cream cheese frosting. This eggless recipe offers a moist and tender crumb, and can easily be adapted to dairy-free, making it suitable for everyone at the party. Whether you’re new to red velvet or it’s a beloved favorite, this recipe is easy to prepare and always impresses.

Homemade Red Velvet Cake with Cream Cheese Frosting

When many people think of celebrating with cake, Red Velvet comes to mind and with good reason! It’s absolutely stunning, and delicious and is typically paired with an irresistible cream cheese frosting. Those store-bought box versions are tasty and all but are also filled with ingredients that are not necessary, this homemade version features wholesome ingredients, two layers of goodness and a batter made without eggs. You can easily make this cake dairy-free with the swap of a few ingredients without compromising on moisture, taste or decadence.

Growing up, red velvet cake wasn’t exactly on my radar, but after moving to the United States, I quickly realized the excitement surrounding it. The bold red color, the decadent cream cheese frosting, and the velvety texture made quite an impression on me. Now, it’s one of my favorite cakes to make for birthdays, holidays, and any special gathering. Trust me, make this cake and you’ll have Betty Crocker knocking on your door asking for the recipe!
What Is Red Velvet Cake?

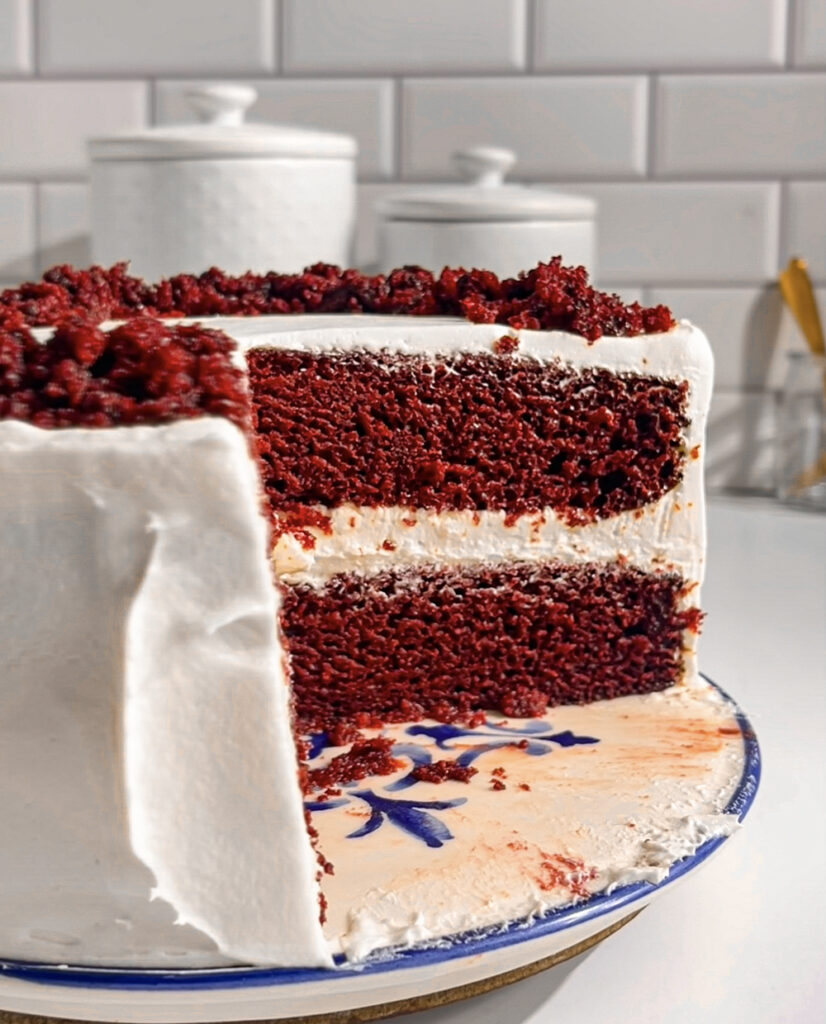
Red velvet cake is a classic American dessert known for its vivid red color and subtle cocoa flavor. While its origins are debated, it’s often linked to the southern United States, where it became a popular dessert choice. It typically features a cream cheese frosting, which adds tanginess to balance the sweetness of the cake.
Why Is Red Velvet Cake SO Popular?

Red velvet cake stands out for its striking red color and velvety texture, which makes it a popular choice for celebrations and special occasions. The cake’s unique combination of mild chocolate flavor and tangy frosting creates an irresistible treat that people love to enjoy during holidays, weddings, and more. I think another reason why it’s so popular is because it’s a little mysterious, is it chocolate, is it vanilla, is it something entirely different? Where does the red color come from? These are all questions I certainly had upon trying it for the first time and I think it contributes to its desirability!
What Does Red Velvet Cake Taste Like?

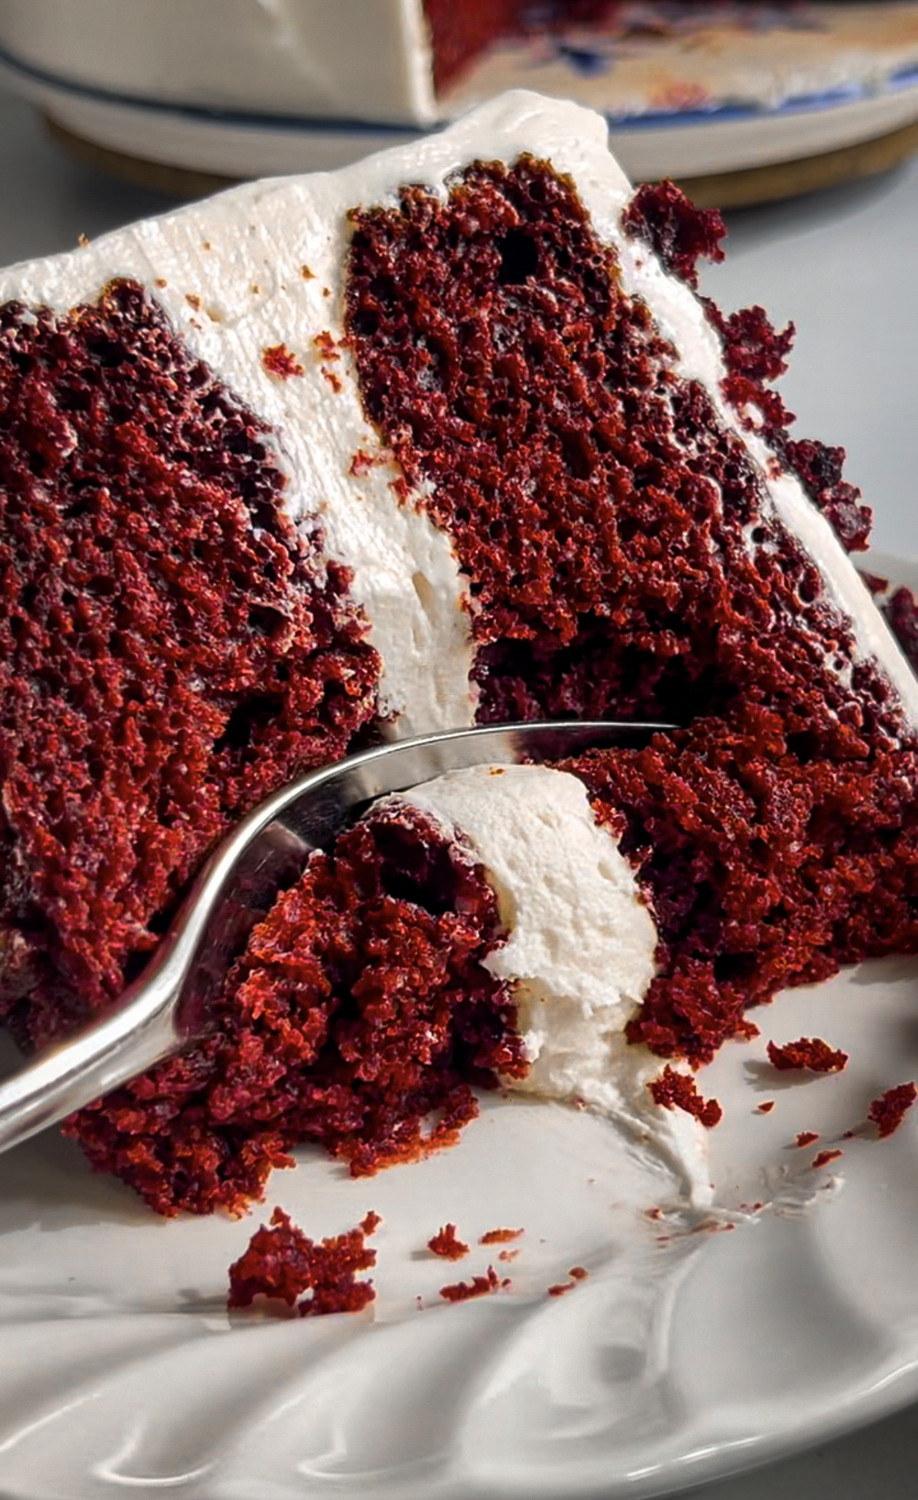
Red velvet cake has a subtle cocoa flavor, but isn’t as rich or chocolatey as traditional chocolate cake. The mild chocolate taste is complemented by the tang of buttermilk (or its substitutes), and the creamy, tangy cream cheese frosting provides the perfect balance.
What You Will Need

Red Velvet Cake Ingredients

  • Unsweetened Milk: Provides moisture and helps create the tender crumb. You can substitute with almond, soy, or oat milk for a dairy-free version.
  • White Vinegar: Reacts with the baking soda to create a light, fluffy texture. You can use apple cider vinegar or lemon juice as a substitute.
  • Unsweetened Yogurt: Adds moisture and richness to the cake. For a vegan version, use dairy-free yogurt that is unsweetened and unflavored.
  • Vegetable Oil: Keeps the cake moist without adding heaviness. Any neutral oil like sunflower oil works well here.
  • Cane Sugar: Adds sweetness and structure to the cake. 
  • Red Food Color: Gives the cake its signature red color. Powder or Gel food coloring works best for vibrant results.
  • All-Purpose Flour: Provides structure for the cake. Use a high-quality all-purpose flour whether you’re going gluten-free or not to ensure you get a great consistency for your layers.
  • Cocoa Powder: Adds a subtle chocolate flavor. Be sure to use natural cocoa powder for the best results.
  • Corn Starch: Helps create a tender crumb.
  • Baking Soda: Reacts with vinegar to help the cake rise.
  • Salt: Enhances all the flavors.
  • Vanilla Extract: Adds warmth and depth to the flavor and helps tie all the flavors together.

Cream Cheese Frosting Ingredients

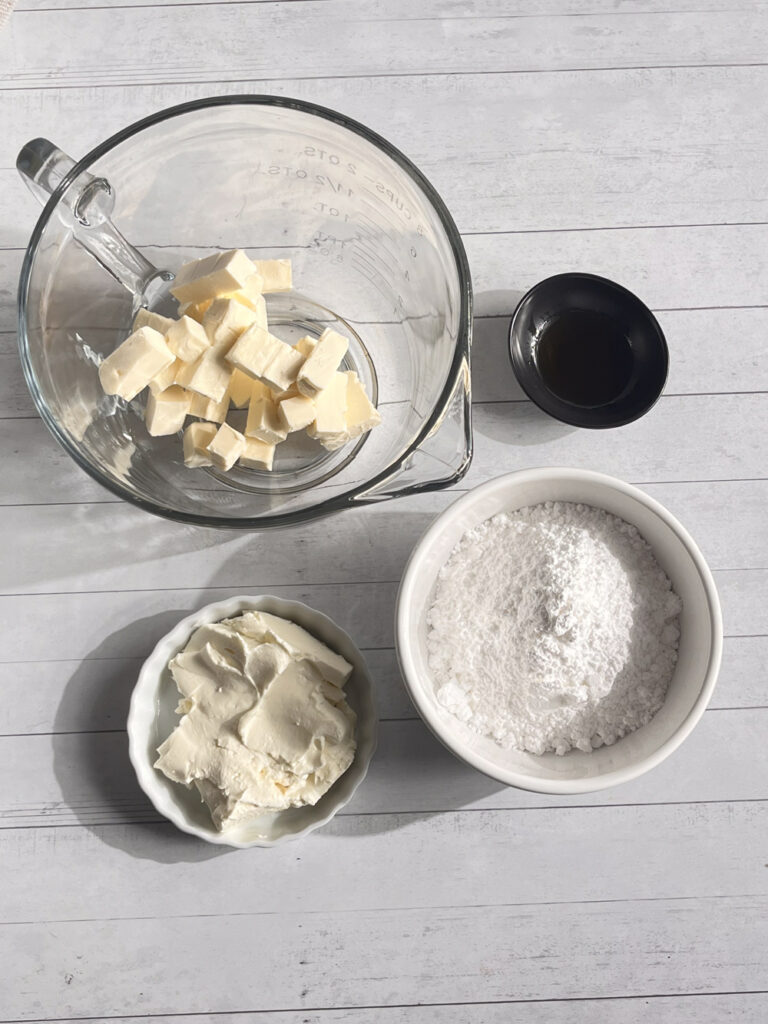
  • Butter: Adds richness and creaminess. Use dairy-free butter if necessary. Salted or unsalted butter will both work fine.
  • Cream Cheese: Creates the signature tangy flavor. Use dairy-free cream cheese for a vegan option.
  • Vanilla Extract: Helps achieve that classic cream cheese frosting flavor and levels out the tang of the cream cheese.
  • Powdered Sugar: Sweetens and stabilizes the frosting. For a vegan version, use organic powdered sugar.

Homemade Buttermilk Substitute

For an eggless and dairy-free red velvet cake, you can create a homemade buttermilk substitute using milk, vinegar, and yogurt. Here’s what you’ll need:

  • 1 cup milk: Use non-dairy milk such as almond, soy, or oat for a vegan option, or regular whole milk if preferred.
  • 1 tablespoon vinegar: Choose white vinegar, apple cider vinegar, or lemon juice to provide the necessary acidity.
  • Plain unsweetened yogurt: Use either dairy-free or regular yogurt based on your dietary needs.


In a measuring cup, mix the milk and vinegar together. Stir and let it sit for about 5 minutes, allowing the milk to curdle slightly, which mimics the acidity of traditional buttermilk. Then, stir in the yogurt until fully combined, adding thickness and tanginess similar to regular buttermilk. This mixture is now ready to be used in your red velvet cake recipe as a buttermilk replacement. 


How Does This Work? The vinegar adds acidity, which reacts with the baking soda or baking powder in the recipe, helping the cake rise and creating a light, fluffy texture. The yogurt contributes to the thickness and creaminess, providing a similar texture and flavor profile to traditional buttermilk.
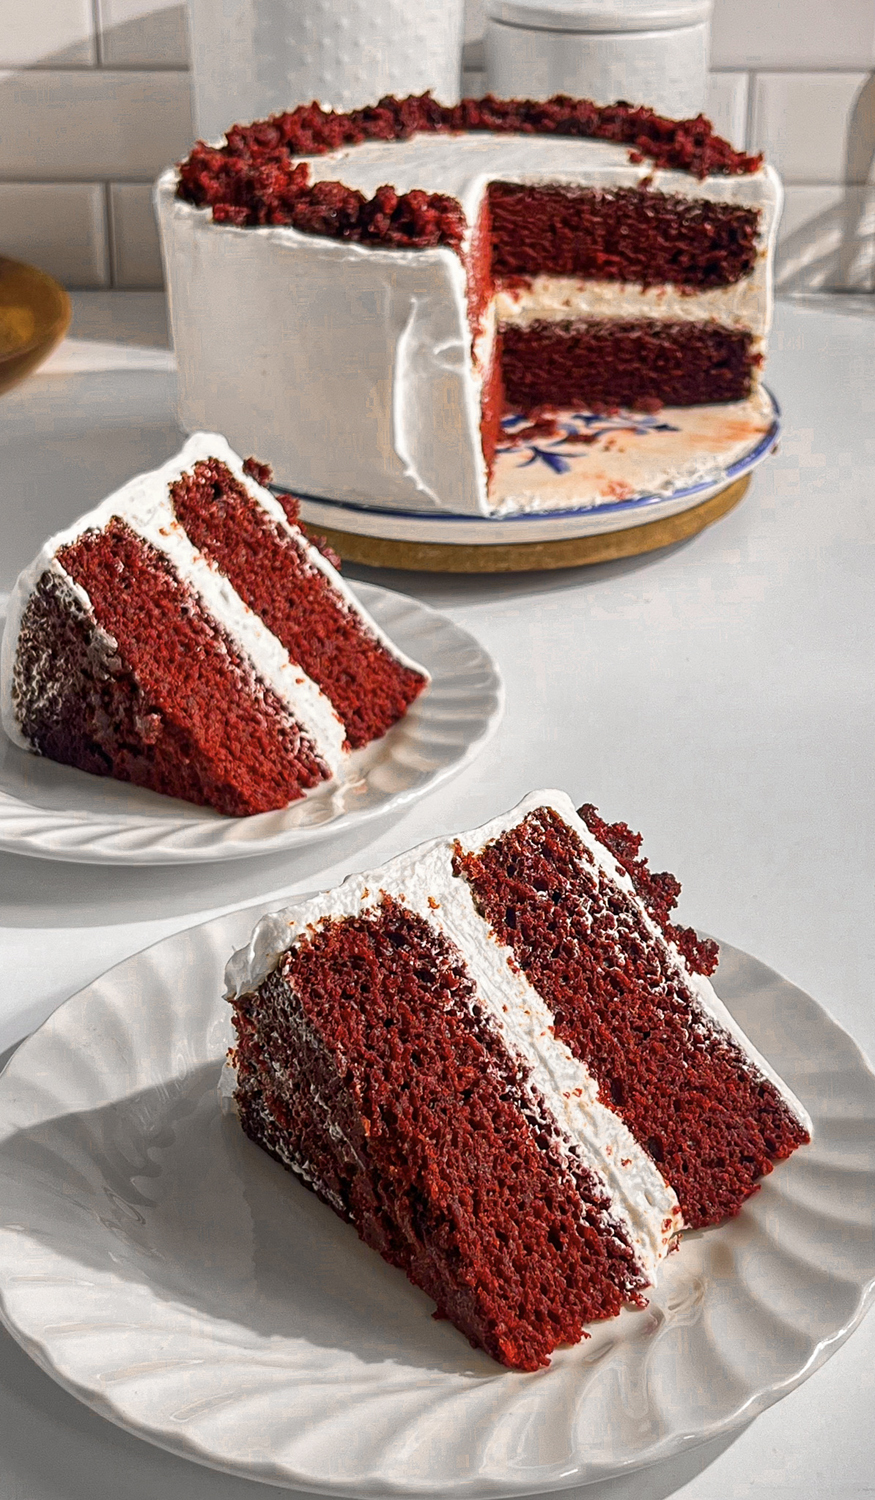
How to Make The BEST Red Velvet Cake

Preparing the Cake Pans and Wet Ingredients

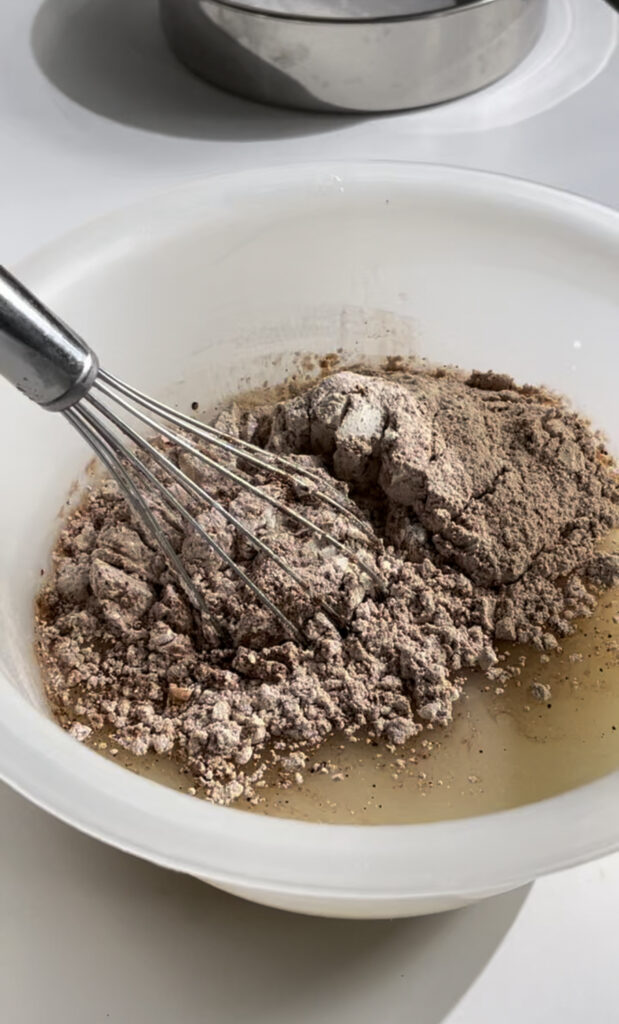
To start, preheat your oven to 350°F (175°C) and grease two 8-inch round cake pans. Line them with parchment paper for easy removal once the cakes are baked. In a large bowl, combine the unsweetened milk, yogurt, and vinegar, allowing the mixture to sit for a few minutes until it curdles. This step mimics buttermilk and is essential for the cake’s light and moist texture. After the mixture curdles, add the sugar, oil, vanilla extract, and red food coloring. Stir the mixture until everything is well combined and the sugar is fully dissolved.
Mixing the Dry Ingredients

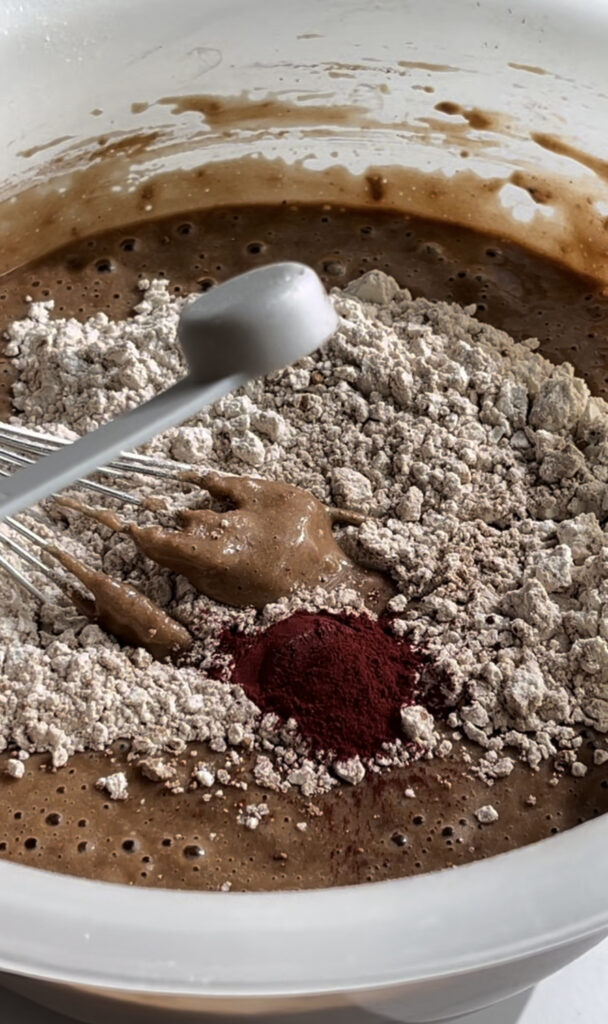
In a separate bowl, sift together the all-purpose flour, cocoa powder, cornstarch, baking soda, and salt. Sifting ensures that the dry ingredients are evenly distributed and prevents any lumps from forming in the batter. The cocoa powder adds the signature subtle chocolate flavor, while the baking soda reacts with the vinegar to create a light and fluffy cake.
Combining and Baking the Batter

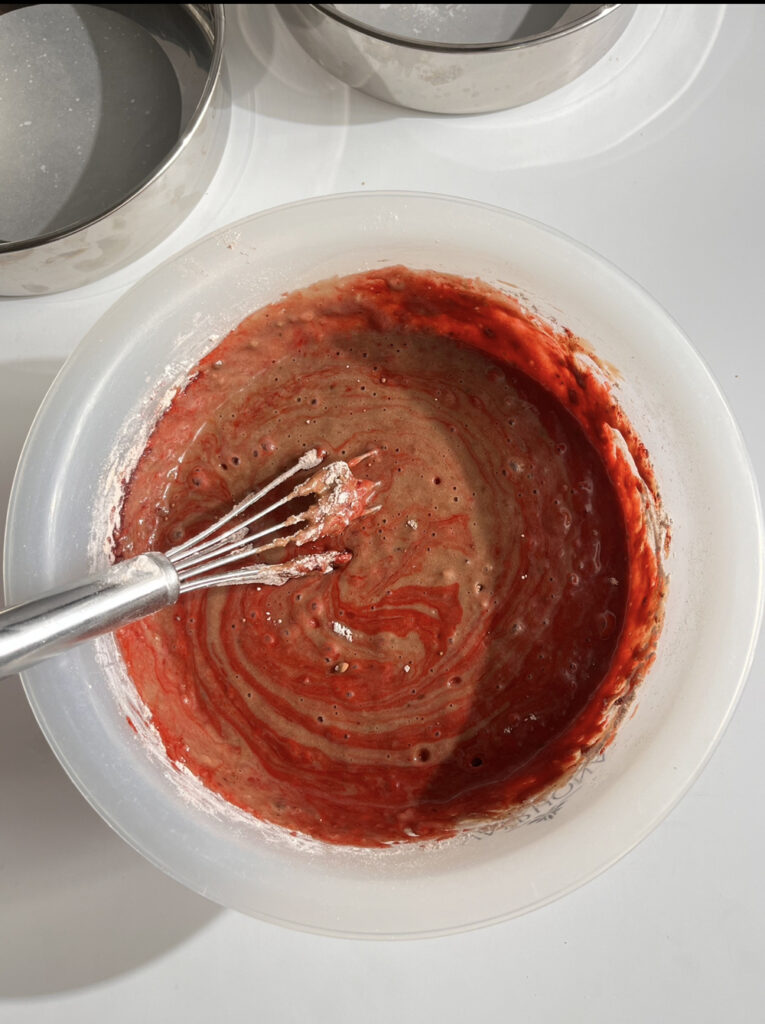
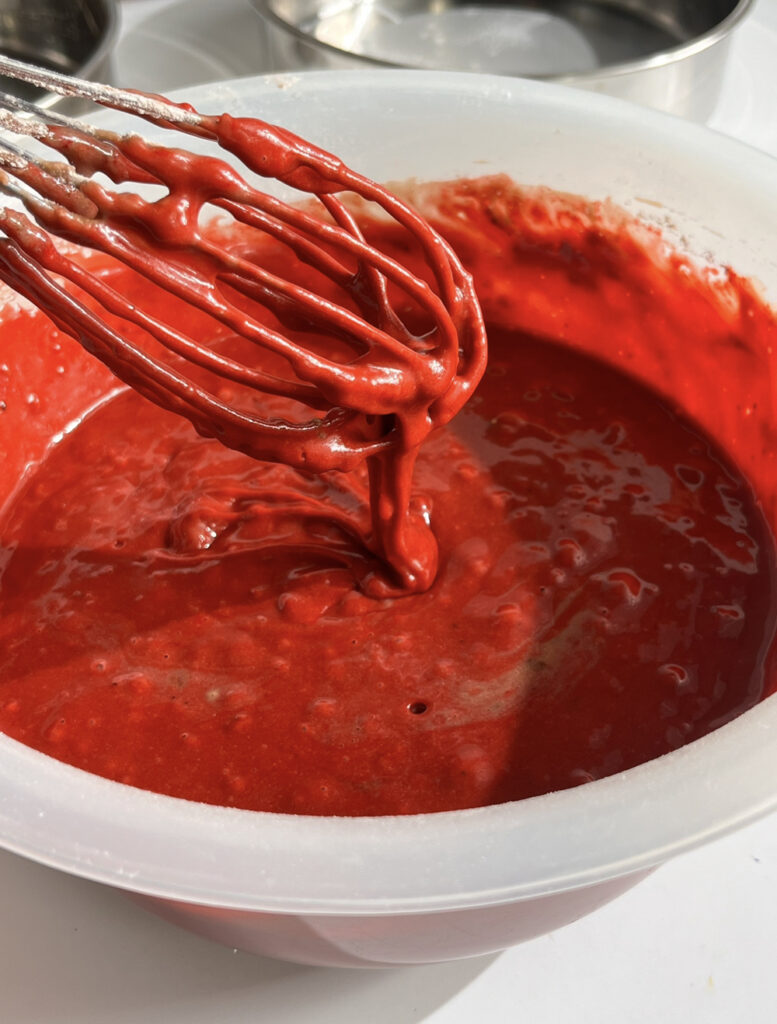
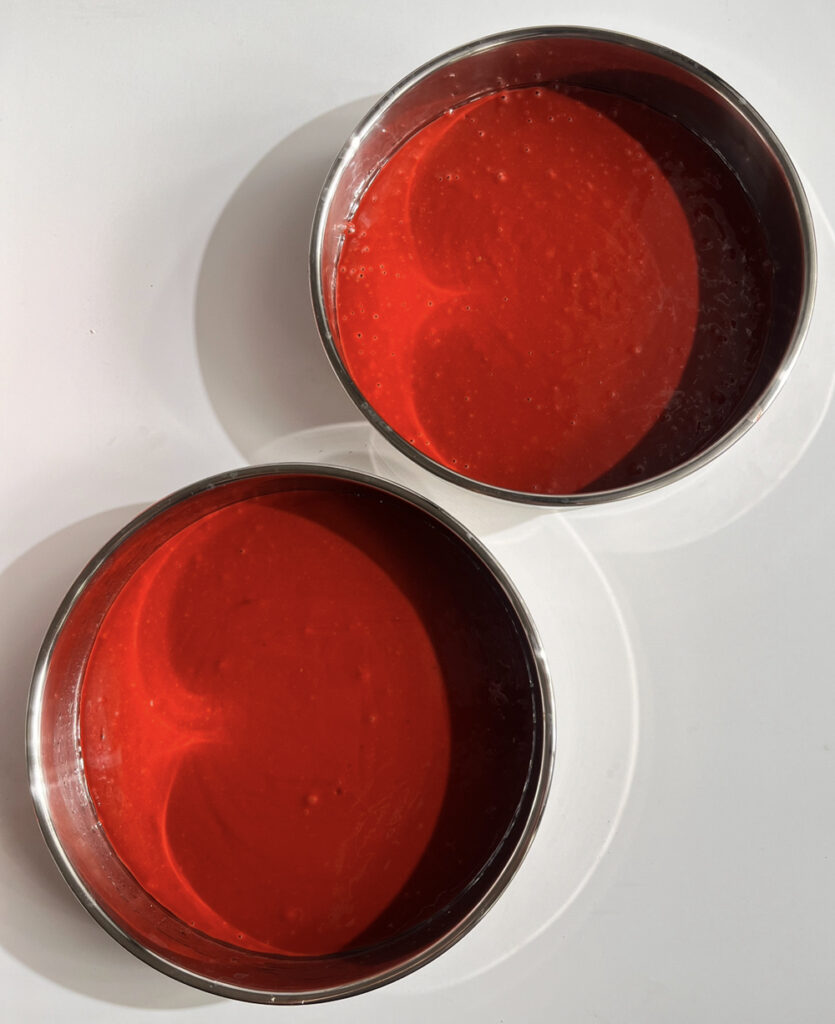
Gradually mix the dry ingredients into the wet ingredients, stirring until the batter is smooth and no lumps remain. Be careful not to overmix, as this can cause the cake to become dense. Once the batter is ready, divide it evenly between the two prepared cake pans. Gently tap the pans on the counter to release any trapped air bubbles. Bake for 30-40 minutes, or until a toothpick inserted into the center of the cakes comes out clean.
Cooling and Frosting the Cake

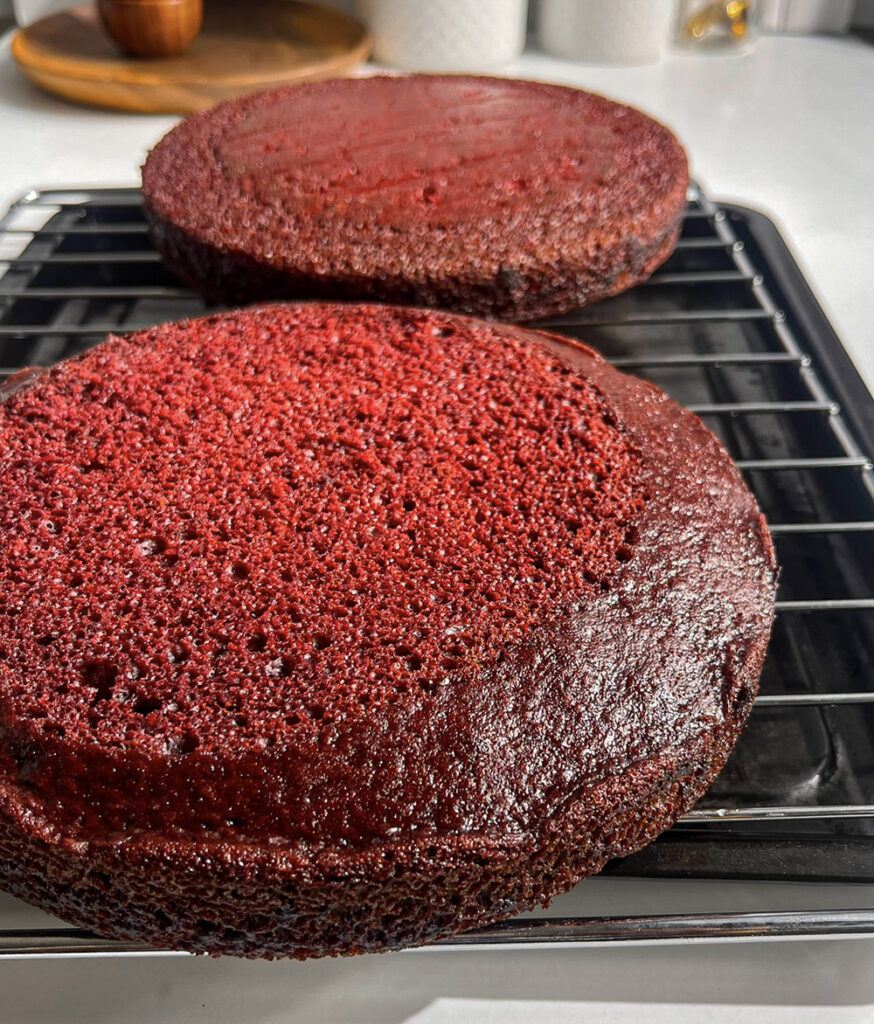
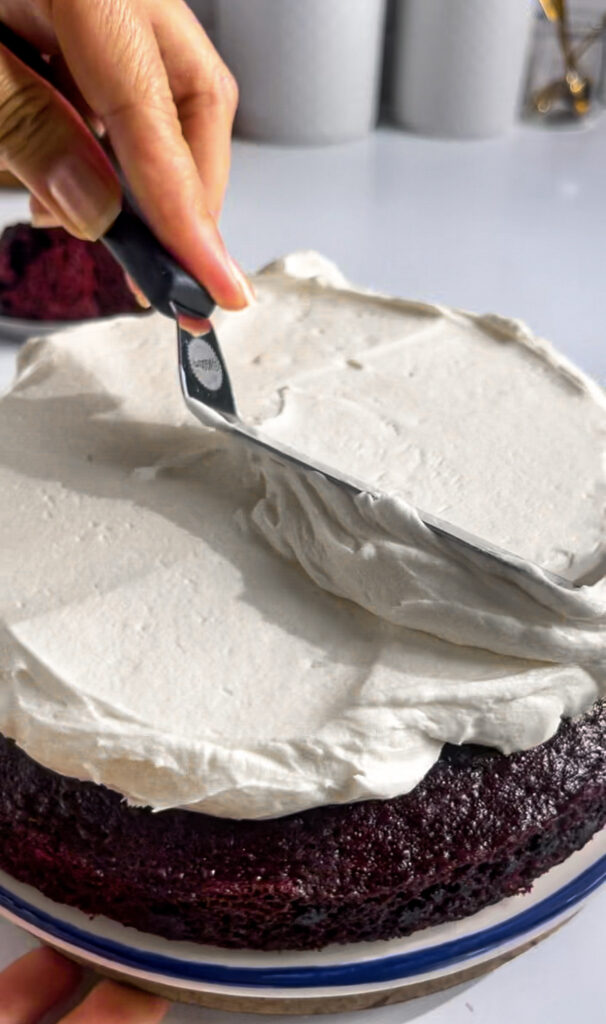
Once baked, allow the cakes to cool completely in the pans on a wire rack. This step is crucial to maintaining the cake’s moisture. After cooling, you can frost the cakes with your cream cheese frosting, and assemble the layers to create the perfect red velvet cake. Decorate the cake to your heart’s desire – this is arguably the most fun part of baking, so get creative and enjoy the process!
Why This Is The Best Red Velvet Cake Recipe?

This recipe offers all the classic red velvet flavors with easy-to-find ingredients and straightforward instructions. The cake is incredibly moist, eggless, and can easily be made dairy-free, making it accessible for everyone. The cream cheese frosting is so delicious and adds the perfect balance of sweet and tang to complement the cake’s richness.
Why Does Everyone LOVE Red Velvet Cake?

Red velvet cake is loved for its vibrant, deep red hue, which makes it visually striking and perfect for any special occasion. The rich color adds a festive touch which is perfect for events like Valentine’s Day, weddings, or Christmas. Its subtle cocoa flavor sets it apart from regular chocolate cakes, offering a unique taste that complements the tangy cream cheese frosting without being too overpowering. Its velvety texture lives up to its name, making each bite soft and indulgent. 

Ways to Customize Your Red Velvet Cake

There are plenty of ways to customize your red velvet cake. From the type of icing you use to the size of your cake. You could adapt this recipe into cupcakes or make three layers instead of two. The options are endless! If you want a more chocolate-forward cake, simply increase the amount of cocoa powder. For a gluten-free version, swap the all-purpose flour with a gluten-free flour blend. You can also adjust the amount of food coloring to achieve the perfect red hue.
Red Velvet Cake FAQs

Watch This Video For Red Velvet Cake

Pro Tips for Making This Recipe

  • Sift the powdered sugar: This will ensure you have a smooth and airy frosting.
  • Room temperature ingredients: To ensure the batter mixes evenly.
  • Don’t skip the vinegar: Using vinegar is essential as it helps react with the baking soda to create the cake’s light, fluffy texture.
  • Allow the cake to cool completely: Don’t frost until your cake is completely cooled, this will ensure your icing does not melt while applying.

Don’t forget to rate and review this recipe if you tried it!

Try these other delicious cakes for your next celebration:
Meet Saloni

I’m a former pastry chef with a love for breads, cakes and everything in between! My recipes are easy to follow, egg free and are designed to be shared with others!

popular recipes

Get new recipes first!

Check out my Cookbook

Get tips from a pro!

5 from 1 vote

Red Velvet Cake

Red Velvet Cake is the ultimate celebration cake for so many reasons! This showstopper will catch the attention of everyone with its striking red color, rich cocoa flavor, and the perfect contrast of tangy cream cheese frosting. This eggless recipe offers a moist and tender crumb, and can easily be adapted to dairy-free, making it suitable for everyone at the party. Whether you’re new to red velvet or it’s a beloved favorite, this recipe is easy to prepare and always impresses.
Author: Saloni Mehta
Rate
Yield: 10 servings
Prep: 45 minutes
Cook: 30 minutes
Total: 4 hours

Equipment

Ingredients

Red Velvet Sponge Cake

  • 330 ml Milk*
  • 1 tbsp White Vinegar*
  • 60 g Unsweetened Yogurt*
  • 90 ml Vegetable Oil
  • 300 g Cane Sugar*
  • 1-2 tsp Red Food Color gel or powder - adjust the qty of color as desired
  • 360 g All Purpose Flour sifted
  • 22 g Natural Cocoa Powder sifted
  • 7 g Cornstarch sifted
  • tsp Baking Soda
  • ¼ tsp Salt
  • 1 tsp Vanilla Extract

Cream Cheese Frosting Ingredients

  • 220 g Butter* cut in cubes, room temperature
  • 220 g Cream Cheese* room temperature
  • 2 tsp Vanilla Extract
  • 200 g Powdered Sugar sifted
Shop Ingredients on Jupiter

Instructions

  • Preheat the oven to 350f (175C).
  • Grease 2 x 8-inch (20cm) round cake tins with baking spray and line them with baking paper.
  • In a bowl combine milk, yogurt and vinegar. Let this sit for a few minutes until curdled.
  • Add sugar, oil, vanilla extract. Mix with a hand whisk until sugar is dissolved.
  • Add the red food color as desired to the liquid ingredients.
  • In a separate bowl combine all the dry ingredients ( all purpose flour, cocoa powder, corn starch, baking soda and salt).
  • Mix the dry ingredients into the liquid ingredients to form a smooth cake batter.
  • Divide the cake batter equally into 2 cake pans. Tap gently to remove air bubbles.
  • Bake for 30-40 minutes or until firm to touch and insert a toothpick to check if it comes out clean.
  • Cool the cakes completely on a wire rack. Wrap it in plastic wrap to keep them moist.
  • Trim a very thin layer from the top before layering the cake. Reserve the trimmings for decorating with cake.

Frosting Instructions

  • Use a mixing bowl fitted with paddle attachment or a hand held electric whisk.
  • Whip the butter until it is light and fluffy on medium speed with an electric whisk.
  • Add powdered sugar in 2 parts.
  • Mix on medium speed until it is light and smooth, for about 4-5 minutes.
  • Add cream cheese & vanilla and mix until combined.

Cake Assembly Instructions

  • Trim a thin layer of both cakes to level them with a serrated knife to ensure they stack evenly. Reserve the trimmings to decorate the cake.
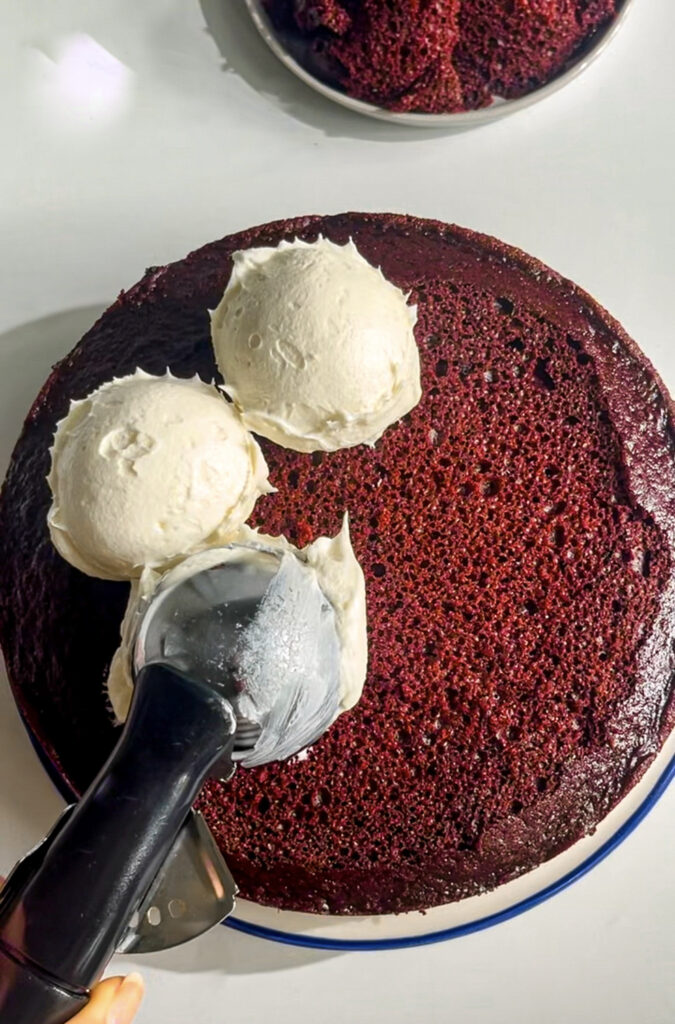
  • Place a small amount of cream cheese frosting on the center of your cake stand or serving plate.
  • Place one layer of the cake on the prepared cake stands or plate.
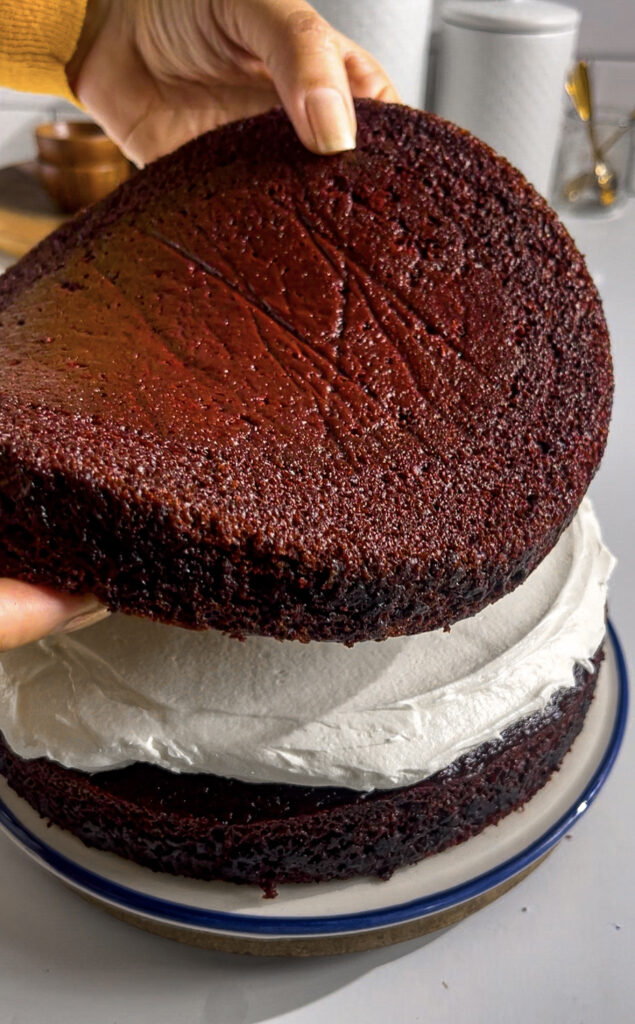
  • Using an offset spatula or butter knife, spread a generous layer of cream cheese frosting (at least 5-6 scoops) evenly over the top of the first cake layer. Smooth it out to ensure an even surface.
  • Carefully place the second cake layer on top of the frosted first layer. Align it as evenly as possible.
  • Apply a crumb coat by spreading a thin layer of cream cheese frosting over the entire cake. This layer seals in any crumbs and creates a smooth surface for the final coat. Chill the cake in the refrigerator for about 30 minutes.
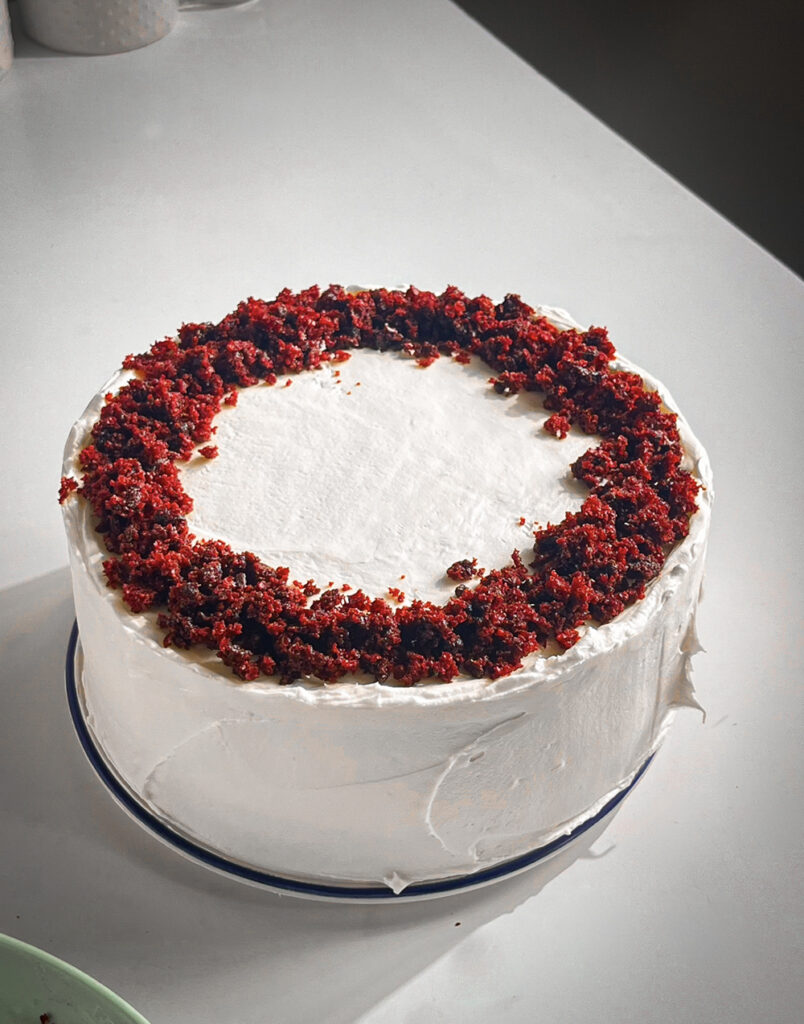
  • After the crumb coat has set, apply the final layer of frosting. Smooth it out with the offset spatula. For a clean finish, you can use a bench scraper to smooth the sides.
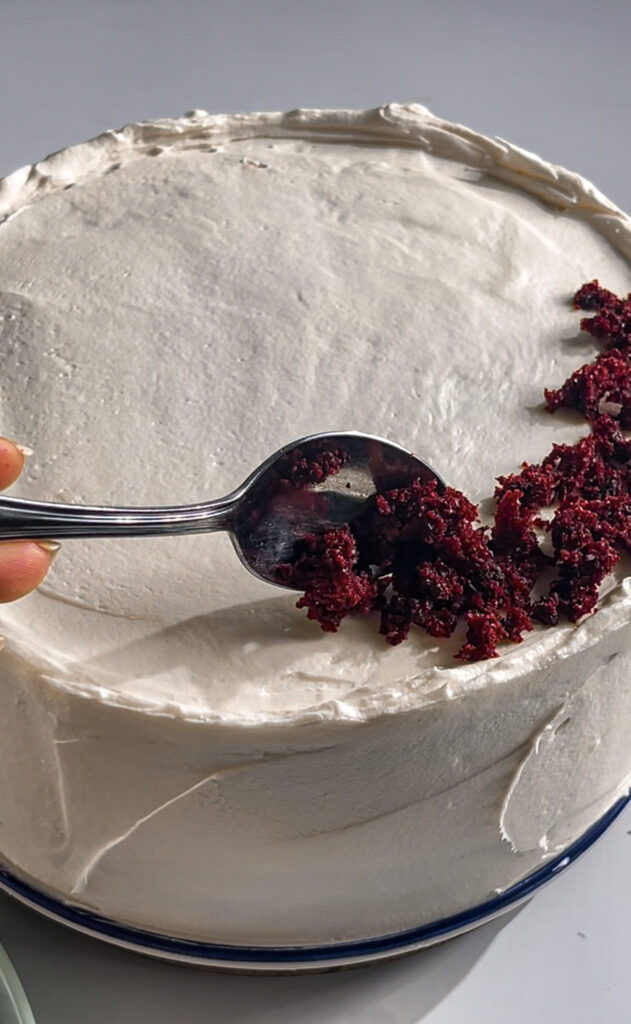
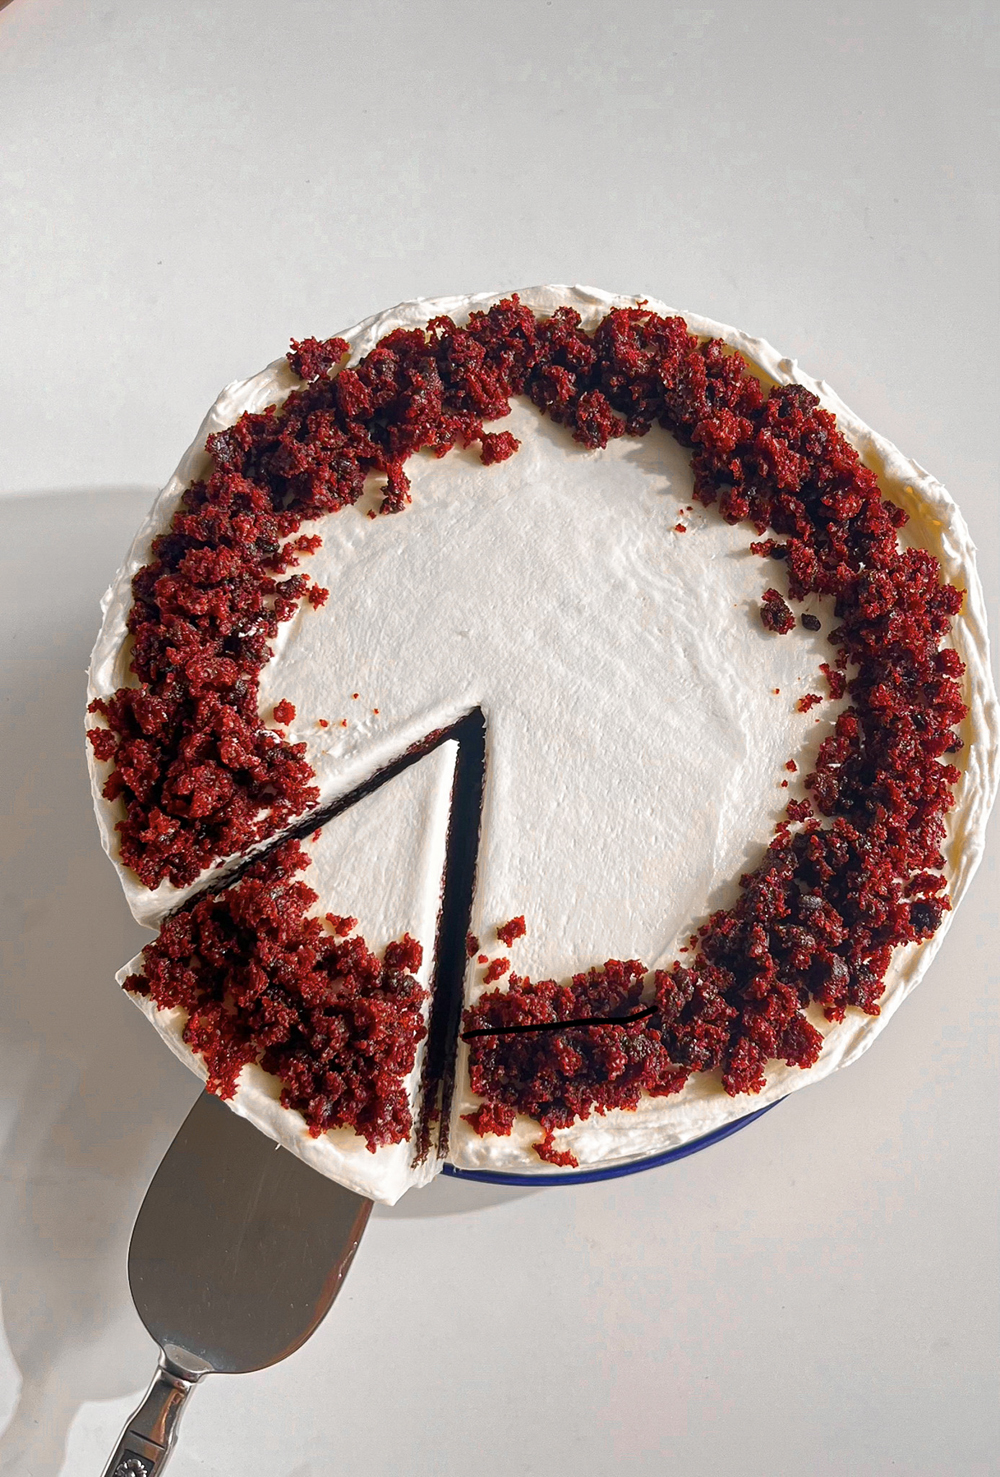
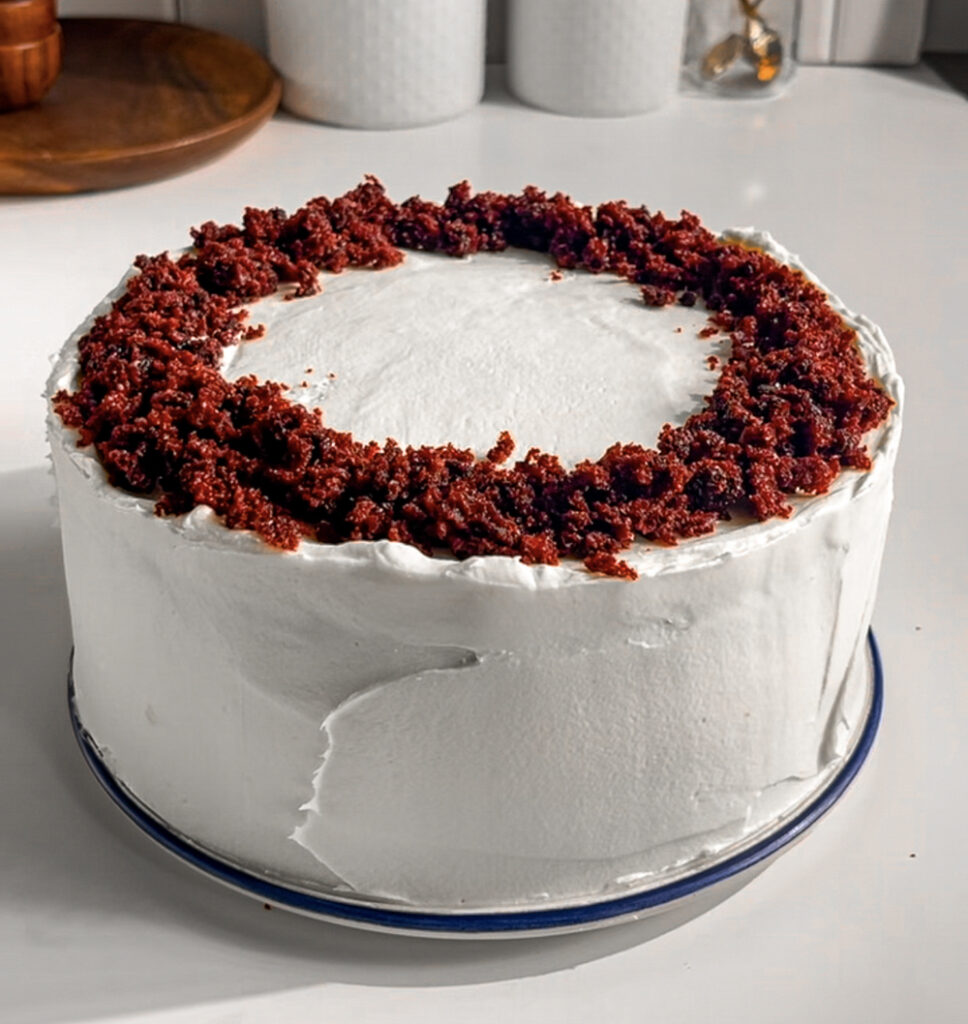
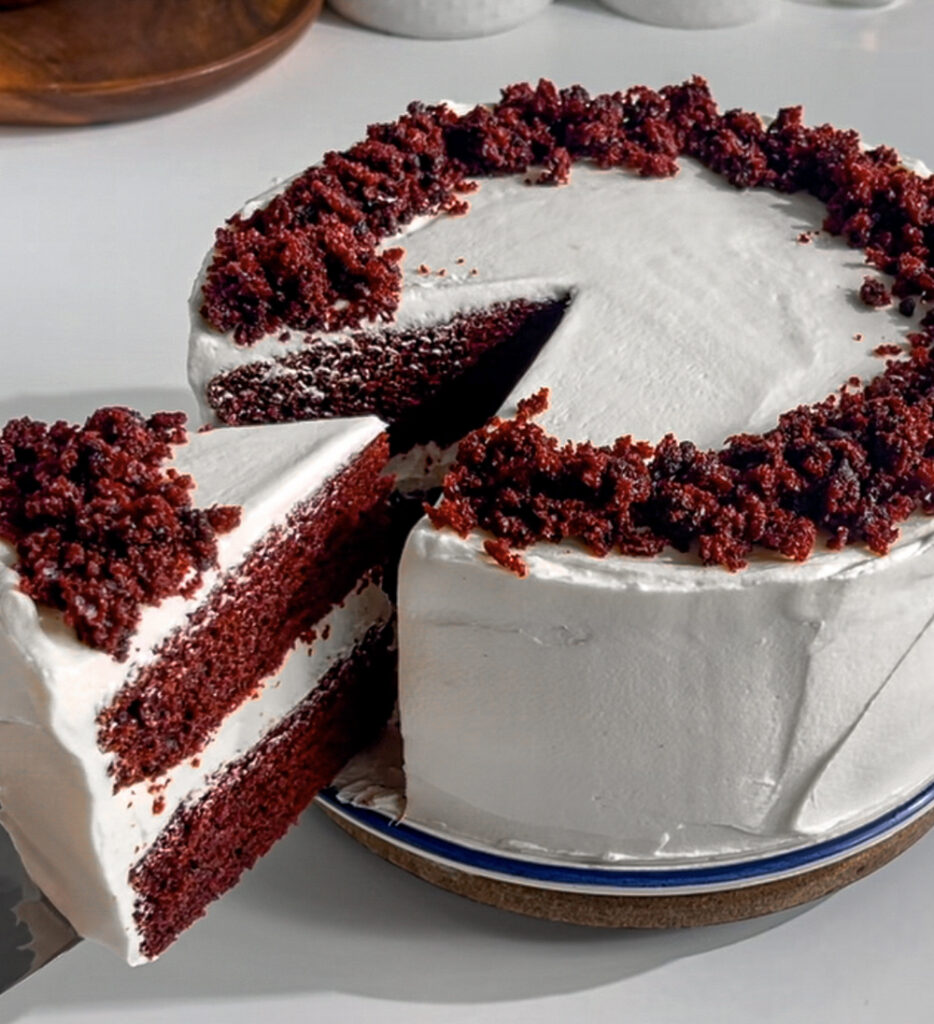
  • If desired, use a piping bag to pipe rosettes or borders, to the top and sides of the cake. Sprinkle the reserved cake crumbs on the cake.
  • Refrigerate the assembled cake for at least 30 minutes to allow the frosting to set and make slicing easier.
  • Once the cake is chilled and the frosting is set, remove it from the refrigerator and let it come to room temperature for about 10-15 minutes before serving. This allows the flavors to fully develop.

Notes

  • Cup vs weighing scale: The US customary cup measurement serves as a rough estimate, as it can have uncertainties, so for precise results, it's recommended to weigh your ingredients using a digital scale in grams.
  • Before you start to make any recipe, measure and prepare your ingredients so the process will go smoothly and easily.
  • For teaspoon (tsp) and tablespoon (tbsp) measurements, please use measuring spoons and not the type of spoons you eat with for accuracy.
  • Milk: You can use any dairy-free unsweetened milk (like almond, soy, oat) or dairy-based whole milk.
  • Butter: Dairy-free salted butter sticks or any salted butter of your choice.
  • Lemon Juice: You can substitute with Apple Cider Vinegar / White Vinegar and vice-versa.
  • Sugar: Cane sugar can be substituted with granulated sugar or castor sugar. Ensure the sugar is vegan-friendly (some sugars are processed with bone char)  or organic cane sugar.
  • Cream Cheese: Dairy-free cream cheese or any plain full-fat cream cheese of your choice.
  • Plain yogurt or Sour Cream: Dairy-free unsweetened yogurt, Dairy-free sour cream or any plain Greek yogurt or sour cream of your choice.

Did you try this recipe? Leave a review!

2 Responses

  1. 5 stars
    Estou completamente ansiosa para testar esse bolo Red velvet sem ovos. Nunca fiz receita de bolo sem ovos. Ansiosa estou!
    Obrigada!⚘♥️

5 from 1 vote

Leave a Reply

Your email address will not be published. Required fields are marked *

Recipe Rating


Try these recipes next!

get new recipes right to your inbox!