prep time: 10 min | bake time: 30 min | total time: 40 min
Home » Self-Saucing Chocolate Pudding
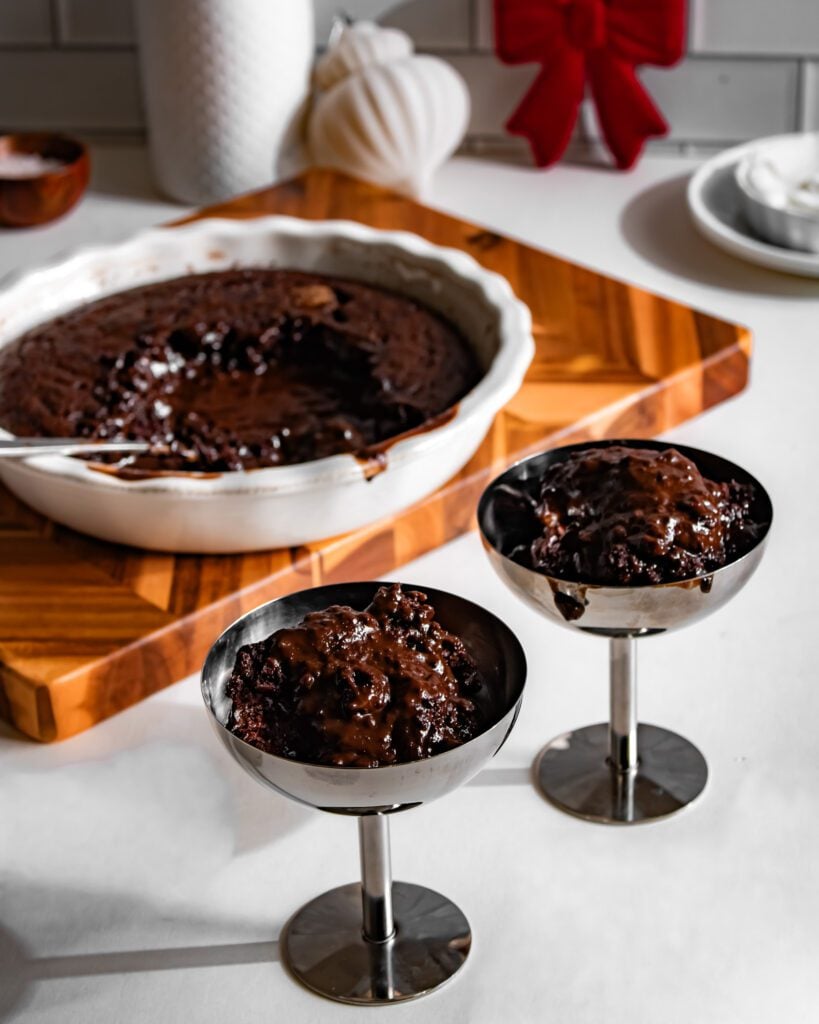
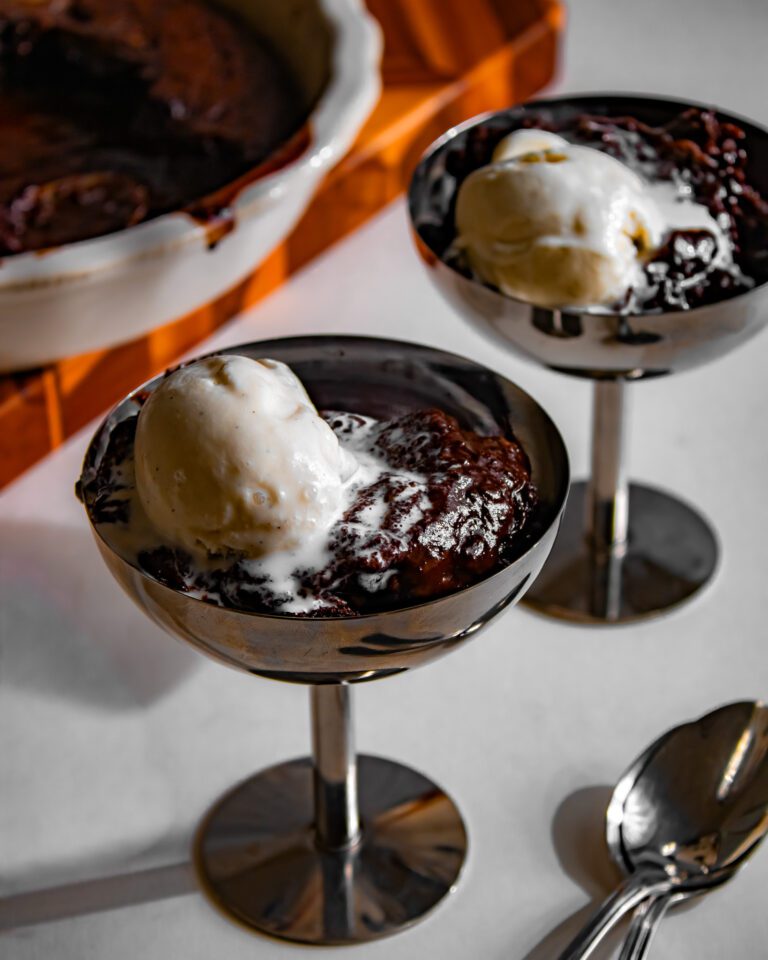
There is something so comforting about a warm chocolate dessert, especially when it’s served straight from the oven with a scoop of vanilla ice cream. This Self-Saucing Chocolate Pudding is one of those effortless desserts that feels a little special without requiring much preparation.
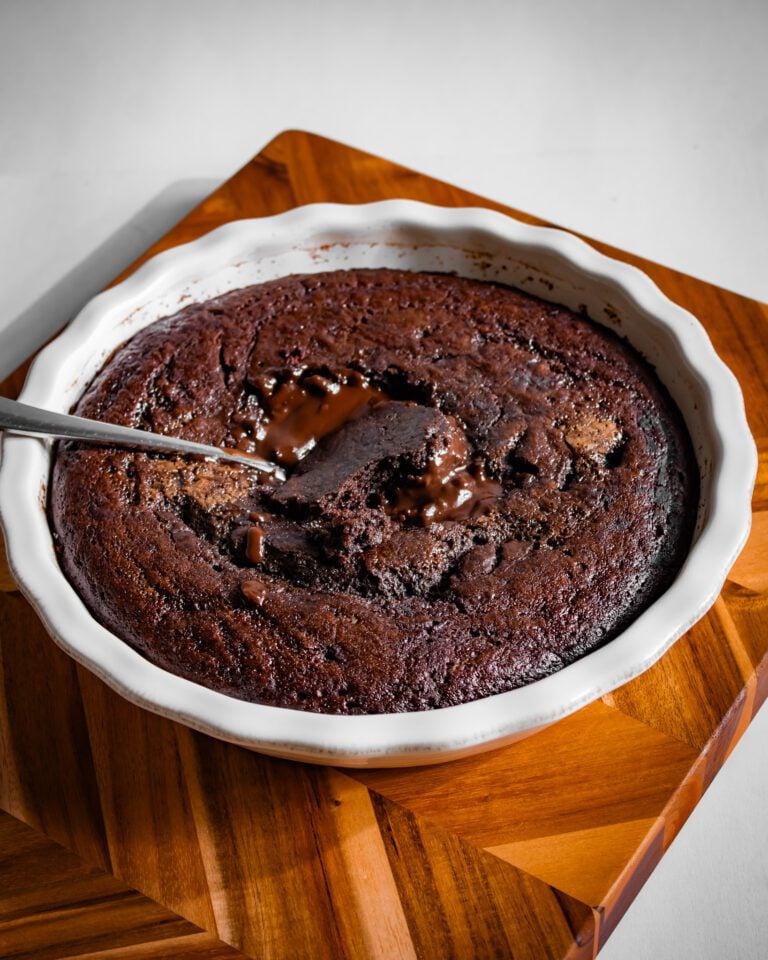
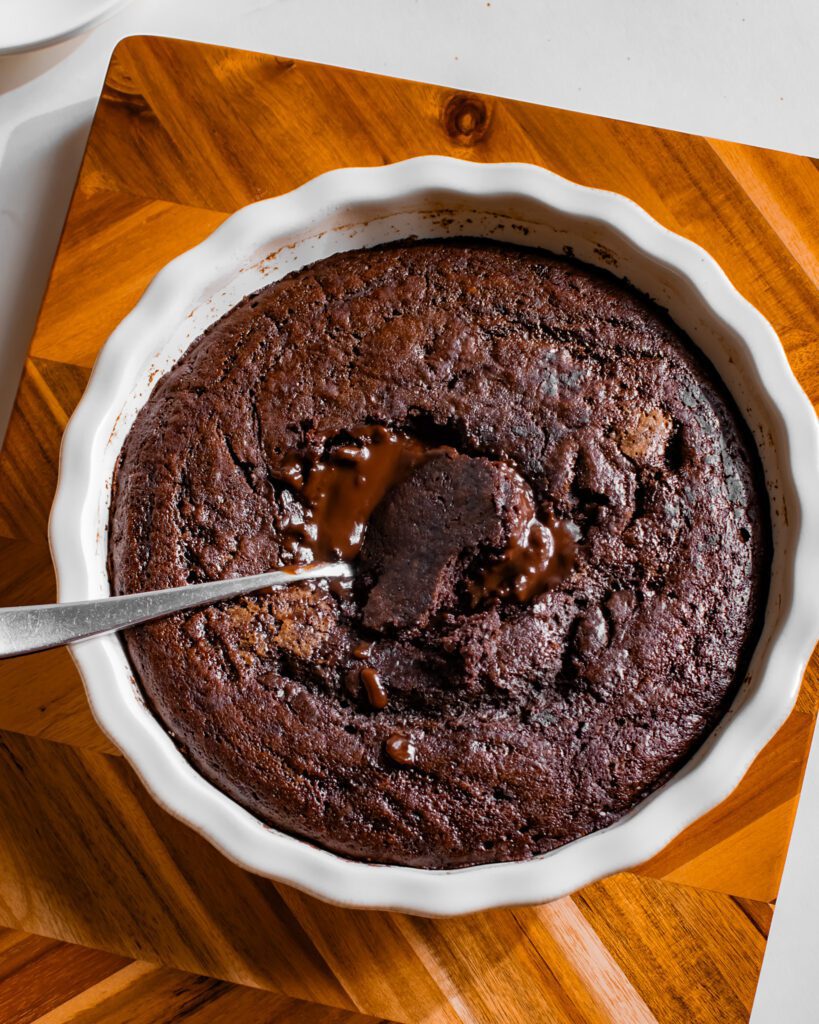
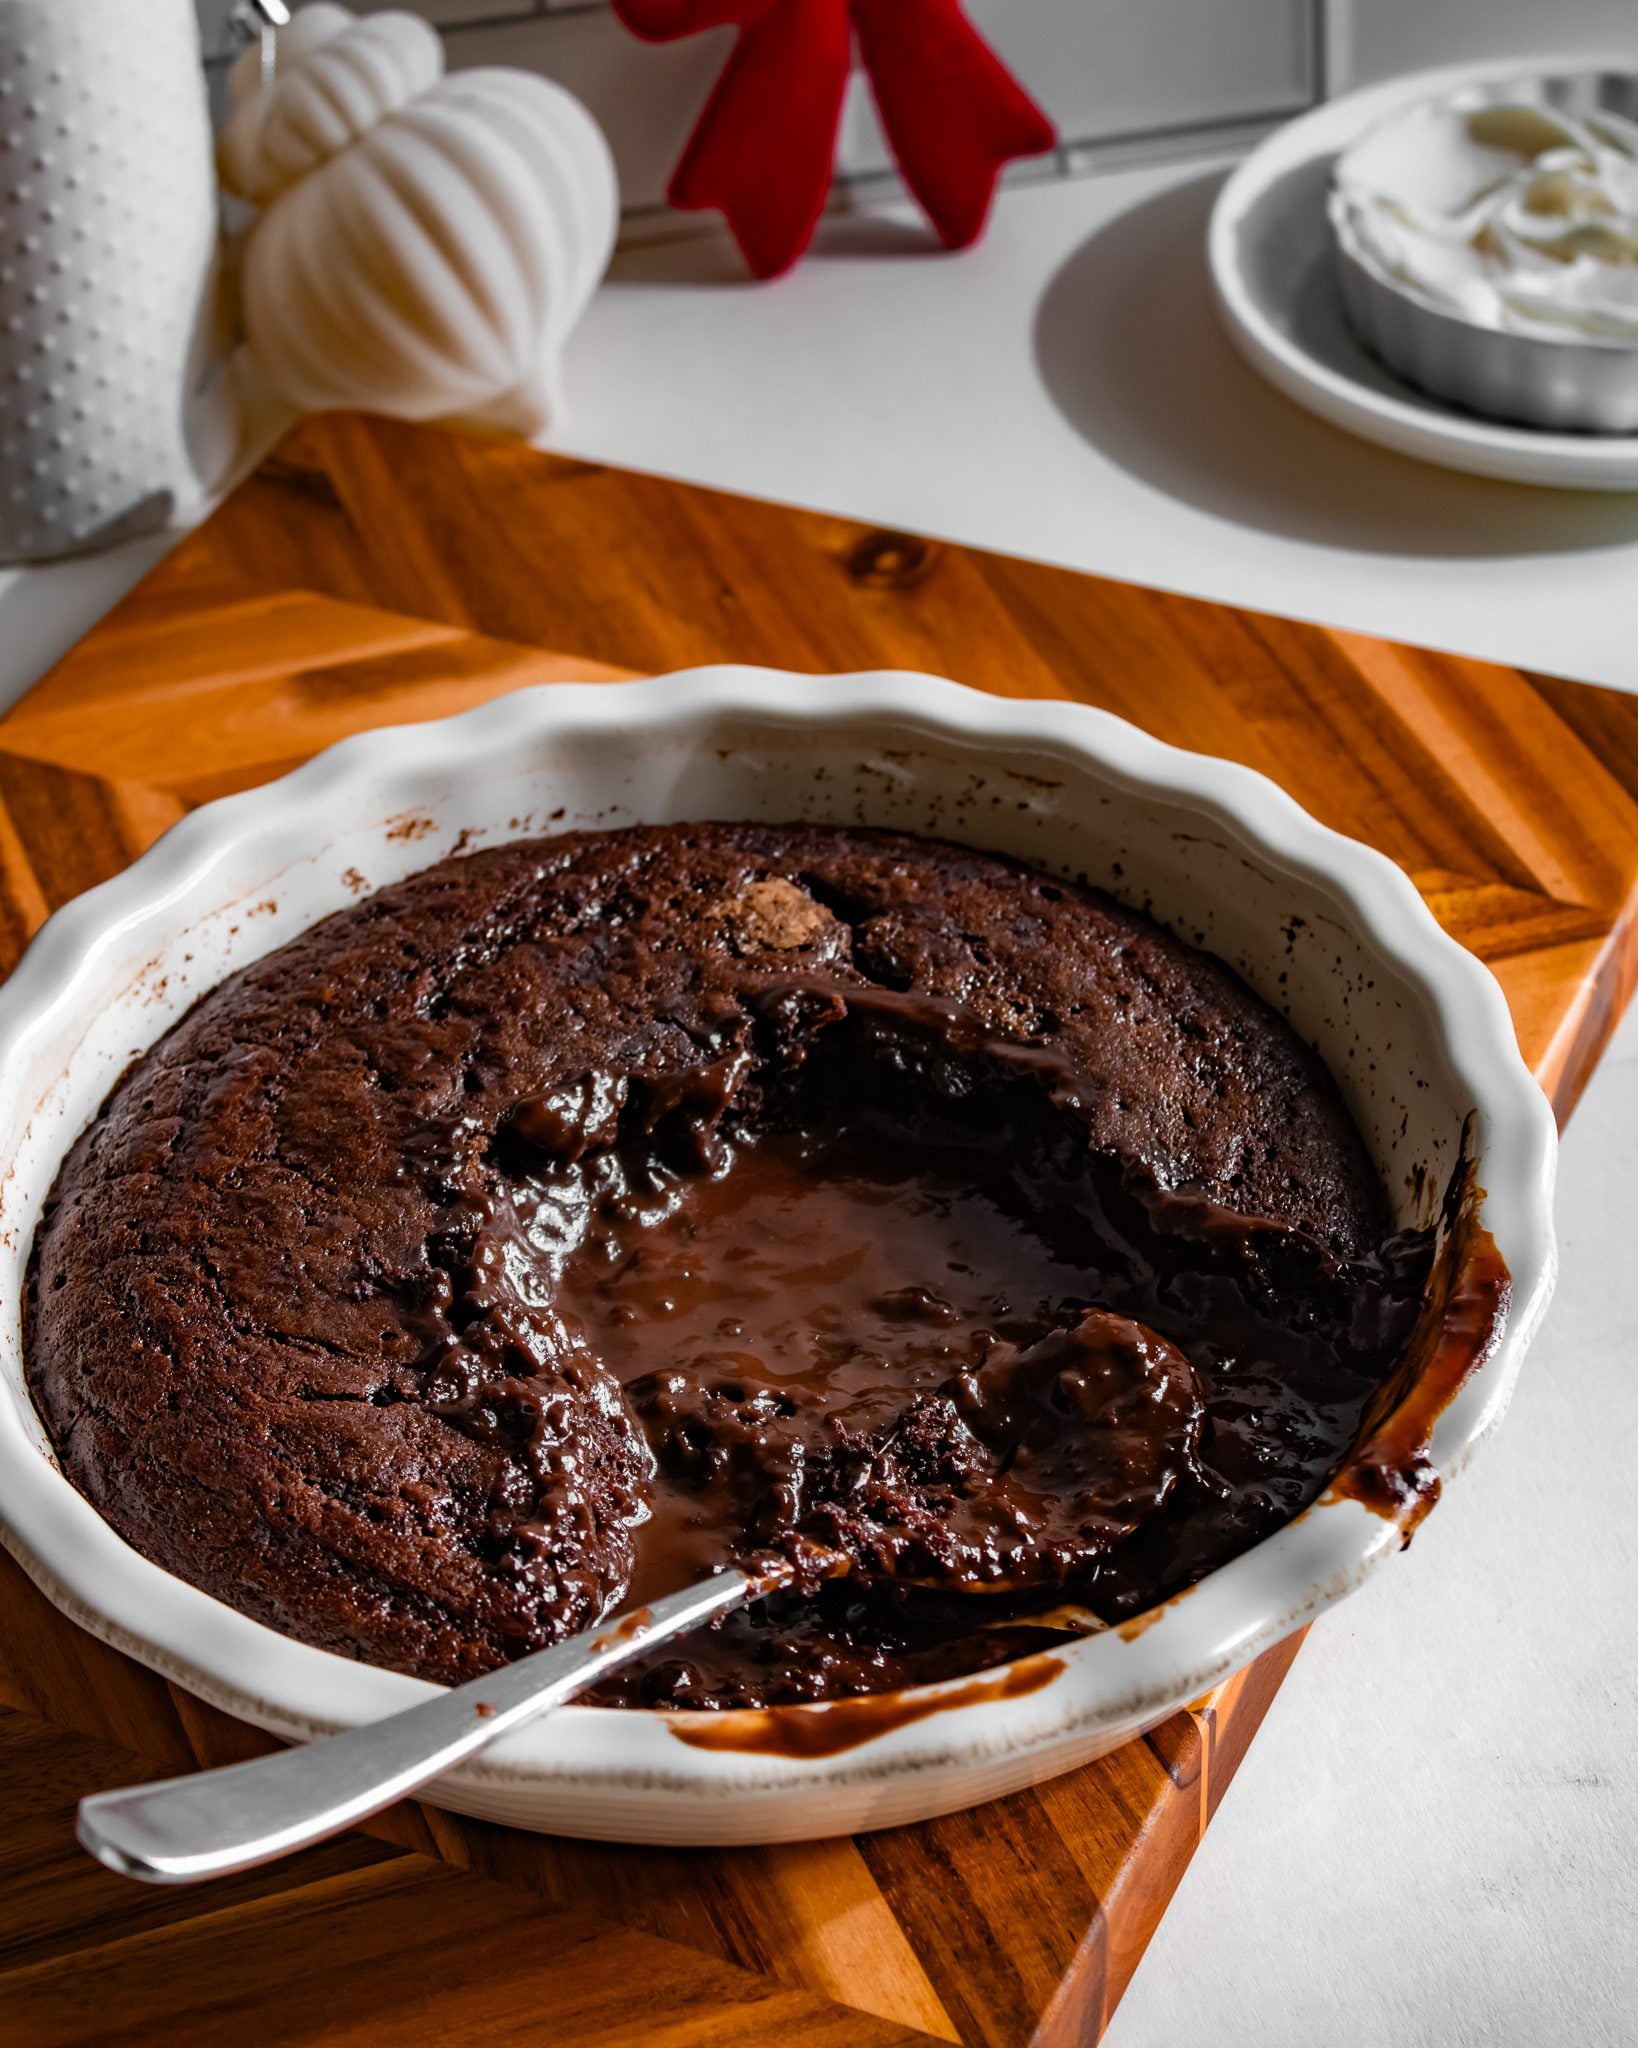
Made without eggs, this easy chocolate pudding has two delicious layers that form as it bakes. The top becomes a soft, tender chocolate cake with a delicate crust, while the bottom develops a rich, warm chocolate sauce. The best part? You don’t need to make the sauce separately. It forms underneath the cake as the pudding bakes! You will only need simple pantry ingredients and can easily be made dairy-free.
It’s perfect for family dinners, holiday gatherings, Valentine’s Day, or whenever you’re craving a cozy homemade chocolate dessert.
Two layers in one dessert: A soft chocolate cake forms on top, with a warm chocolate sauce underneath.
Completely eggless: No eggs or complicated egg substitutes are needed.
Easy to make dairy-free: Use plant-based milk and dairy-free butter.
Simple ingredients: Made with everyday pantry staples.
Perfect for sharing: Bake it in one dish and serve everyone straight from the pan.
Best served warm: Enjoy it with vanilla ice cream, whipped cream, or cold milk.
Milk: Adds moisture to the batter. Use dairy milk or unsweetened plant-based milk such as almond, soy, or oat milk.
Lemon Juice or Vinegar: Combines with the milk to create a homemade buttermilk-style mixture. You can use lemon juice, apple cider vinegar, or white vinegar.
Sugar: Sweetens the cake batter and contributes to its soft texture.
Cocoa Powder: Gives the pudding its rich chocolate flavor. Use unsweetened cocoa powder.
Vanilla Extract: Adds warmth and enhances the chocolate flavor.
Instant Coffee: Enhances the chocolate flavor without making the pudding taste strongly of coffee. You can also use instant espresso powder.
All-Purpose Flour: Provides structure to the cake layer. Measure accurately for a soft, tender texture.
Baking Soda and Baking Powder: Work together to help the pudding cake rise. The lemon juice or vinegar activates the baking soda.
Salt: Balances the sweetness and enhances the chocolate flavor.
Butter: Adds richness and moisture. Use melted butter or dairy-free butter sticks for a dairy-free version.
Sugar: Sweetens the chocolate sauce.
Cocoa Powder: Gives the sauce its deep chocolate flavor.
Boiling Water: Creates the liquid topping that settles underneath the cake as it bakes.
A tablespoon of sugar can be sprinkled over the pudding batter before adding the hot chocolate liquid. This helps create a crust on the top of the baked pudding.
Preheat the oven to 350°F (175°C). Grease a 9-inch pie dish or cake pan that is 2–3 inches deep.
Choose a dish with enough depth to hold both the cake batter and the liquid topping. Place the dish on a baking sheet if you want to make transferring it to and from the oven easier.
In a mixing bowl, combine the milk and lemon juice or vinegar. Let it sit for a few minutes.
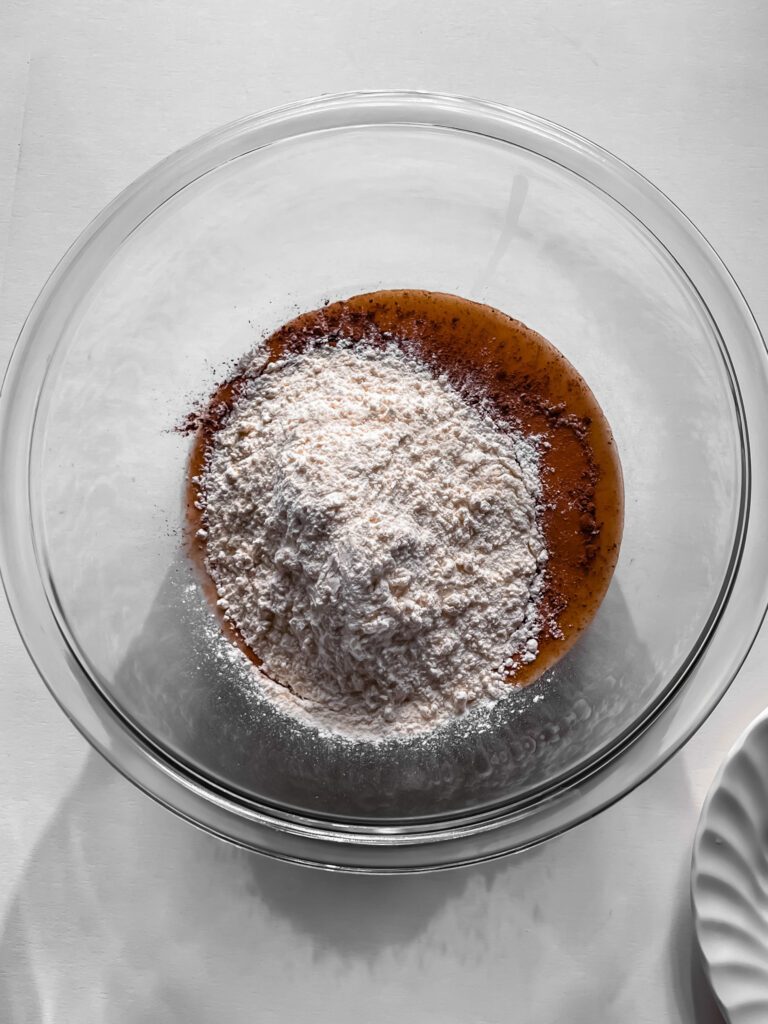
Add the sugar, cocoa powder, vanilla extract, and instant coffee or espresso powder. Whisk until combined. Add the flour, baking soda, baking powder, and salt. Mix, then add the melted butter and stir until you have a smooth chocolate batter.
Spread the batter evenly into the prepared baking dish. Sprinkle one tablespoon of sugar evenly over the batter to form a crust (this is optional).
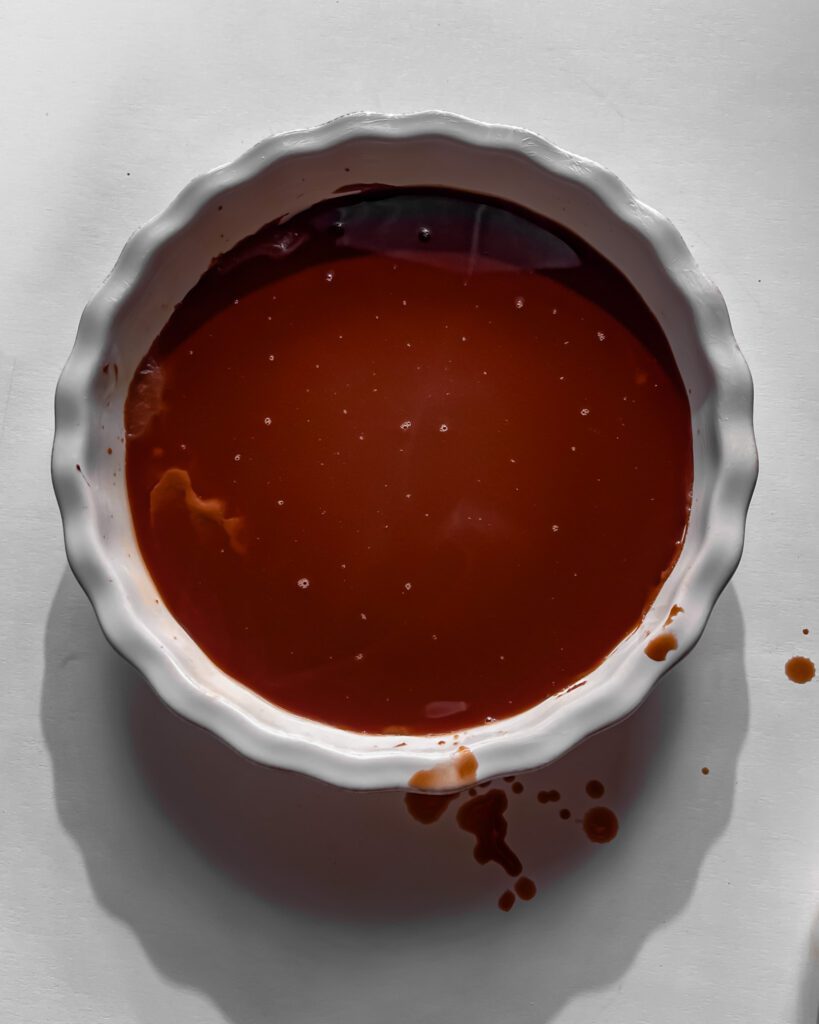
In a separate jug or heatproof bowl, combine the sugar and cocoa powder for the topping. Carefully pour in the boiling water and mix until the sugar and cocoa are combined.
The mixture will be quite liquid. This is exactly what you want because it will form the chocolate sauce underneath the cake as it bakes.
Slowly pour the hot chocolate liquid over the pudding batter. I recommend pouring it over the back of a dessert spoon, moving around the surface of the batter. This helps distribute the liquid gently without creating holes in the cake mixture.
Do not stir the batter and topping together. They need to remain separate before baking so the pudding can develop its two distinct layers.
Carefully transfer the baking dish to the preheated oven.
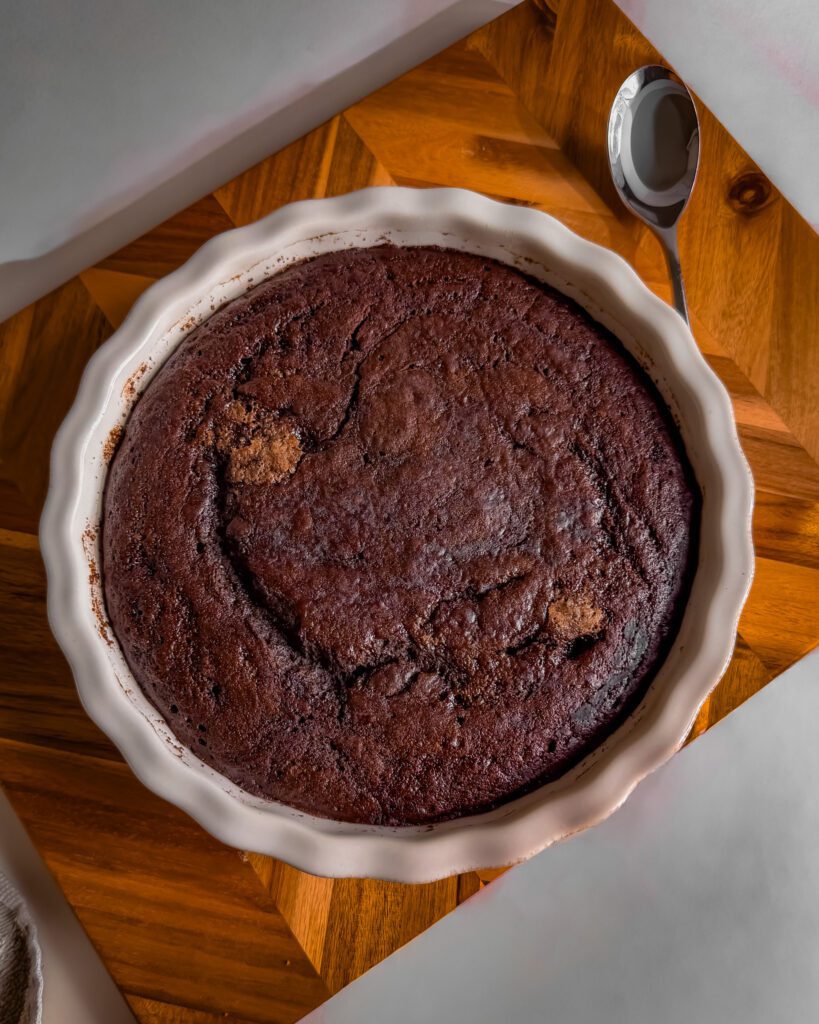
Bake for approximately 30 minutes, or until the top looks set, lightly crusted, and springy to the touch. The baking time can vary by 5–10 minutes depending on the depth and size of your baking dish.
Remove the pudding from the oven and let it rest for about 5 minutes. This gives the chocolate sauce a little time to settle and become gooey.
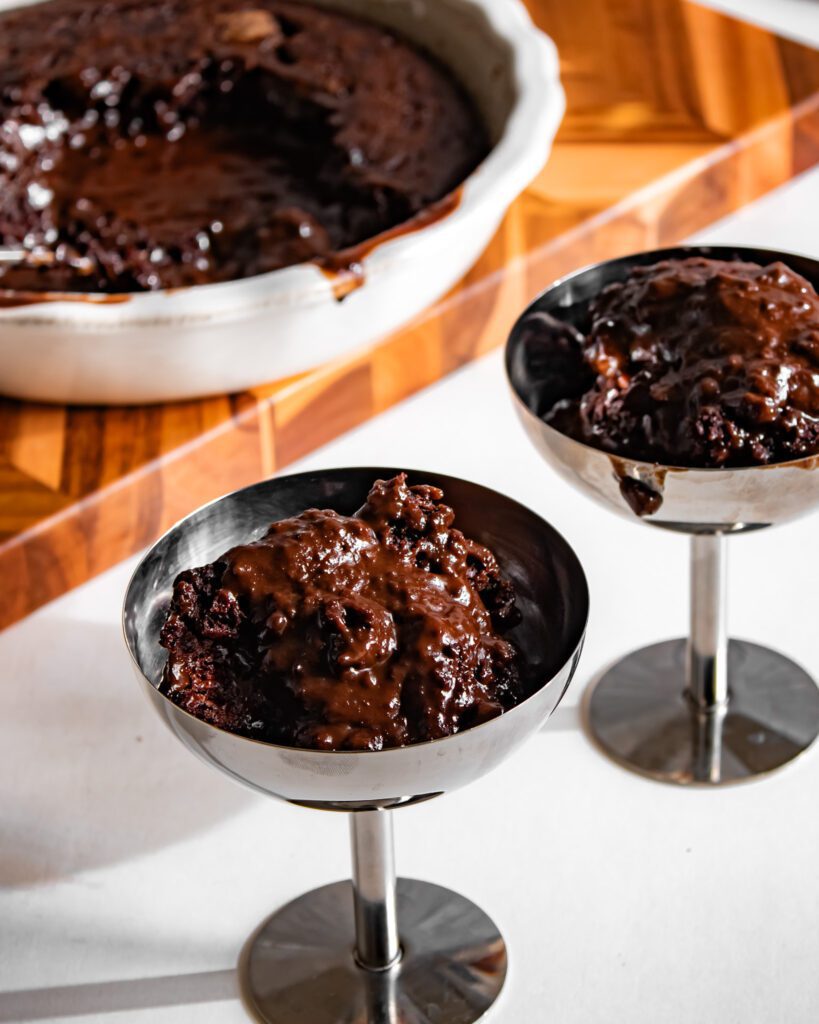
Spoon the warm pudding into serving bowls, making sure to scoop up some of the chocolate cake and sauce together. Serve immediately with vanilla ice cream, whipped cream, or cold milk.
The boiling water is part of the chocolate topping. It creates the liquid layer that develops into the sauce underneath the cake as it bakes. Pouring it gently over the back of a spoon helps distribute it without disturbing the batter.
Yes easily! This recipe has been tested with dairy-free ingredients. Replace the regular milk with unsweetened plant-based milk and use dairy-free butter sticks. Almond, soy, and oat milk are suitable options.
For the best results, prepare and bake the pudding just before serving. You can measure the dry ingredients and prepare the chocolate topping ingredients ahead of time. Once assembled, bake it immediately so the cake and sauce develop properly.
Overbaking is one of the most common reasons. The top should be set and springy, but the chocolate sauce underneath should remain liquid. Start checking around the 30-minute mark and adjust the baking time according to your dish.
Yes. You can use a similar-sized oven-safe baking dish, but make sure it is deep enough to hold the batter and liquid topping. A 9-inch dish that is 2–3 inches deep is recommended. A different dish size may change the baking time.
You can divide the batter and topping between individual oven-safe ramekins. The baking time will be shorter, depending on the size and depth of your ramekins, so check them earlier. Make sure to divide both the batter and topping evenly.
Allow leftovers to cool, then cover the baking dish or transfer the pudding to an airtight container. Refrigerate for 3–4 days. Reheat individual portions gently in the microwave until warm. The sauce will thicken as it cools, so the texture won’t be exactly the same as when freshly baked.

Use a deep baking dish: The pudding needs enough room for the cake batter and liquid topping. A dish that is 2–3 inches deep works well.
Measure the ingredients accurately: Too much flour can make the cake layer dense, while incorrect liquid measurements can affect the sauce.
Use boiling water for the topping: Hot water helps dissolve the sugar and cocoa and creates the liquid chocolate layer.
Pour the topping gently: Use the back of a dessert spoon to distribute the liquid without disturbing the batter.
Don’t mix the two layers: Once you’ve poured the chocolate topping over the batter, don’t stir. The layers form naturally during baking.
Serve immediately: This dessert is at its best when freshly baked and warm.
Check out these other recipes: