share this recipe

Vanilla and Chocolate Marble Cake

prep time: 30 min | bake time: 45 min | total time: 2 hrs

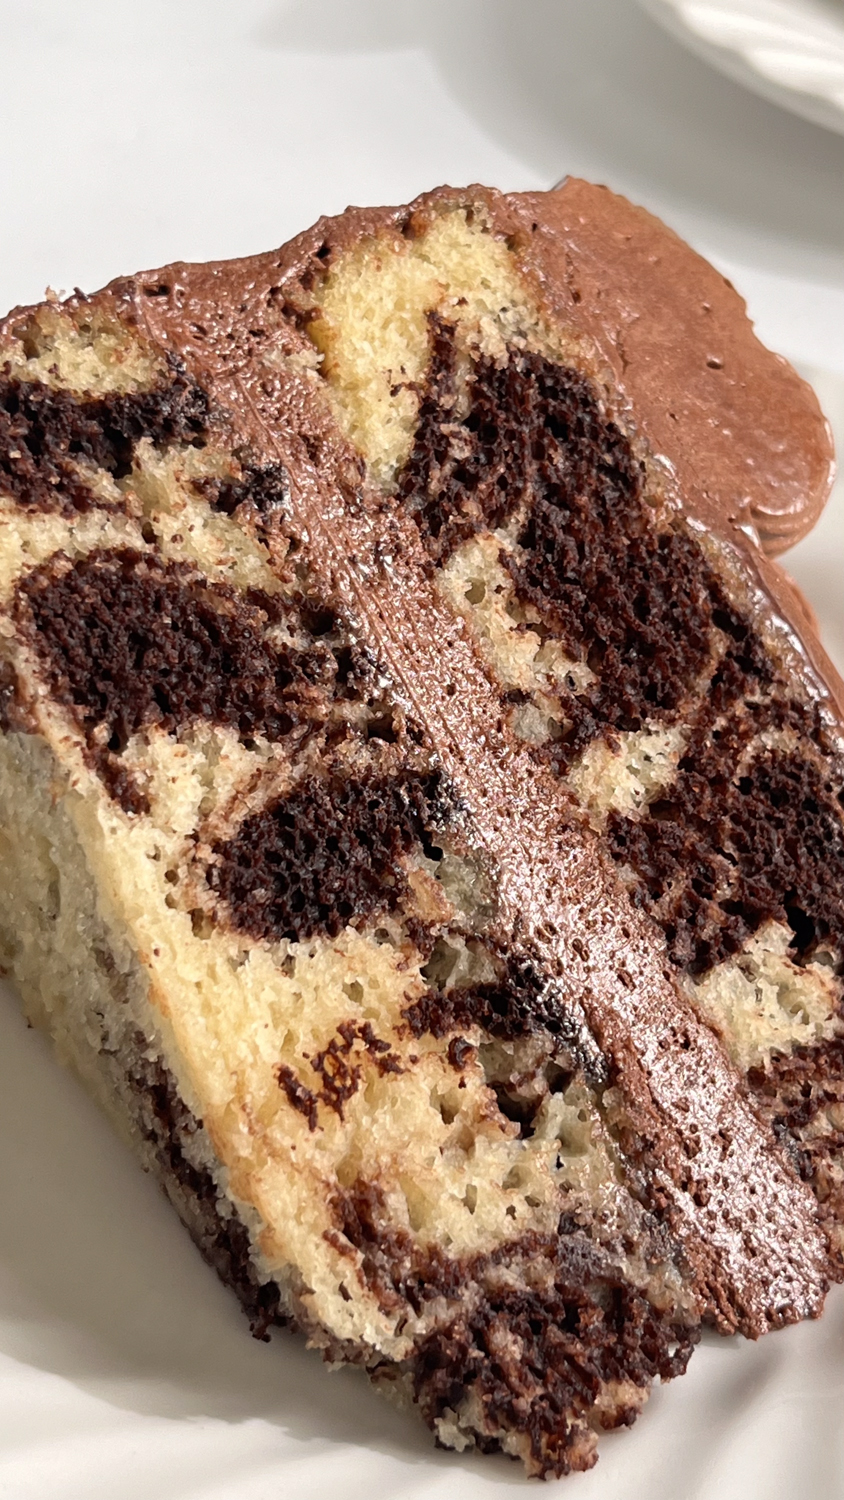
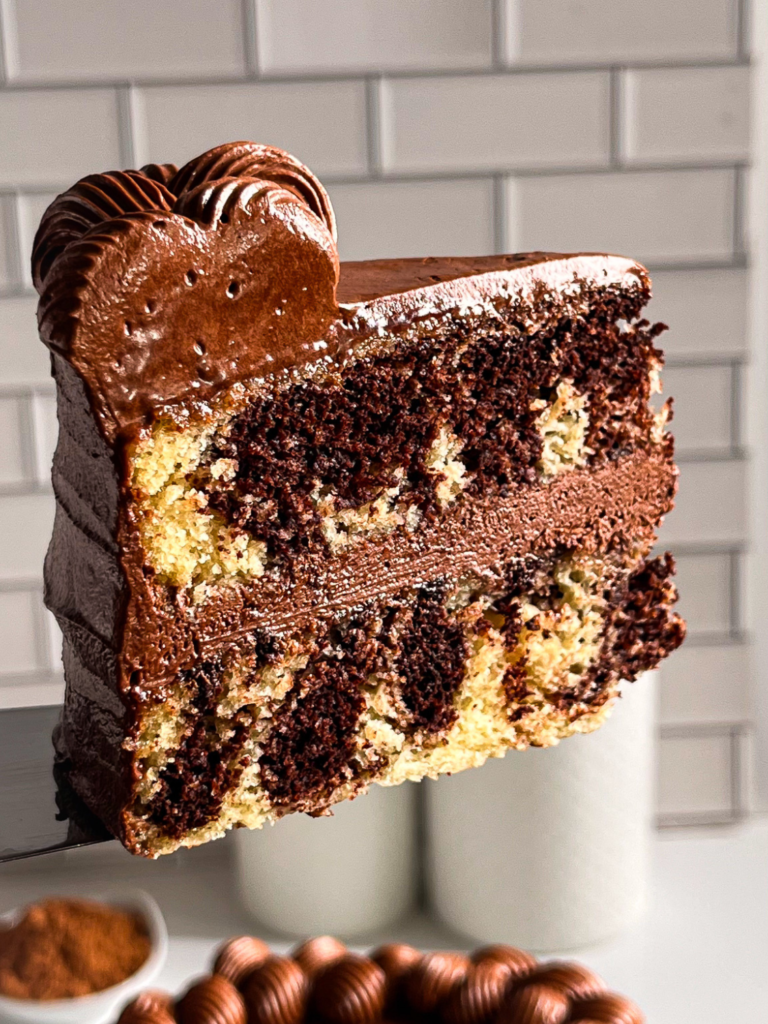
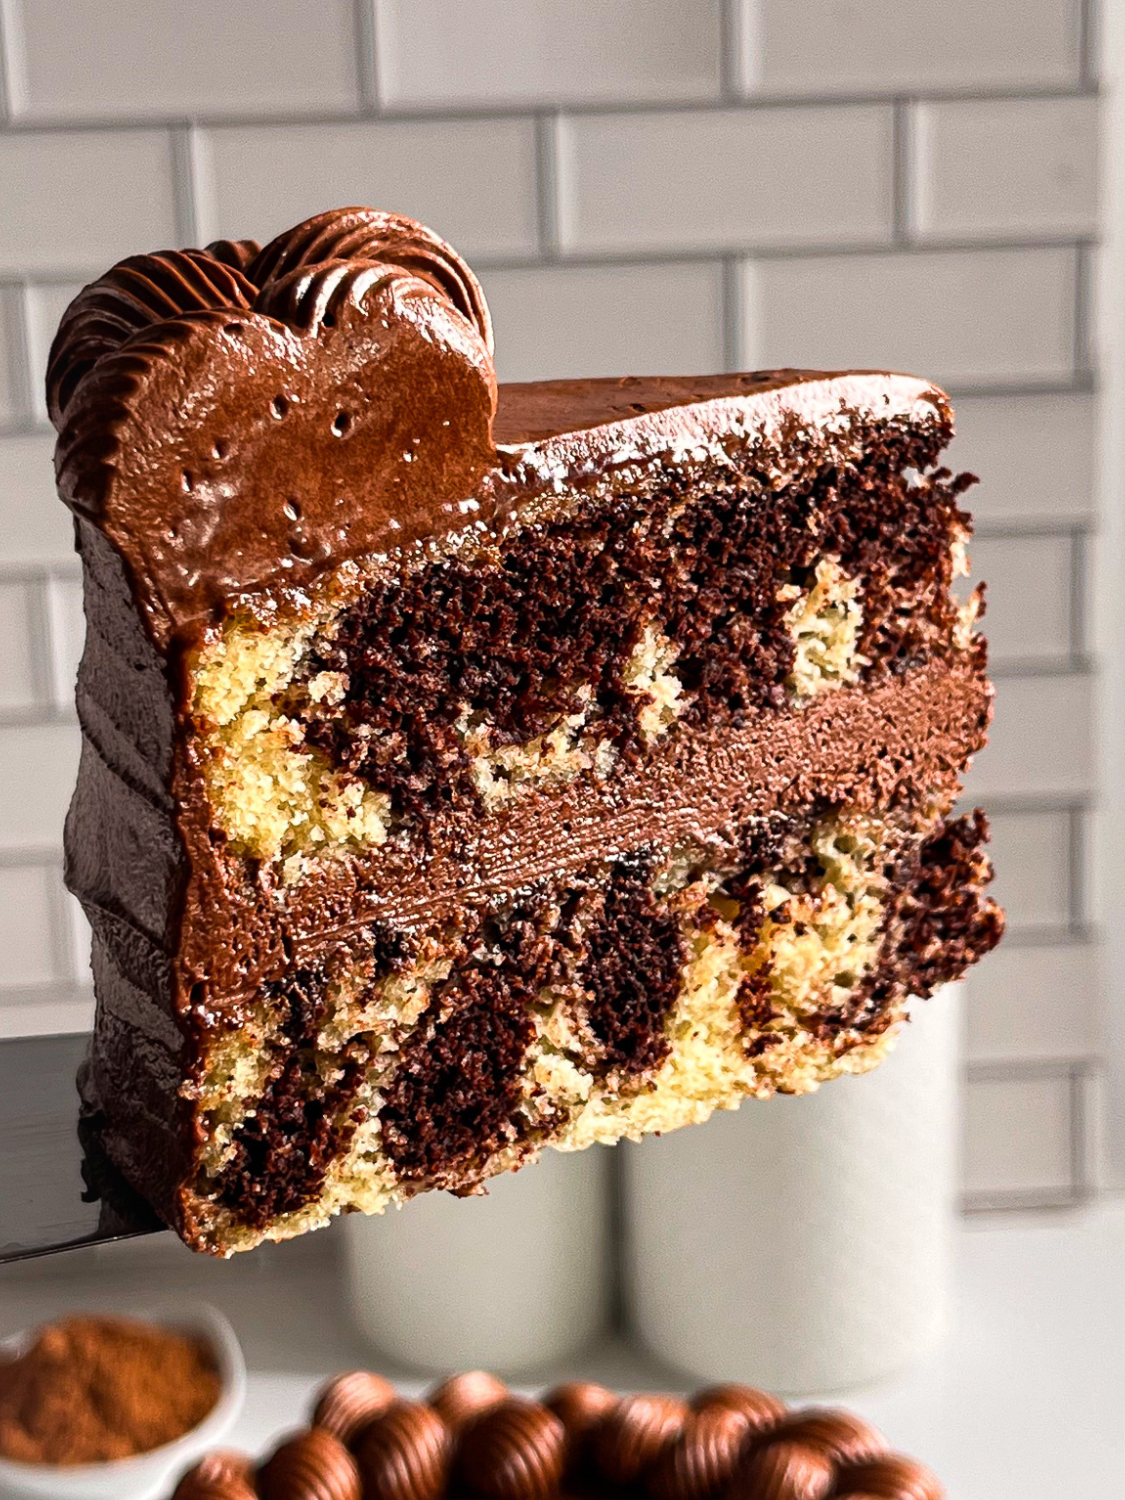
Make this Vanilla and Chocolate Marble Cake and have all the heads turning. This eggless dessert features two layers of soft, moist sponge cake with a marbled swirl of vanilla and chocolate cake batter. The cake is frosted with creamy chocolate buttercream, creating a decadent treat that’s sure to impress. Ideal for birthdays, gatherings, or just because, this cake is surprisingly simple yet delivers a rich, indulgent flavor.

Moist and Fluffy Marble Cake Recipe

Marble cakes have been around since the dawn of time and there are so many ways to make them. The most classic combination of vanilla and chocolate might be one of my favorites as it just oozes nostalgia and decadence! This Chocolate and Vanilla Marble Cake is truly the best of both worlds, the vanilla’s light and fragrant sweetness swirled with the chocolate’s rich, decadent taste is pure paradise in a bite! I made this recipe totally eggless and vegan as per usual and the whole recipe is adapted to be plant based or just eggless if preferred. The steps are very straight forward and if you want the perfect marble effect I suggest taking your time, enjoying the process and reading all my special tips! This cake is topped with a smooth chocolate buttercream, making it ideal for any celebration or simply to satisfy a sweet craving. 
What You’ll Need To Make Marble Cake

Chocolate and Vanilla Marble Cake Ingredients

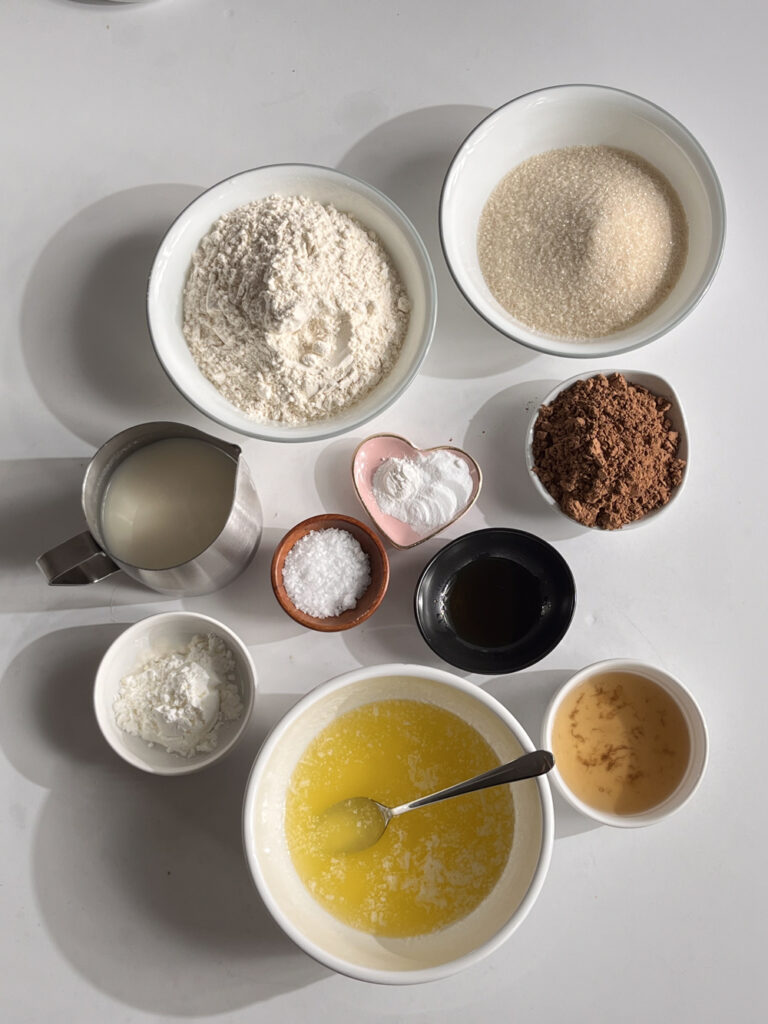
Marble Cake Ingredients

  • Milk: Adds moisture to the cake, creating a soft, tender crumb. For a dairy-free version, use any plant-based milk such as almond, soy, or oat.
  • Lemon Juice: Lemon juice curdles the milk, mimicking buttermilk, which helps the cake rise and stay light and fluffy.
  • Vanilla Extract: Vanilla extract adds a warm, sweet aroma that enhances the flavor of both the vanilla and chocolate parts of the cake.
  • Cane Sugar: Cane sugar provides sweetness and moisture, helping to create a soft texture in the cake. It also caramelizes slightly when baked, adding a hint of depth.
  • Butter (Melted): Butter adds richness to the cake, giving it a tender texture and buttery flavor. Melted butter also helps the cake stay moist, adding a rich layer to each bite. Use dairy free butter if necessary.
  • All-Purpose Flour: Flour gives the cake structure and stability. It’s essential for creating a soft but sturdy cake that holds together well. If you want to make this cake gluten free use an all purpose gluten free flour that includes xanthan gum.
  • Cornstarch: Helps to soften the cake’s texture, giving it a delicate crumb. It also absorbs moisture, preventing the cake from becoming too dense.
  • Baking Powder: Baking powder leavens the cake, helping it rise and creating a light, fluffy texture.
  • Baking Soda: Baking soda works with lemon juice to provide additional lift, making the cake airy and preventing it from being dense.
  • Salt: Salt balances the sweetness in the cake and enhances the flavors of both the chocolate and vanilla components.

Chocolate Paste Ingredients

  • Natural Cocoa Powder: Cocoa powder gives the chocolate batter its rich, deep flavor, creating a contrast with the vanilla batter.
  • Hot Water: Hot water dissolves the cocoa powder, creating a smooth chocolate paste that blends well into the cake batter.

Chocolate Frosting Ingredients

  • Butter: Butter provides the base for the frosting, creating a creamy, smooth texture. Vegan butter sticks can be used as a dairy-free alternative without compromising flavor.
  • Powdered Sugar: Powdered sugar sweetens the frosting and provides a smooth, velvety texture. Sifting it prevents any lumps in the final buttercream.
  • Cocoa Powder: Gives the frosting its rich chocolate flavor, pairing perfectly with the marble cake.
  • Whipping Cream: Whipping cream adds creaminess to the frosting, making it fluffy and light. It also helps create a spreadable consistency for easy frosting.
  • Vanilla Extract: Rounds out the flavors in the frosting, adding a subtle warmth and balancing the sweetness of the sugar.
  • Salt: A pinch of salt enhances the chocolate flavor and balances the sweetness in the frosting, creating a well-rounded taste.

How to Make a Chocolate and Vanilla Marble Cake

Prepare the Chocolate Paste and Batter

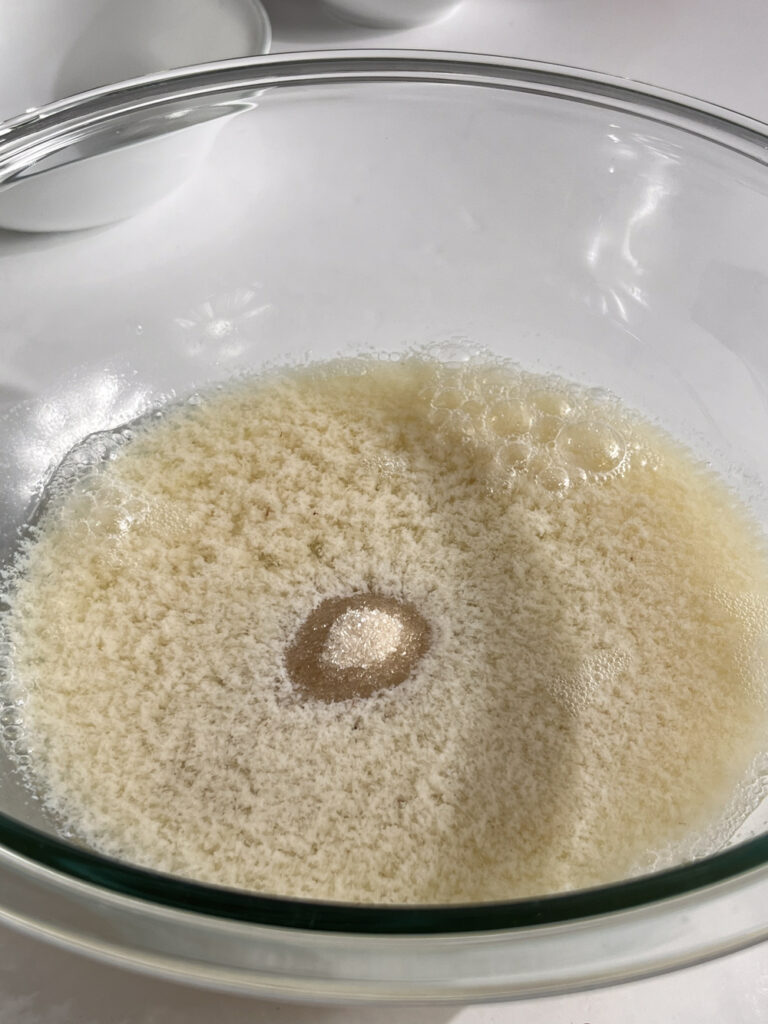
Preheat your oven to 350°F (175°C) and grease and line two 8-inch cake pans with baking paper. In a large bowl, combine the milk and lemon juice and let it sit for about 15 minutes until it curdles. Next, add the sugar and vanilla extract to the curdled milk mixture, whisking until the sugar dissolves. 
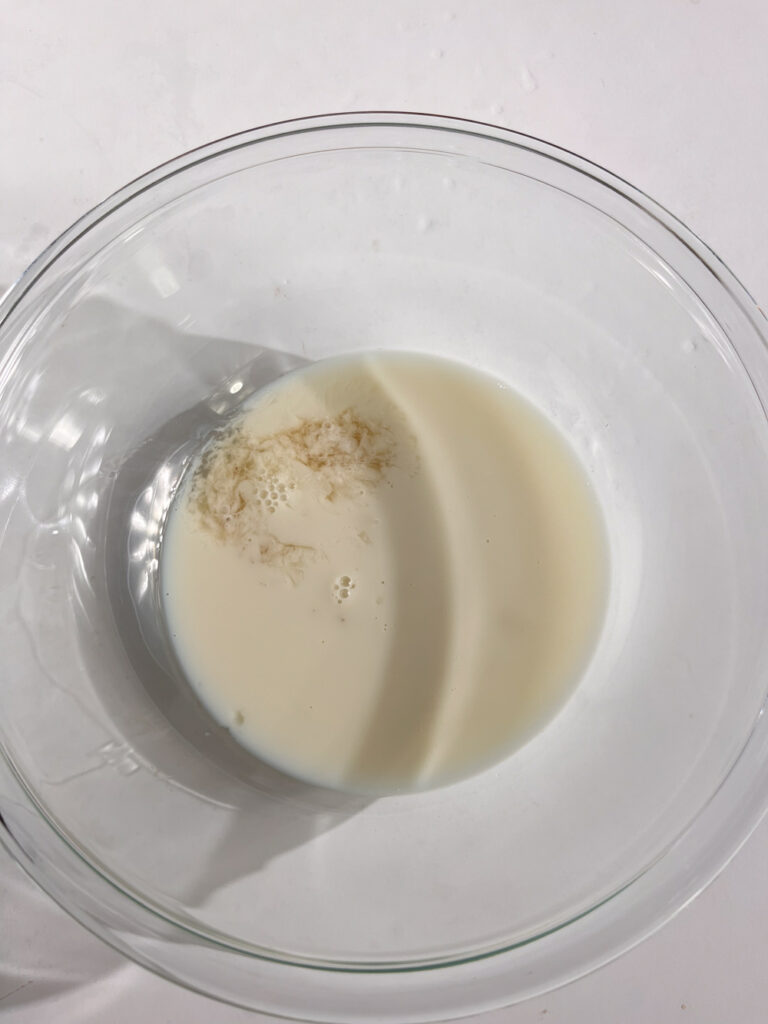
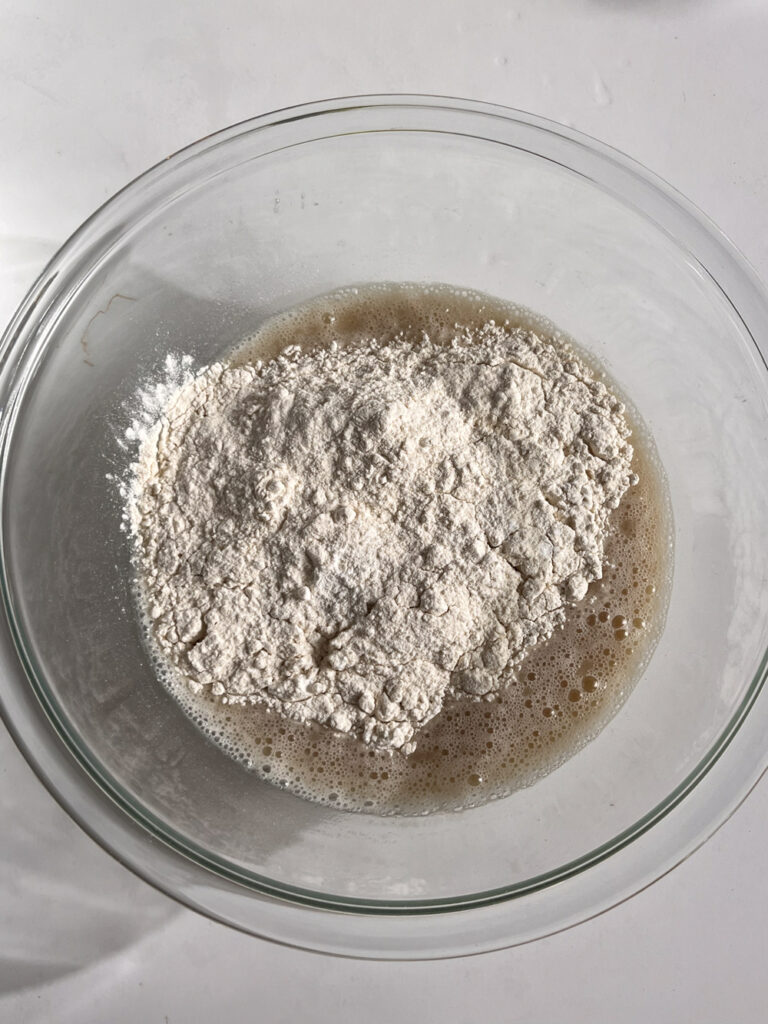
In a separate bowl, mix together the dry ingredients (except for the cocoa powder), then gradually add them to the milk mixture, whisking until smooth. Finally, mix in the melted butter until fully incorporated. Pour one-third of the cake batter into a separate bowl. 
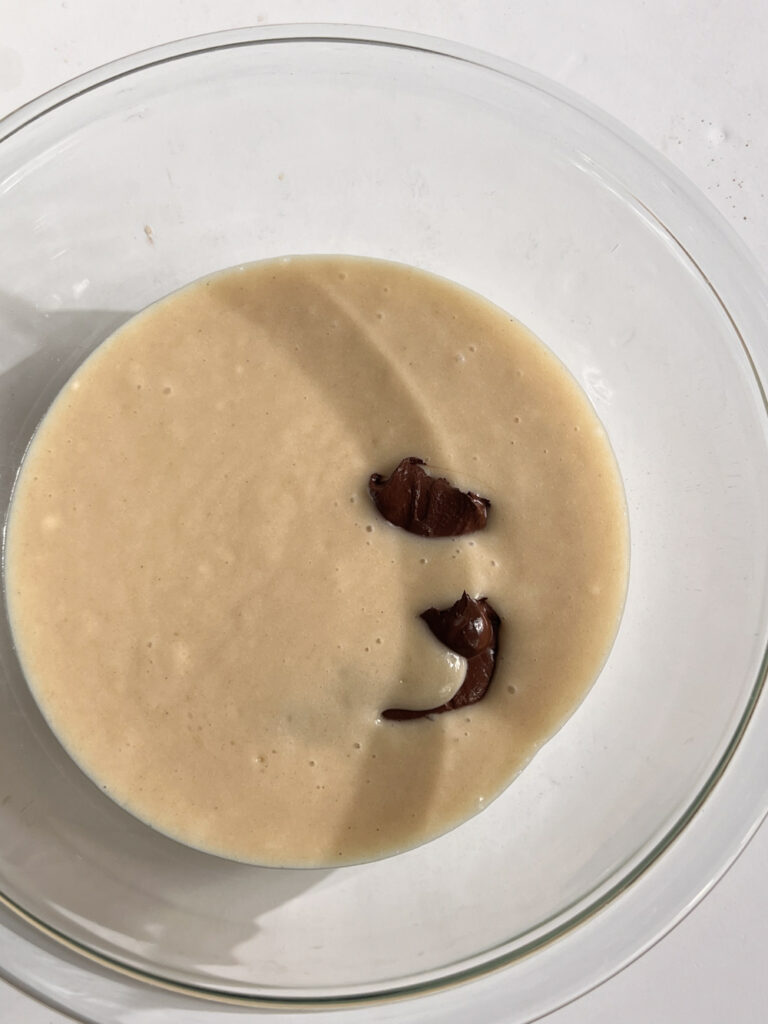
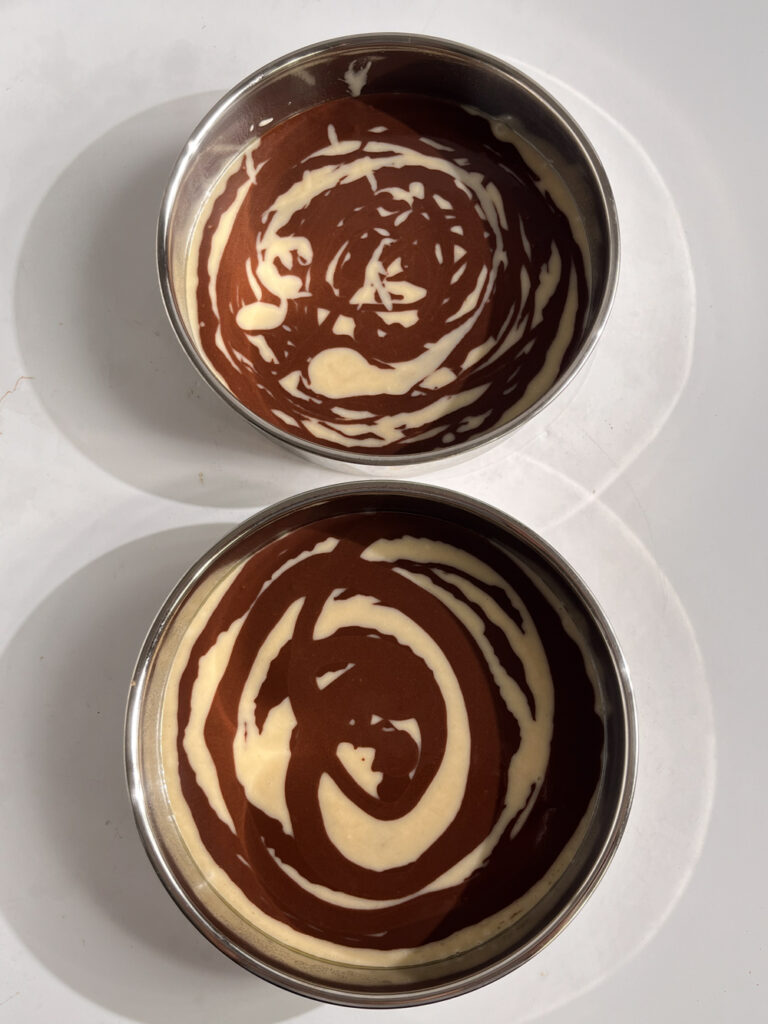
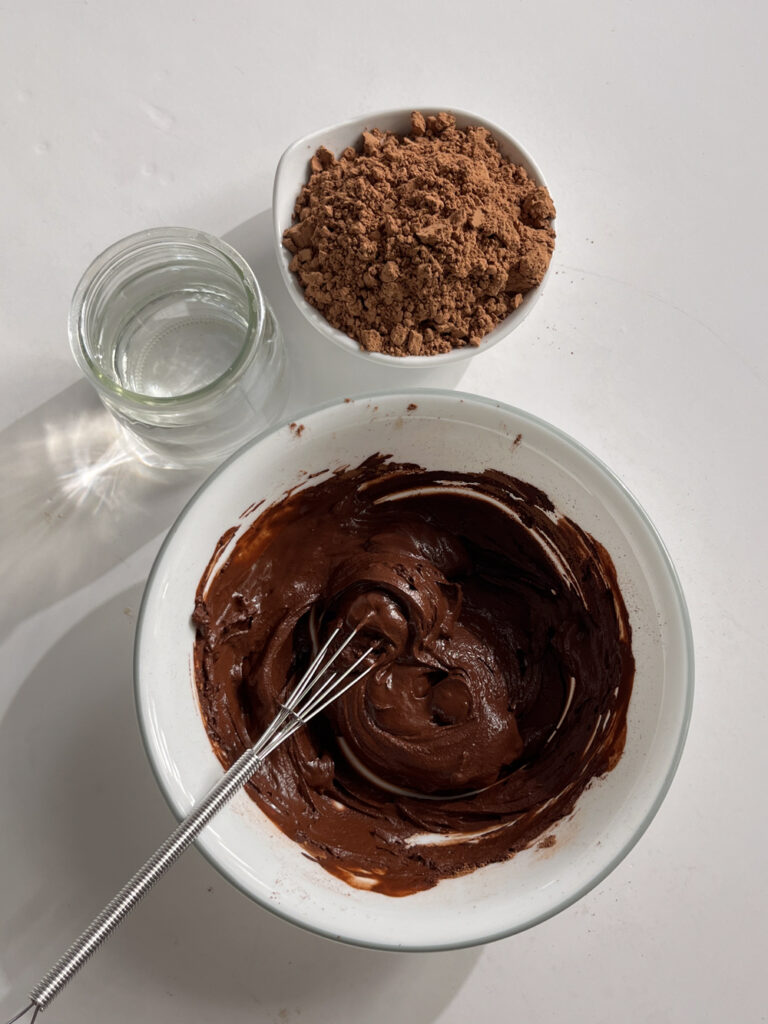
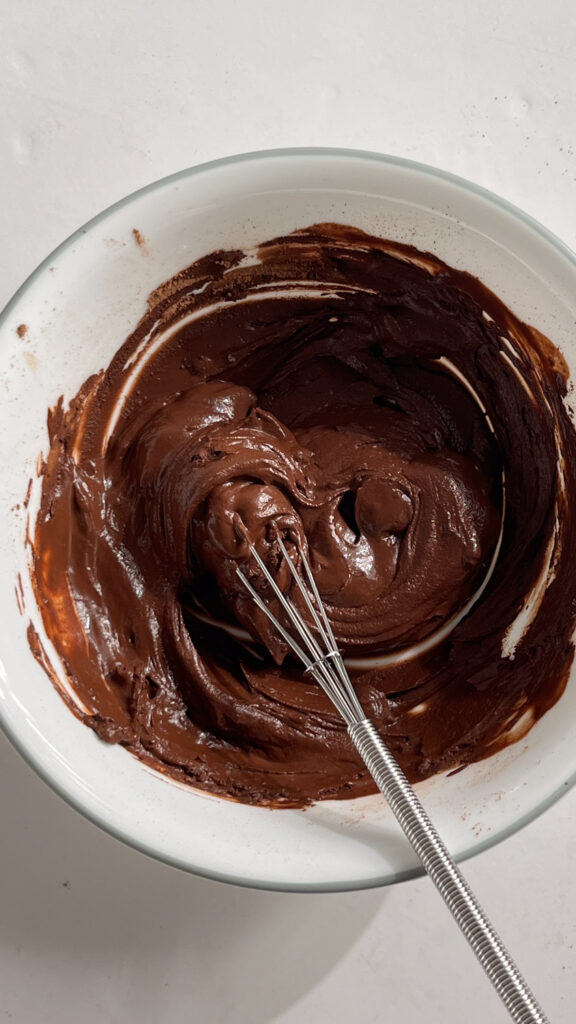
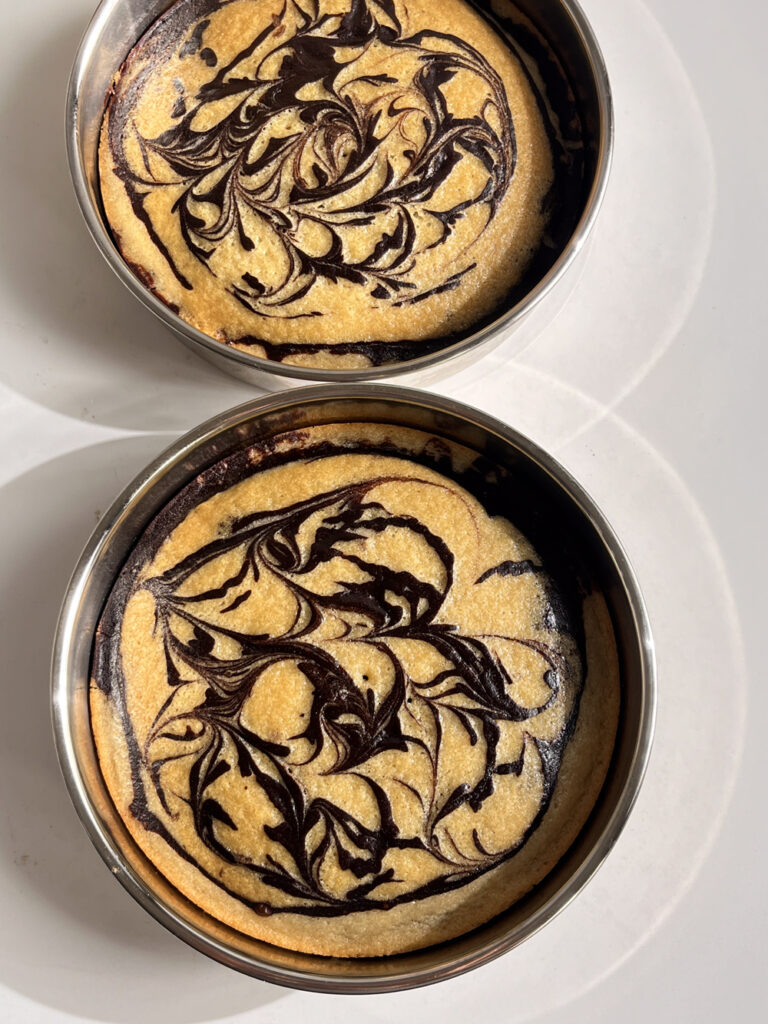
To make the chocolate paste, combine cocoa powder with hot water, stirring until smooth, then mix it into the reserved batter to create the chocolate portion. Alternate spoonfuls of vanilla and chocolate batter into the prepared cake pans, then use a skewer to swirl and create a marbled pattern. Gently tap the pans to level the batter, and bake for 25-30 minutes, or until the cake is firm to the touch.

Make the Chocolate Frosting

In a mixing bowl fitted with a paddle attachment or using a handheld electric whisk, whip the butter on medium speed until light and fluffy. Gradually add the powdered sugar in two parts, mixing until smooth and fluffy, about 4-5 minutes. Add the cocoa powder, mixing until well combined. Finally, pour in the cream, vanilla extract, and a pinch of salt, whipping until the frosting is creamy and spreadable.

Assemble the Cake

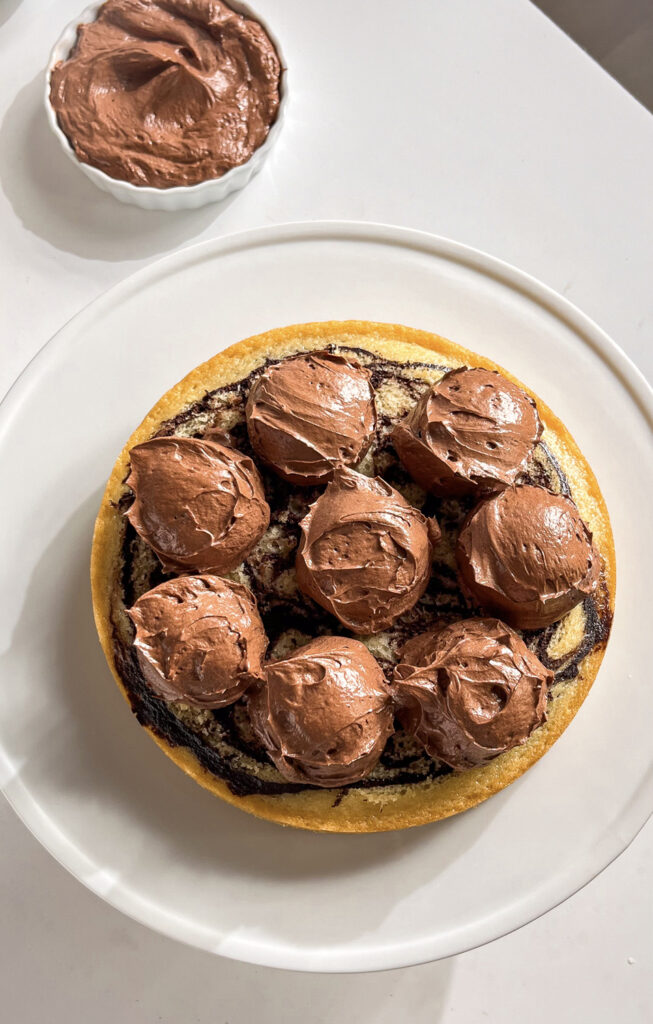
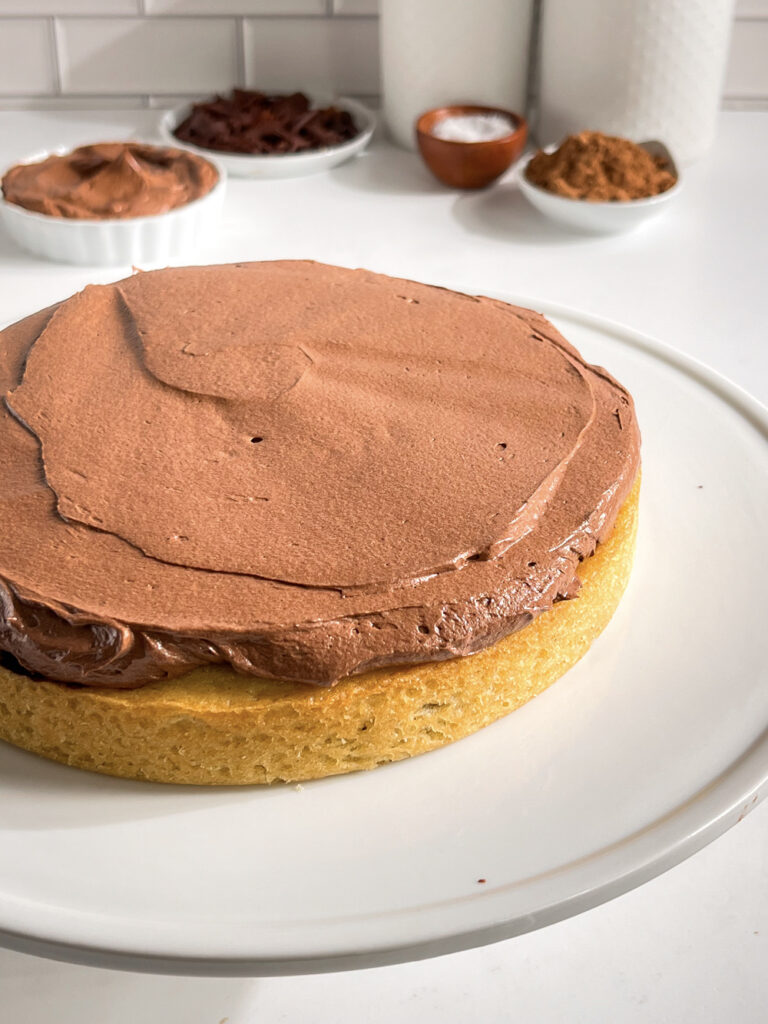
Once the cake layers have cooled, trim a thin layer from each to ensure they stack evenly. Place a small amount of frosting on the center of your cake stand or serving plate, then add the first cake layer on top. Spread a generous layer of frosting (about 5-6 scoops) over the top of this layer, smoothing it with an offset spatula. 

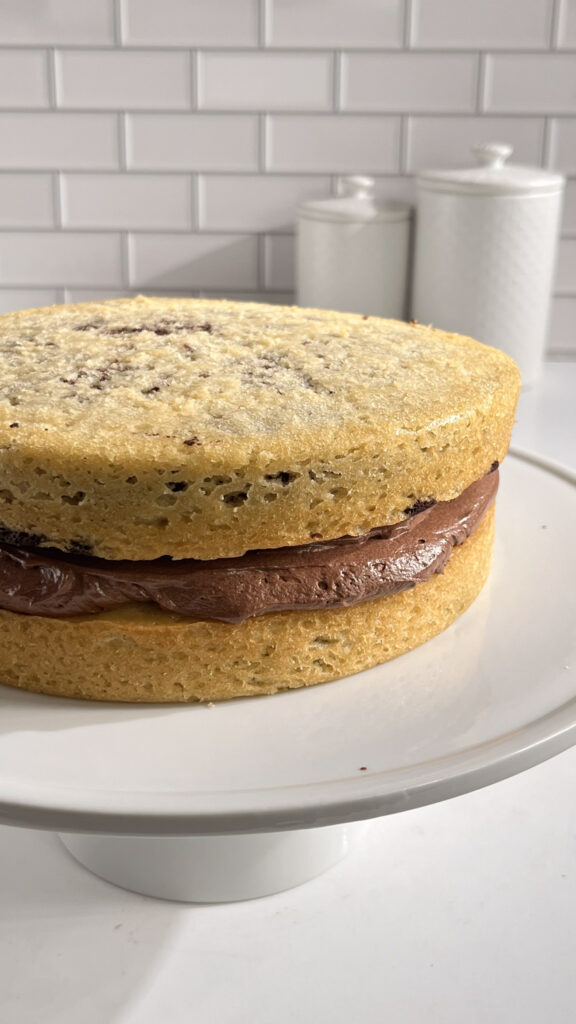
Carefully place the second cake layer on top, aligning it as evenly as possible. Apply a crumb coat by spreading a thin layer of frosting over the entire cake to seal in crumbs, then chill in the refrigerator for about 30 minutes to set. After the crumb coat is set, apply the final layer of frosting, smoothing the top and sides with an offset spatula or a bench scraper for a clean finish. 

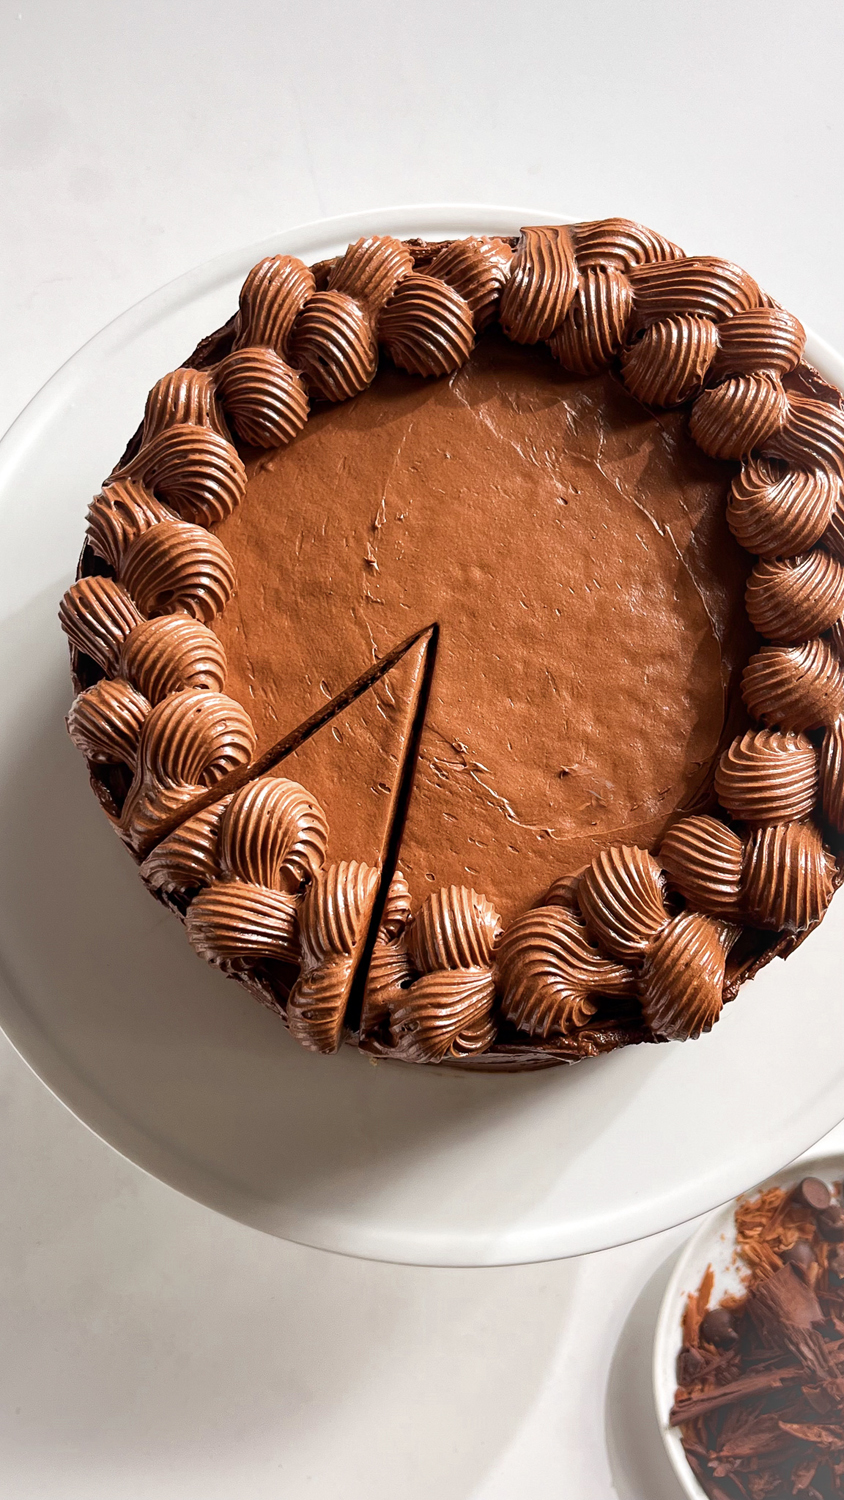
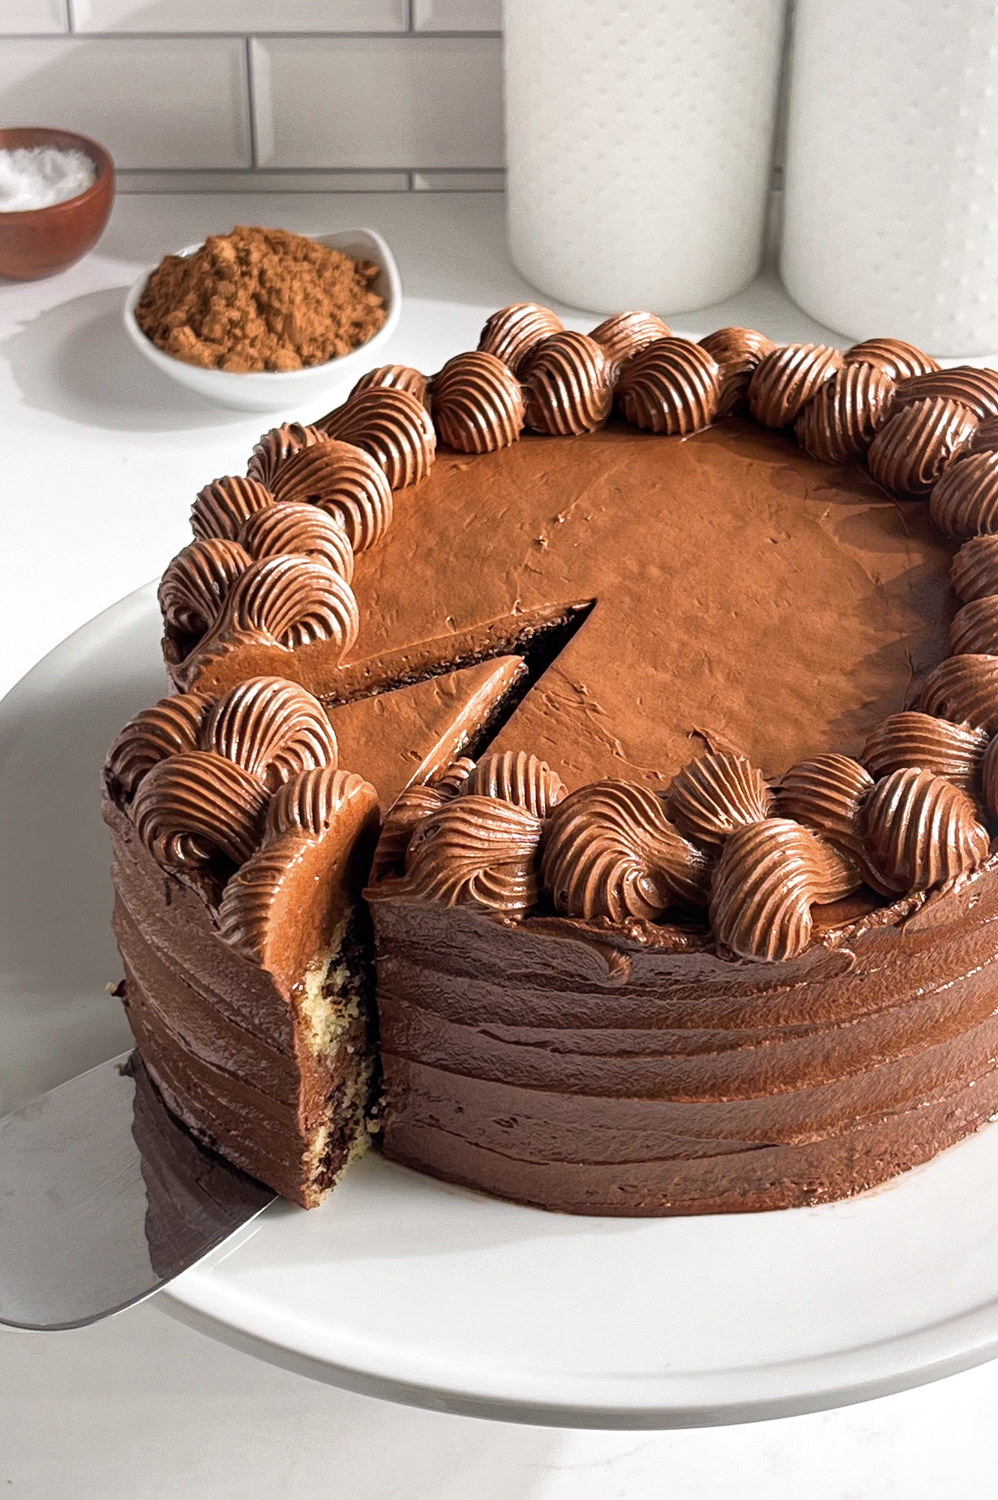
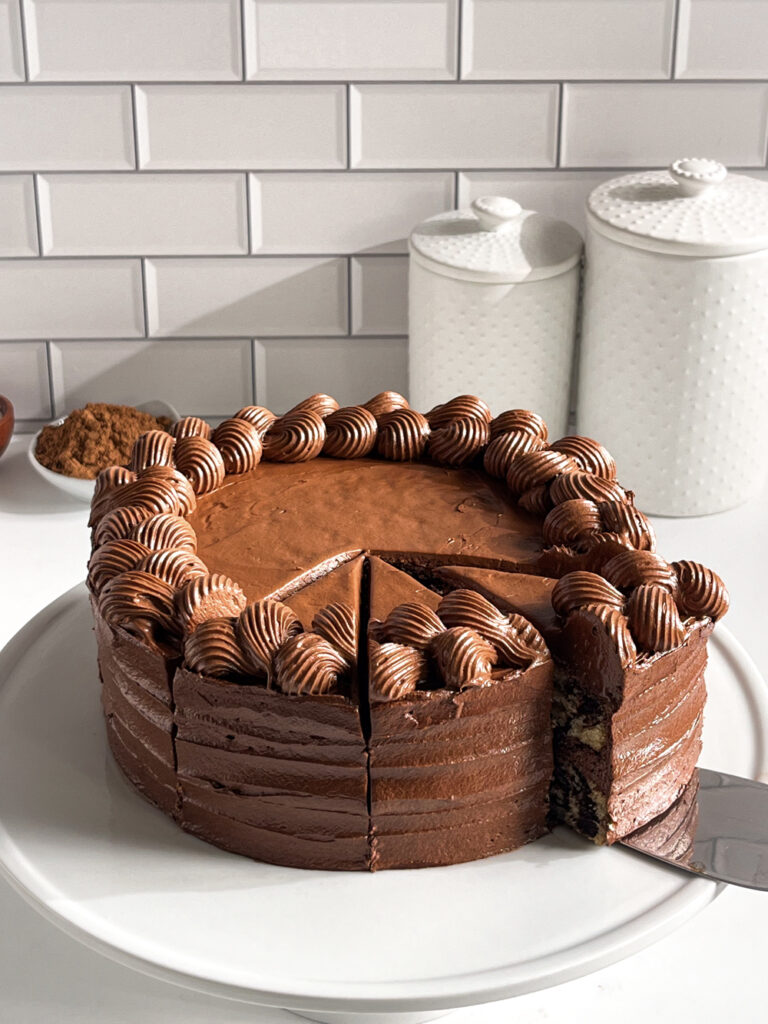
If desired, use a piping bag to add rosettes or borders along the top and sides. Chill the assembled cake for at least 30 minutes to set the frosting. Before serving, allow the cake to come to room temperature for 10-15 minutes to enhance the flavors. Enjoy your beautifully marbled vanilla and chocolate cake!

How to Store Your Baked Cake

To keep your marble cake fresh, store it in an airtight container at room temperature if you plan to enjoy it within a few days. Be sure to place it in a cool, dry spot away from direct sunlight and heat. For longer storage, refrigerate the cake for up to 2-3 days, covering it with plastic wrap or using an airtight container to preserve freshness and prevent the frosting from drying. 

Why You’ll Love This Cake

This marble cake is a visual delight, featuring an elegant swirl of vanilla and chocolate that makes it the perfect centrepiece for any occasion. The beautiful contrast of flavors in each slice offers a unique, eye-catching effect that’s sure to impress. Alongside its looks, the classic combination of vanilla and chocolate creates a satisfying taste experience, ensuring each bite is a balanced mix of rich, familiar flavors.

The cake’s light and moist texture, achieved through a carefully balanced recipe, provides a tender crumb and richness that makes it truly unforgettable. Despite its elegant appearance, the recipe is straightforward and approachable for bakers at any level. Plus, it’s easily adaptable to various dietary needs—simply substitute it with dairy-free ingredients to create a vegan-friendly version, ensuring everyone can enjoy this delicious treat!

Marble Cake Frequently Asked Questions

Tips and Tricks for Chocolate and Vanilla Marble Cake

  • Use Room Temperature Ingredients: Ensure that key ingredients like butter and milk are at room temperature to create a smooth, well-mixed batter with a soft texture.
  • Swirl for the Perfect Marble Effect: Drop spoonfuls of chocolate and vanilla batter alternately into the pans, then use a skewer or knife to swirl gently for an even, beautiful marble pattern without overmixing. Patience is key here, do not rush the marble process or else you will not have definition between the colors.
  • Prepare and Line Pans Properly: Grease and line your cake pans with parchment paper to prevent sticking and ensure the cake layers come out easily without breaking.
  • Check for Doneness Carefully: Bake the cake on the middle rack and use a toothpick or cake tester; it should come out clean or with a few crumbs when the cake is fully baked.
  • Frost Like a Pro: Apply a thin “crumb coat” of frosting, then refrigerate the cake for 30 minutes to lock in crumbs before adding the final, smooth layer of frosting for a polished finish.

Did you make this cake?

Make sure you leave a rating and review below! Try these recipes next:

Meet Saloni

I’m a former pastry chef with a love for breads, cakes and everything in between! My recipes are easy to follow, egg free and are designed to be shared with others!

popular recipes

Get new recipes first!

Check out my Cookbook

Get tips from a pro!

No ratings yet

Vanilla and Chocolate Marble Cake

Make this Vanilla and Chocolate Marble Cake and have all the heads turning. This eggless dessert features two layers of soft, moist sponge cake with a marbled swirl of vanilla and chocolate cake batter. The cake is frosted with creamy chocolate buttercream, creating a decadent treat that’s sure to impress. Ideal for birthdays, gatherings, or just because, this cake is surprisingly simple yet delivers a rich, indulgent flavor.
Author: Saloni Mehta
Rate
Yield: 10 servings
Prep: 30 minutes
Cook: 45 minutes
Total: 2 hours

Equipment

Ingredients

Marble Cake Ingredients

  • 280 ml Milk*
  • 26 ml Lemon Juice
  • 2 tsp Vanilla Extract
  • 280 g Cane Sugar*
  • 110 g Butter* melted
  • 265 g All Purpose Flour
  • 19 g Cornstarch
  • 2 tsp Baking Powder
  • ½ tsp Baking Soda
  • ¼ tsp Salt

Chocolate Paste Ingredients

  • 25 g Natural Cocoa Powder
  • 60 ml Hot Water

Chocolate Frosting Ingredients

  • 300 g Butter*
  • 270 g Powdered Sugar sifted
  • 80 g Cacao Powder sifted
  • 60 ml Whipping Cream in liquid form
  • 2 tsp Vanilla Extract
  • Pinch of Salt
Shop Ingredients on Jupiter

Instructions

Marble Cake Instructions

  • Preheat the oven to 350f (175C).
  • Grease with oil and line two 8 inch ( 20cm) cake pans with baking paper.
  • Combine milk and lemon juice in a bowl, and let it sit for 15 min until it is curdled.
  • Add sugar and vanilla. Mix with a whisk until sugar is dissolved.
  • Combine and sift dry ingredients ( all purpose flour, corn starch, baking powder, baking soda and salt) to the milk mixture. (except for cacao powder). Mix with a whisk to create a smooth batter.
  • Add melted butter. Mix until well combined.
  • Pour 1/3 of the cake batter into a separate bowl.
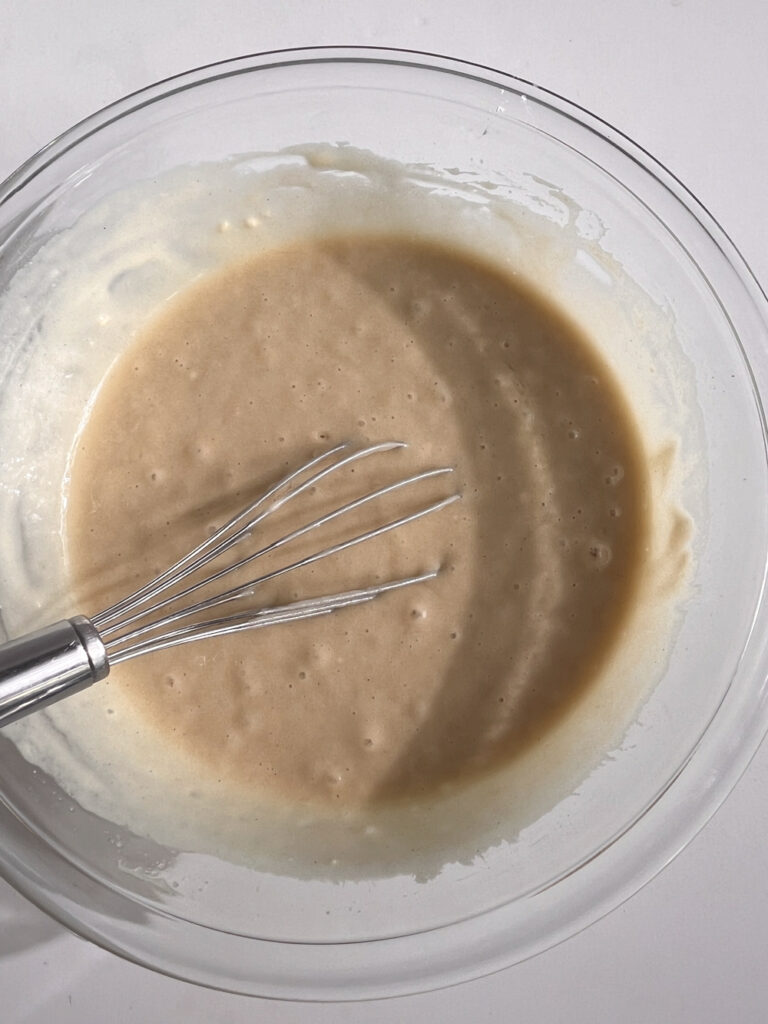
  • Prepare cacao paste by combining cocoa powder - hot water in a bowl. Add it to the 1/3 of the cake batter and mix properly.
  • Alternate vanilla batter with chocolate batter into the cake pans. Use a skewer to create a marbled pattern. Tap gently.
  • Bake for about 25 - 30 minutes or until firm to touch.

Chocolate Frosting Instructions

  • Use a mixing bowl fitted with the paddle attachment or a handheld electric whisk.
  • Whip the butter until it is light and fluffy on medium speed with an electric whisk.
  • Add sifted powdered sugar in 2 parts.
  • Mix on medium speed until it is light-smooth for 4-5 minutes.
  • Add sifted cocoa powder and mix until combined.
  • Pour cream, vanilla, salt and mix until fluffy and smooth.

Cake Assembly Instructions

  • Trim a thin layer of both cakes to level them with a serrated knife to ensure they stack evenly.
  • Place a small amount of frosting on the center of your cake stand or serving plate.Place one layer of the cake on the prepared cake stands or plate.
  • Using an offset spatula or butter knife, spread a generous layer of frosting (at least 5-6 scoops) evenly over the top of the first cake layer. Smooth it out to ensure an even surface.
  • Carefully place the second cake layer on top of the frosted first layer. Align it as evenly as possible.
  • Apply a crumb coat by spreading a thin layer of frosting over the entire cake. This layer seals in any crumbs and creates a smooth surface for the final coat. Chill the cake in the refrigerator for about 30 minutes.
  • After the crumb coat has been set, apply the final layer of frosting. Smooth it out with the offset spatula.
  • For a clean finish, you can use a bench scraper to smooth the sides.
  • If desired, use a piping bag to pipe rosettes or borders, to the top and sides of the cake.
  • Refrigerate the assembled cake for at least 30 minutes to allow the frosting to set and make slicing easier.
  • Once the cake is chilled and the frosting is set, remove it from the refrigerator and let it come to room temperature for about 10-15 minutes before serving. This allows the flavors to fully develop.

Notes

  • Cup vs weighing scale: The US customary cup measurement serves as a rough estimate, as it can have uncertainties, so for precise results, it's recommended to weigh your ingredients using a digital scale in grams
  • Before you start to make any recipe, measure and prepare your ingredients so the process will go smoothly and easily.
  • For teaspoon (tsp) and tablespoon (tbsp) measurements, please use measuring spoons and not the type of spoons you eat with for accuracy.
  • Milk: You can use any dairy-free unsweetened milk (like almond, soy, oat) or dairy-based whole milk.
  • Butter: Dairy-free butter sticks or any butter of your choice.
  • Lemon Juice: You can substitute with Apple Cider Vinegar / White Vinegar and vice-versa.
  • Whipping Cream: Use Dairy-free unsweetened whipping cream for a vegan version or any full-fat whipping cream of your choice.
  • Sugar: Cane sugar can be substituted with granulated sugar or castor sugar. Ensure the sugar is vegan-friendly (some sugars are processed with bone char) or use organic cane sugar.

Did you try this recipe? Leave a review!

Leave a Reply

Your email address will not be published. Required fields are marked *

Recipe Rating


Try these recipes next!

get new recipes right to your inbox!