prep time: 25 min | bake time: 25 min | total time: 2 hrs 25 min
Home » Nutella Brioche Rolls
If you’ve been dreaming of soft, fluffy eggless Nutella brioche rolls but thought they were too complicated to make at home, think again! This recipe brings together the best of both worlds—rich, buttery brioche dough and the irresistible swirl of creamy Nutella or your favorite dairy-free chocolate hazelnut spread—without the hassle.
This eggless recipe proves that you don’t need eggs to create that signature brioche texture. With just a few pantry staples and a little time, you’ll have a batch of freshly baked rolls that are soft on the inside, crispy on the outside, and filled with gooey, chocolatey goodness.
These rolls are perfect for a cozy breakfast, an indulgent afternoon snack, or even a special treat for guests. The beauty of this recipe lies in how simple it is to prepare, yet the end result feels like a special occasion. So, let’s dive in and start making these melt-in-your-mouth Nutella brioche rolls that will have everyone asking for the recipe!
First things first, let’s wake up that yeast! In a mixing bowl, combine warm milk, a tablespoon of sugar, and your active dry yeast. Give it a little stir, and then let it sit for about 10 minutes. You’ll know it’s ready when the mixture becomes all foamy and bubbly—this is your yeast doing its thing, and it means your dough will rise beautifully.
Now, add half of your flour and the 1/4 cup of sugar to the bowl. I love using my stand mixer with a dough hook for this part—just mix it all together until the ingredients start coming together in a doughy hug.
Once that’s done, add the rest of the flour and the salt, then let the mixer work its magic until everything is well combined. Slowly, piece by piece, add the soft butter, and let it mix on medium speed for 8 to 10 minutes. By the end, your dough should be smooth, soft, and not sticking to the bowl anymore.
Next, it’s time to get a little hands-on. Lightly flour your work surface and gently knead the dough by hand for a minute or two. Then, place it in a greased bowl, cover it with plastic wrap, and let it rise in a warm spot for about an hour—watch it double in size like a little magic trick!
Once your dough has risen, lightly flour your work surface, rolling pin, and dough. Roll it out into a 12 x 18-inch rectangle—don’t worry about being too exact here, just aim for a nice even spread. Now, the fun part: Spread your Nutella generously over the surface, making sure to reach every corner. It’s about to get delicious!
Next, fold the dough like a letter—first the top third down, then fold the bottom third over it. It’s like tucking your dough in for a little nap. Cut the dough into 1-inch-wide strips using a pizza cutter (the easiest tool for this), then twist each strip and roll it up into a spiral. You should end up with about 10 or 11 gorgeous little rolls.
Place your twisted rolls into a greased muffin tin, cover them with a towel, and let them rise again for about 40 to 60 minutes. This second rise is where the magic happens, so be patient and let them double in size.
Once they’re puffed up and looking all perfect, preheat your oven to 350°F (175°C) and bake those rolls for 25 to 30 minutes, until they’re golden brown and irresistible.
If you want to take it to the next level, brush the warm rolls with a little maple syrup for that glossy finish and a touch of sweetness. Trust me, they’ll be absolutely divine.
If your Nutella is a little too thick to spread, no worries! Pop it in the microwave for 10–15 seconds to loosen it up. You’ll get that silky, spreadable Nutella magic without tearing the dough—smooth and easy!
Absolutely! Feel free to swap in any hazelnut or chocolate spread you love. Homemade chocolate spreads? Yes, please! You can also try dairy-free versions for a twist—there are no limits to your chocolatey indulgence!
Of course! If you don’t have a muffin tin, no problem. Arrange your rolls in a greased round or rectangular baking dish, just be sure to leave a little space between them to let them rise beautifully. It’ll still be a delicious, gooey masterpiece!
If maple syrup isn’t your thing, you’ve got plenty of other options! Brush your warm rolls with melted butter for that golden, glossy shine, or try honey for a sweet, sticky finish. You could even go for a simple sugar syrup to make them extra sweet and shiny!
No dairy butter? No problem! Vegan butter sticks or even olive oil work wonders in this recipe. I’ve personally made this with salted vegan butter sticks, and it’s just as delicious. Just make sure your butter is softened so it blends smoothly into the dough.
A stand mixer certainly makes life easier, but don’t worry if you don’t have one! You can knead the dough by hand—just give it a little extra love and time. With some elbow grease, you’ll achieve that smooth, elastic dough that’s perfect for rolling up Nutella goodness.
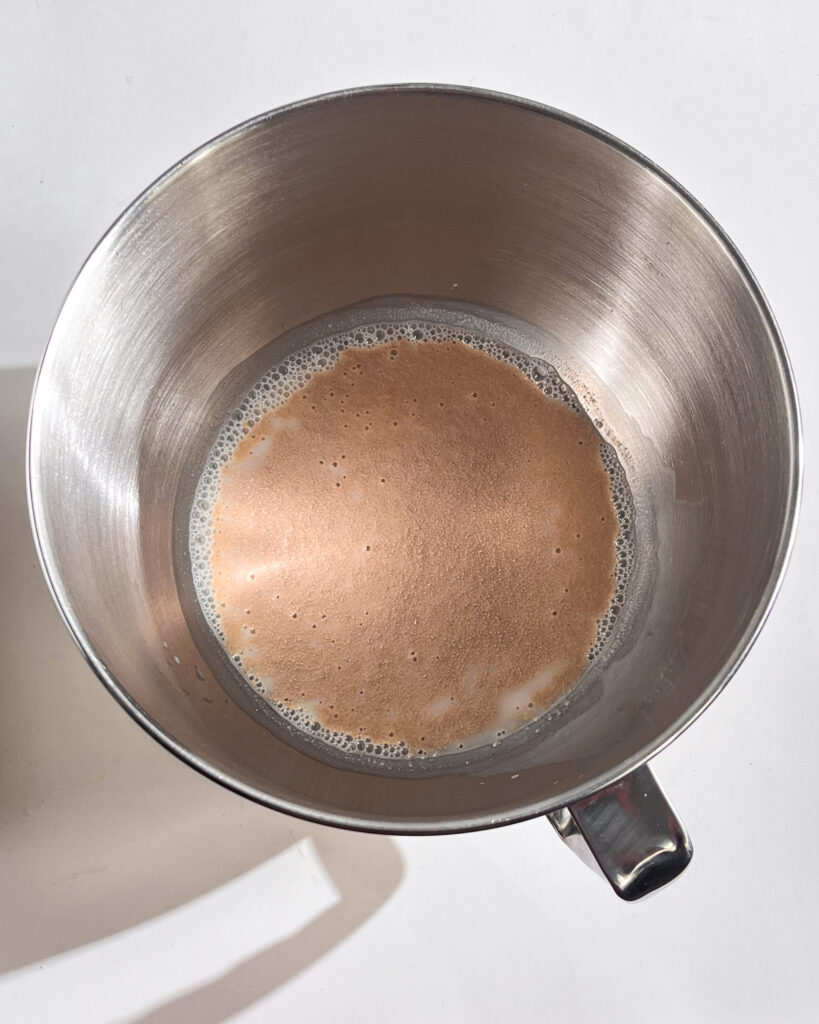
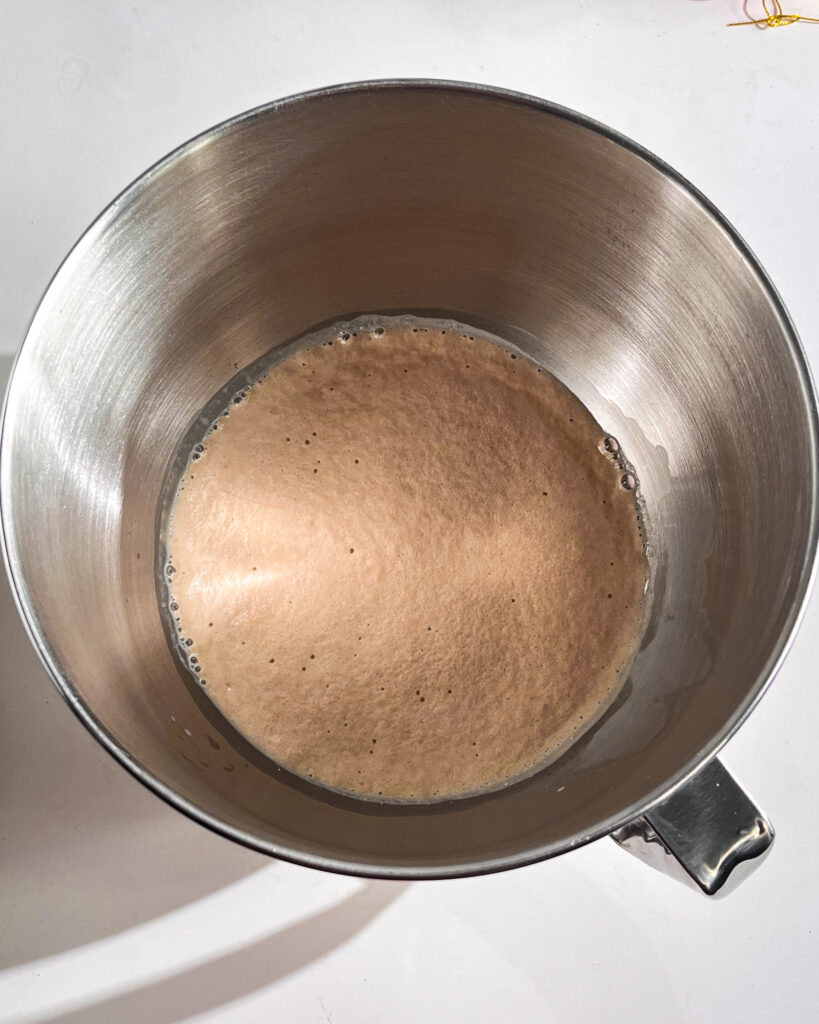
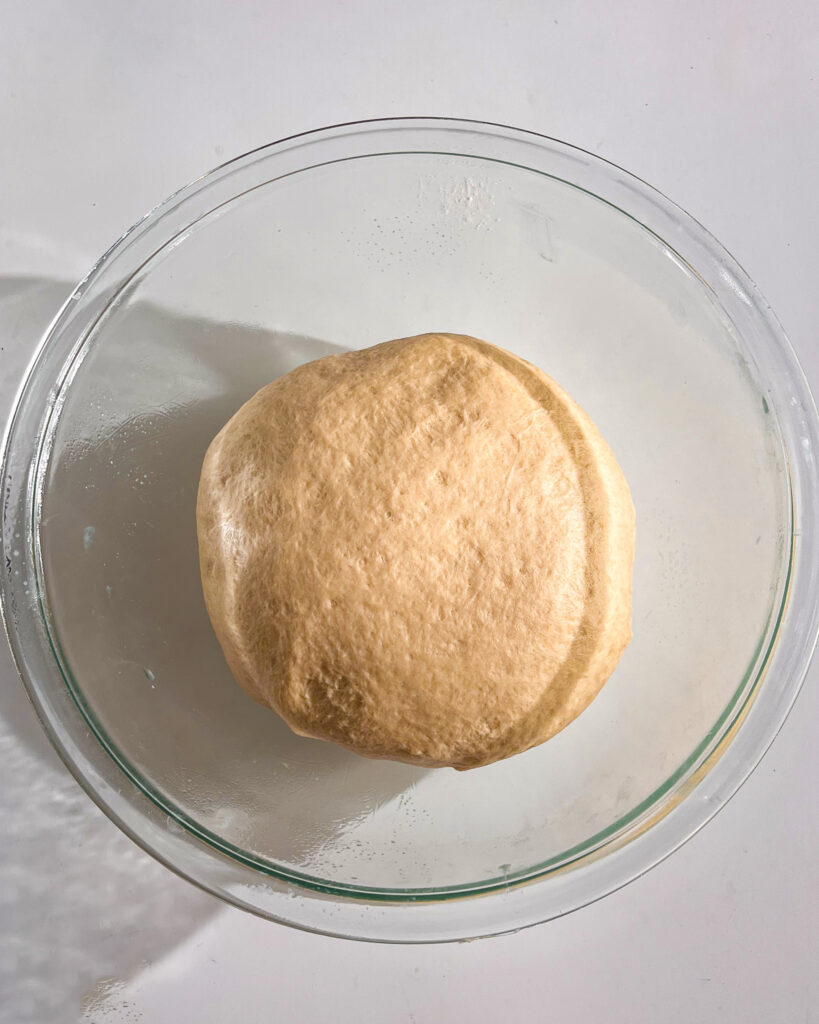
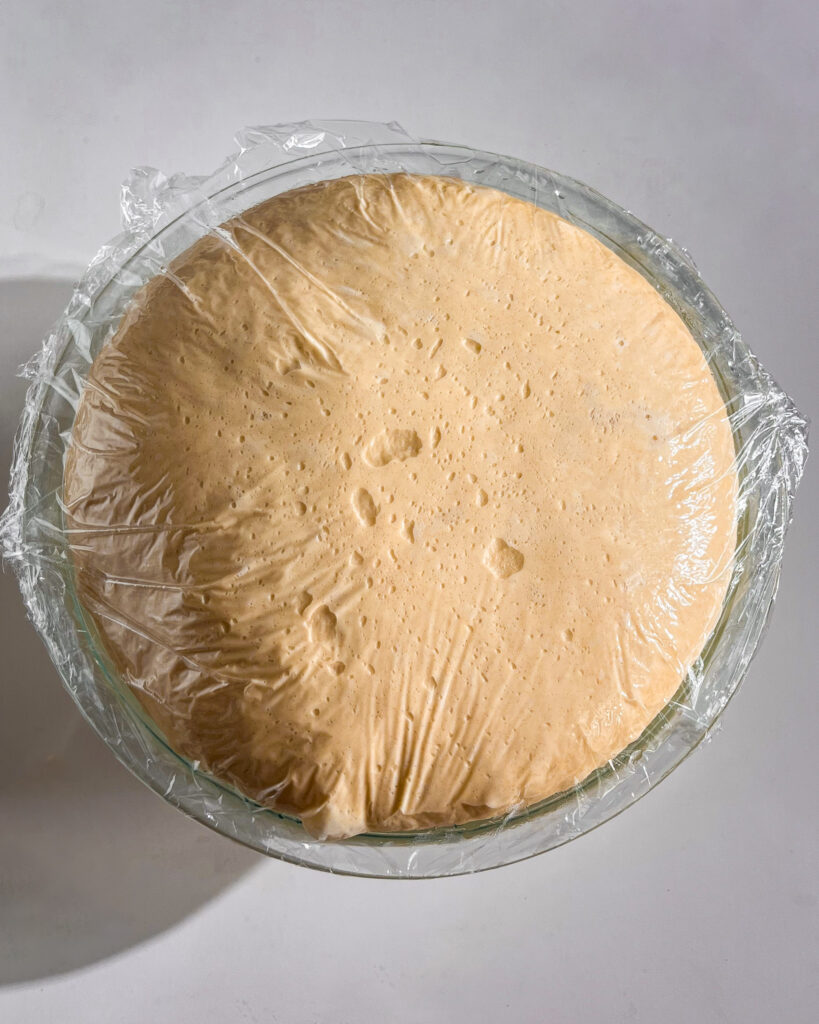
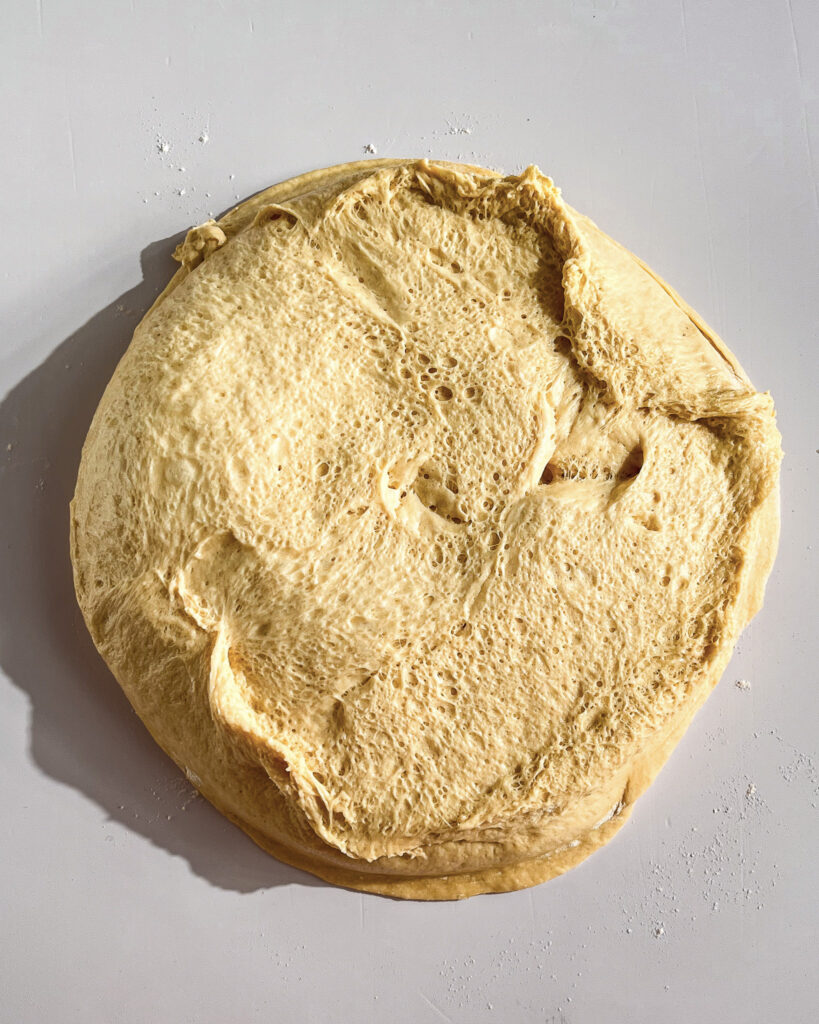
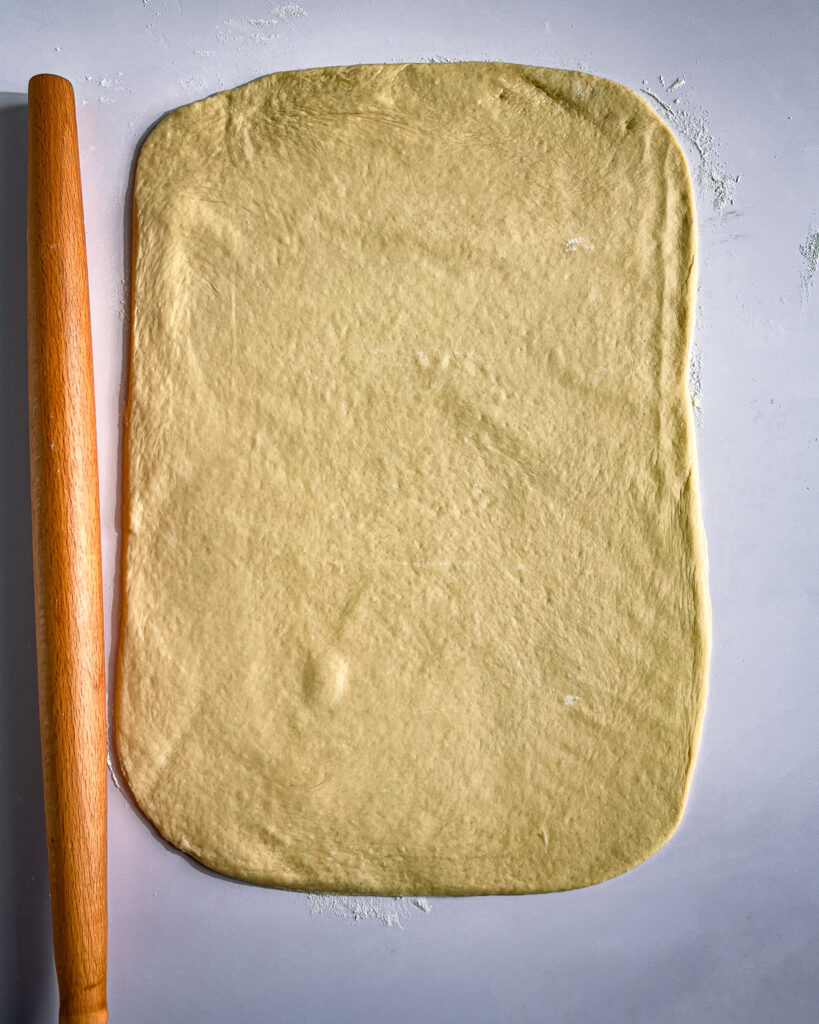
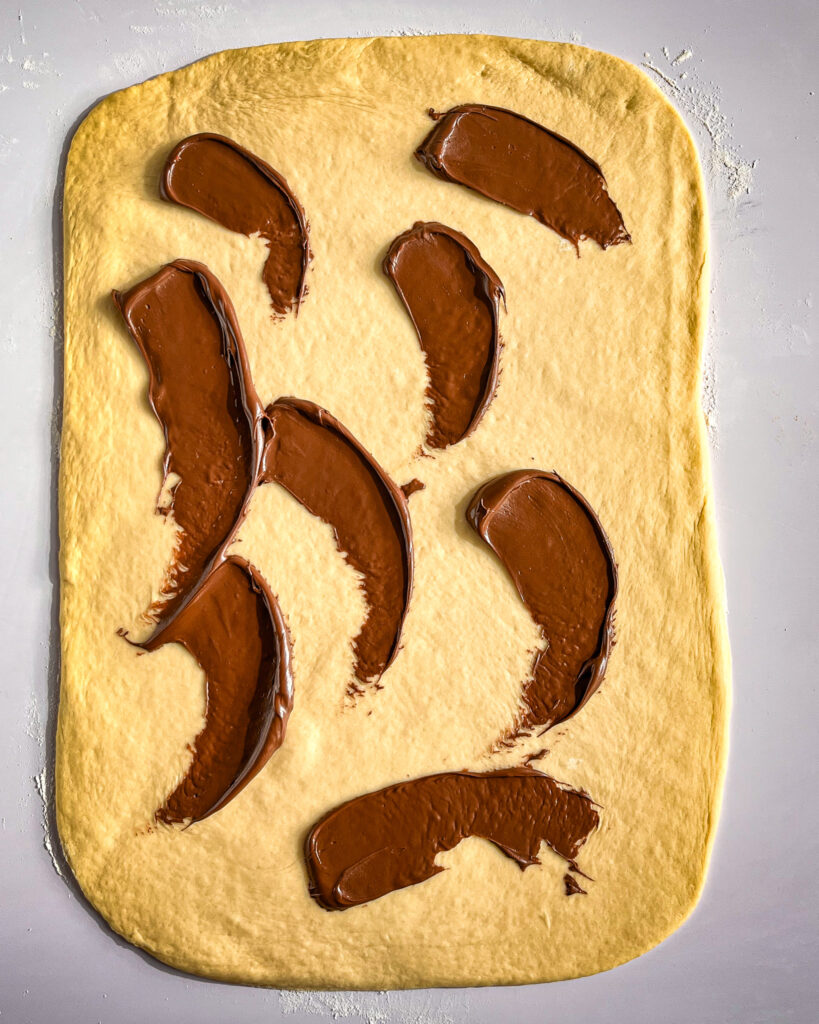
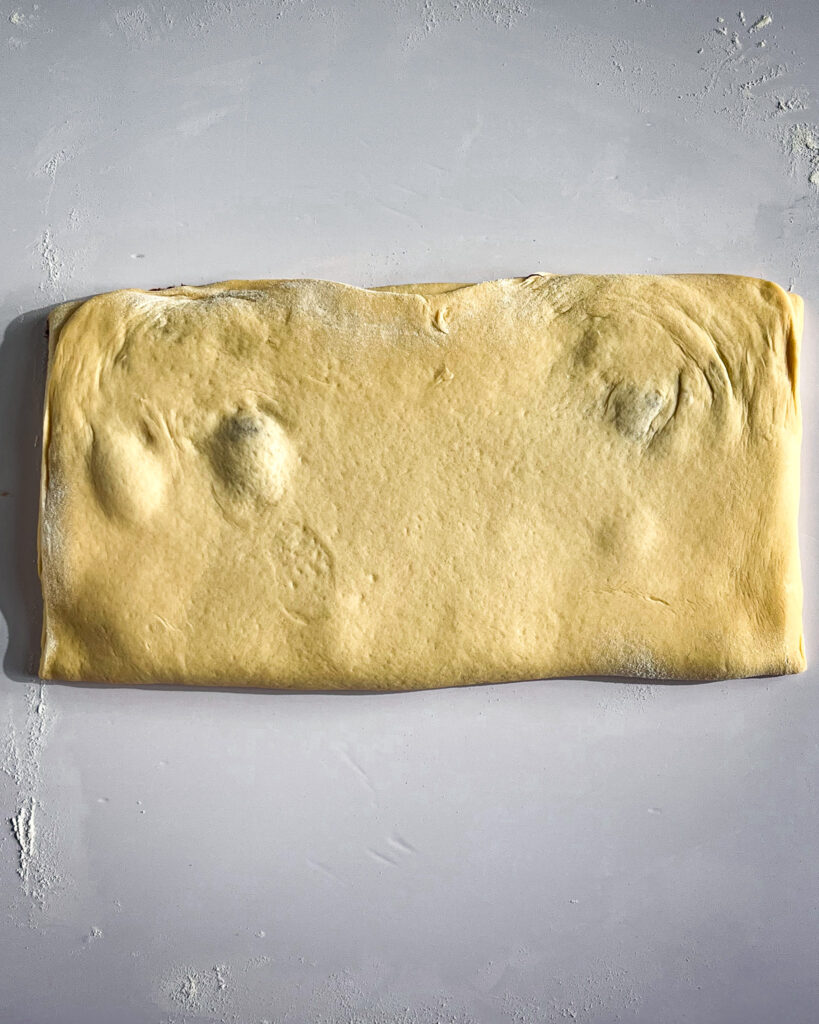
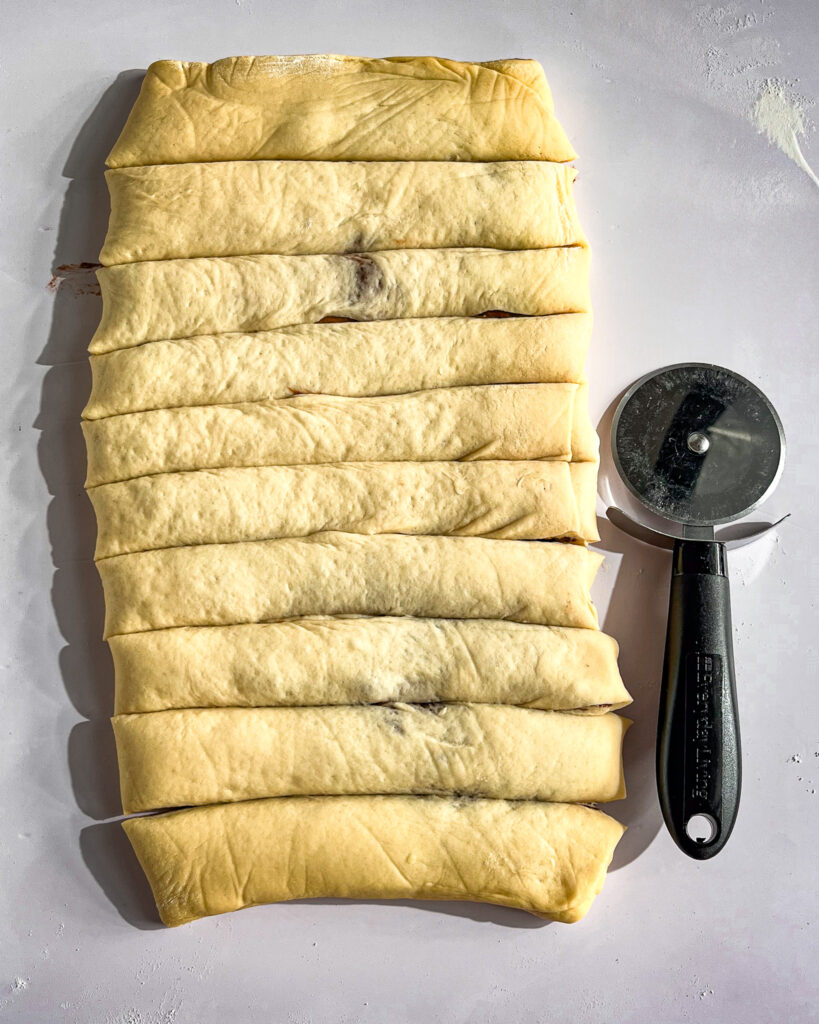
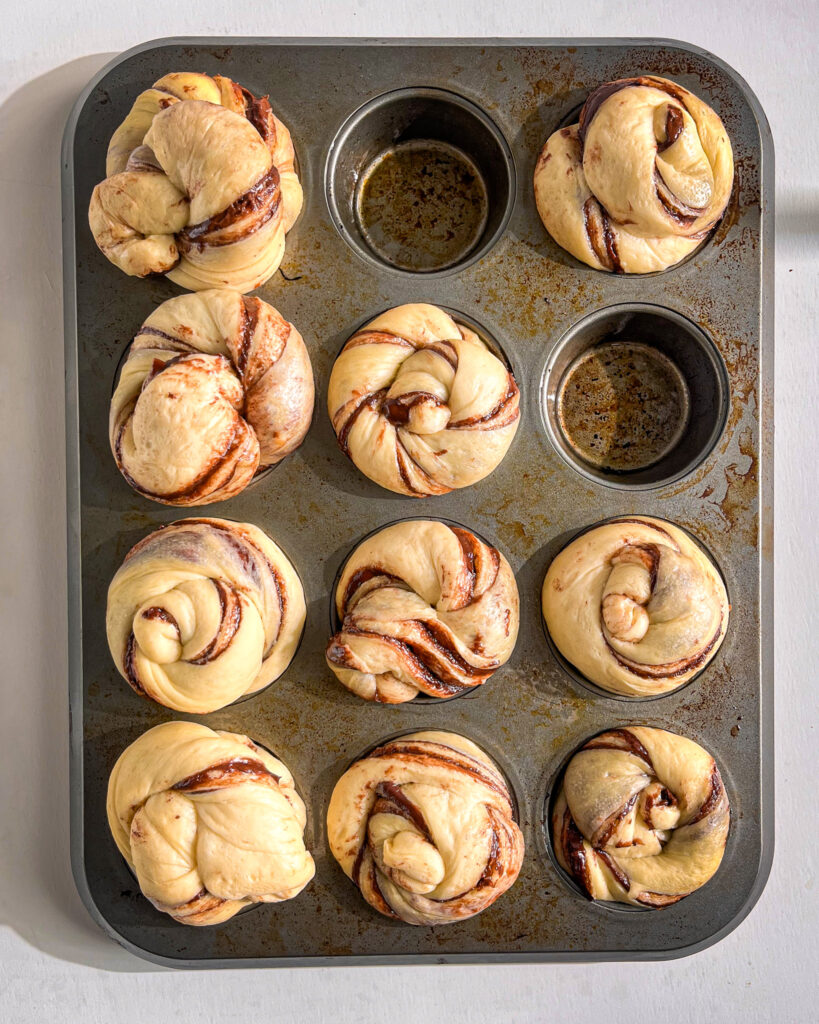
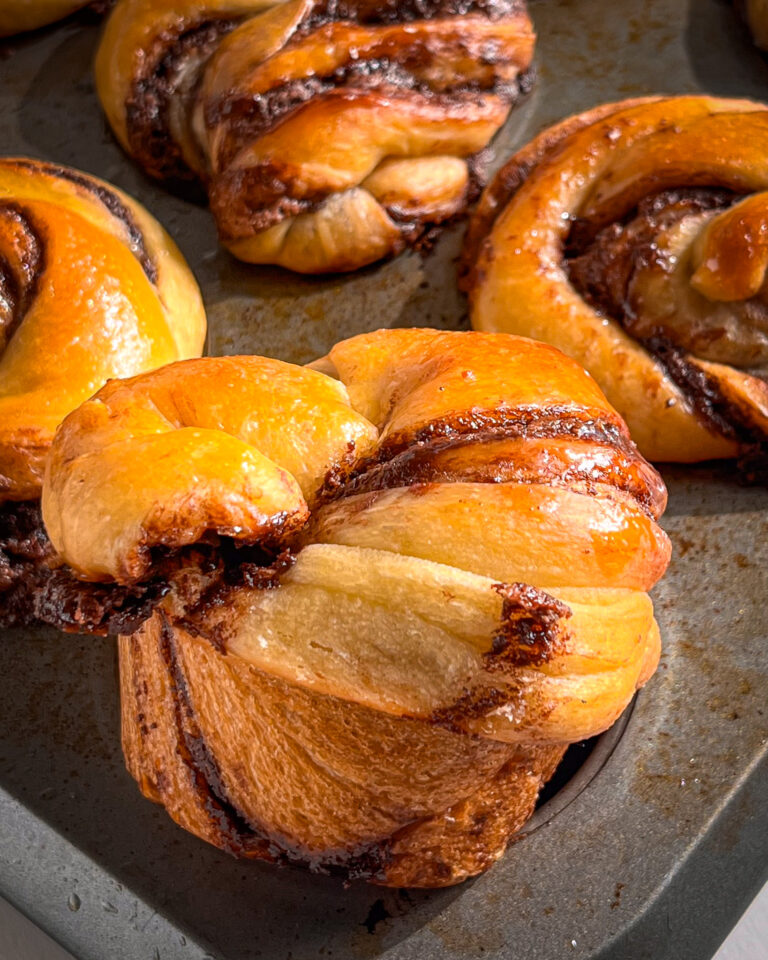
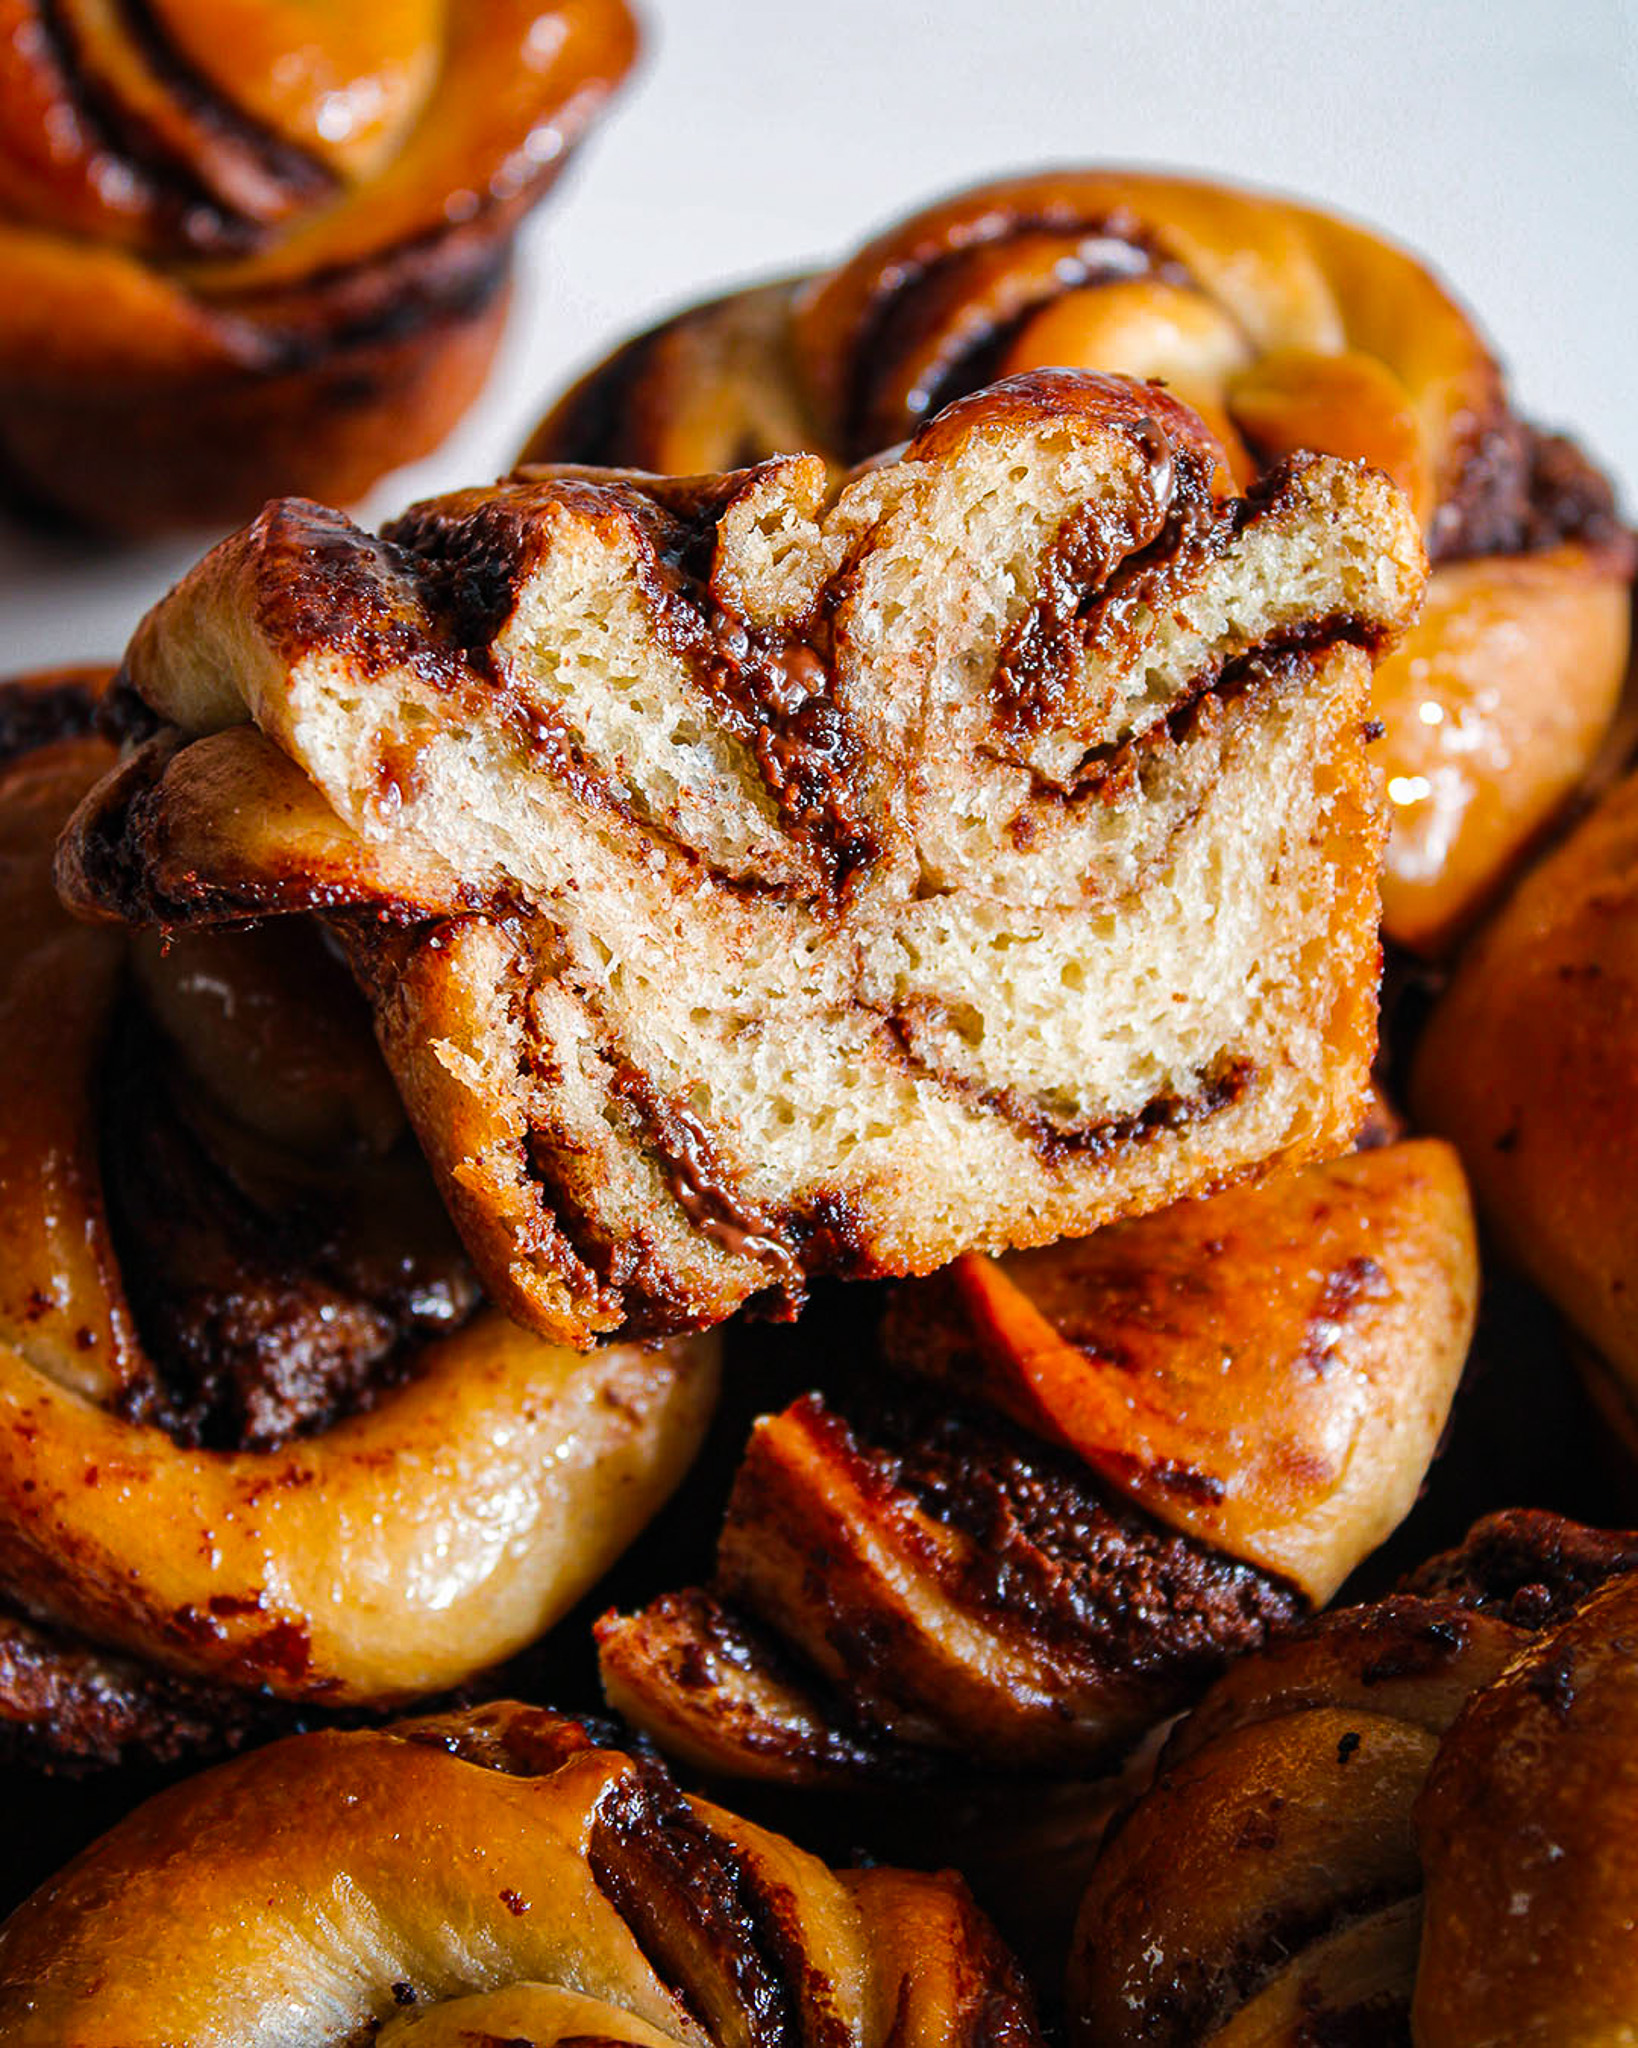
Rising (or bulk fermentation) is the first rise right after mixing—this is where the dough does its magic and gets all fluffy. Proofing (or final fermentation) is the last rise after shaping the dough into rolls, just before it heads into the oven. The sweet spot for both? Keep your dough in a warm, cozy spot between 72°F and 78°F (22°C to 25°C). You can proof your dough in the oven with the light on, in the microwave (off, of course!), or even a kitchen cabinet. A warm, dark space is key for perfect dough!
Oh, yes! These rolls can be prepped the night before. Just let them rise during the second proof in the fridge overnight. In the morning, let them come to room temperature before baking—this will ensure your rolls stay soft and fluffy. Baking them cold? Not so much—warm dough is the secret to that pillowy softness.
You bet! Once they’re baked and cooled, freeze those beauties. When you’re ready for a treat, simply reheat them in the oven for 10-15 minutes. You’ll have warm, fresh-tasting Nutella rolls in no time!
The secret to fluffy, egg-free rolls is all about the dough and the magic of yeast. Proper kneading and the right amount of rise time let the yeast do its thing, giving you soft, airy rolls without any eggs. It’s like a little magic in every bite!
Ah, great question! While they both do the same job, active dry yeast and instant yeast are a little different. Instant yeast can be mixed right into your dry ingredients, but we’re using active dry yeast here because it’s super versatile and works perfectly for this recipe. It needs to be activated in lukewarm water with sugar for about 5-10 minutes until it gets all bubbly and foamy—this is your yeast telling you, “Let’s get baking!”
Achieving that perfect soft and fluffy texture for your Nutella brioche rolls comes down to knowing when your dough is properly kneaded and the gluten has been developed just right. Here’s how you can tell if you’re on the right track.
There’s nothing sweeter than seeing your beautiful bakes come to life—especially when they’re soft, swirly, chocolate-filled brioche rolls made without a single egg. Whether you baked a batch for brunch, dessert, or just because, I hope they brought a little extra joy to your kitchen! Snap a photo, tag me @pastrybysaloni, and share your masterpiece. I love seeing your creations!
If these rolls made you swoon, just wait till you try the rest of my collection. From fluffy dairy-free cakes to indulgent, eggless desserts, these recipes prove you don’t need eggs or dairy to bake something spectacular. You deserve treats that fit your life—and taste amazing doing it.
Next up in your eggless baking journey:
And if you’re looking to master the art of eggless baking, grab a copy of my cookbook Vegan Baking Made Simple—your guide to making classic desserts with a plant-based twist. Available now on Amazon HERE!
6 Responses
I don’t have a stand mixer, can I mix with hand?
Hi Jyothi,
Yes, You can mix the dough by hand—it’ll just take a bit more time and elbow grease. Start by mixing the ingredients with a wooden spoon until a shaggy dough forms, then knead on a lightly floured surface for about 15–20 minutes until the dough becomes smooth and elastic, follow the tips and tricks on blog post to check if the gluten structure has developed. It helps to be patient, as brioche dough is quite rich and sticky at first, but it will come together. Let me know how it goes! 😊
Looks so yummy
Thank you Maya
Excelente Postre
thank you!