prep time: 30 min | bake time: 30 min | total time: 1 hour
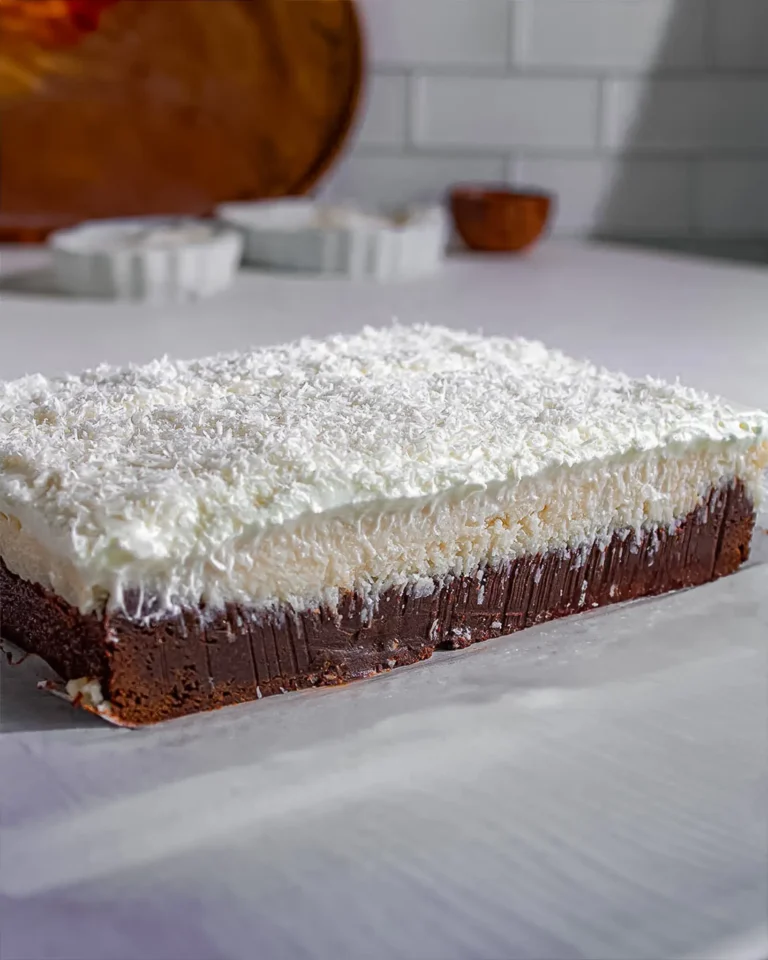
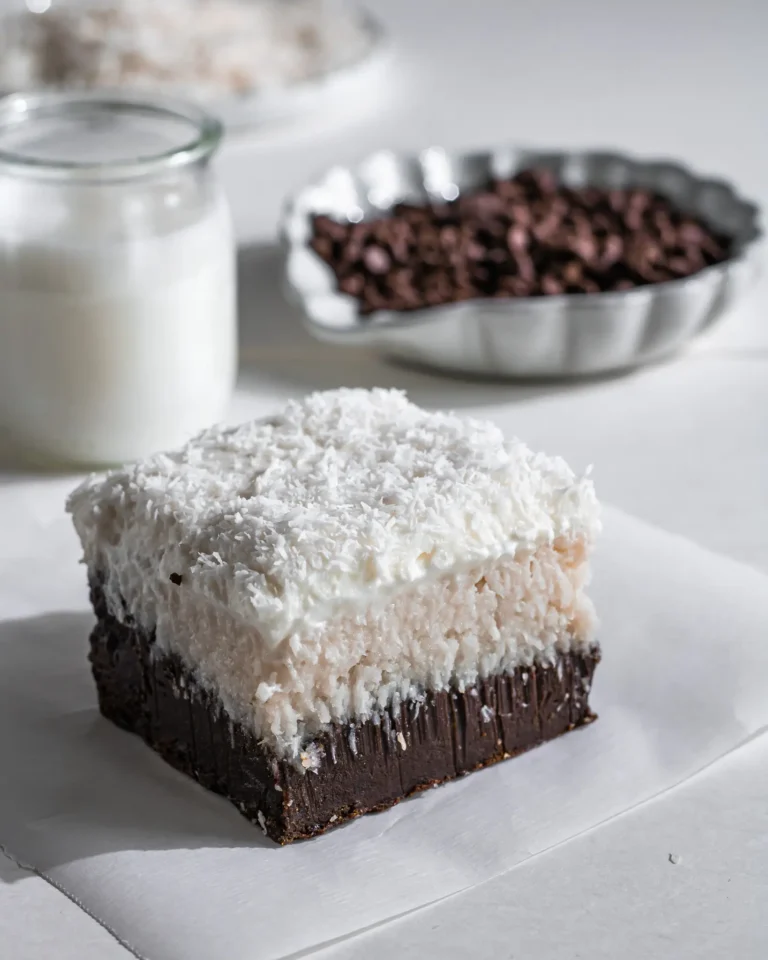
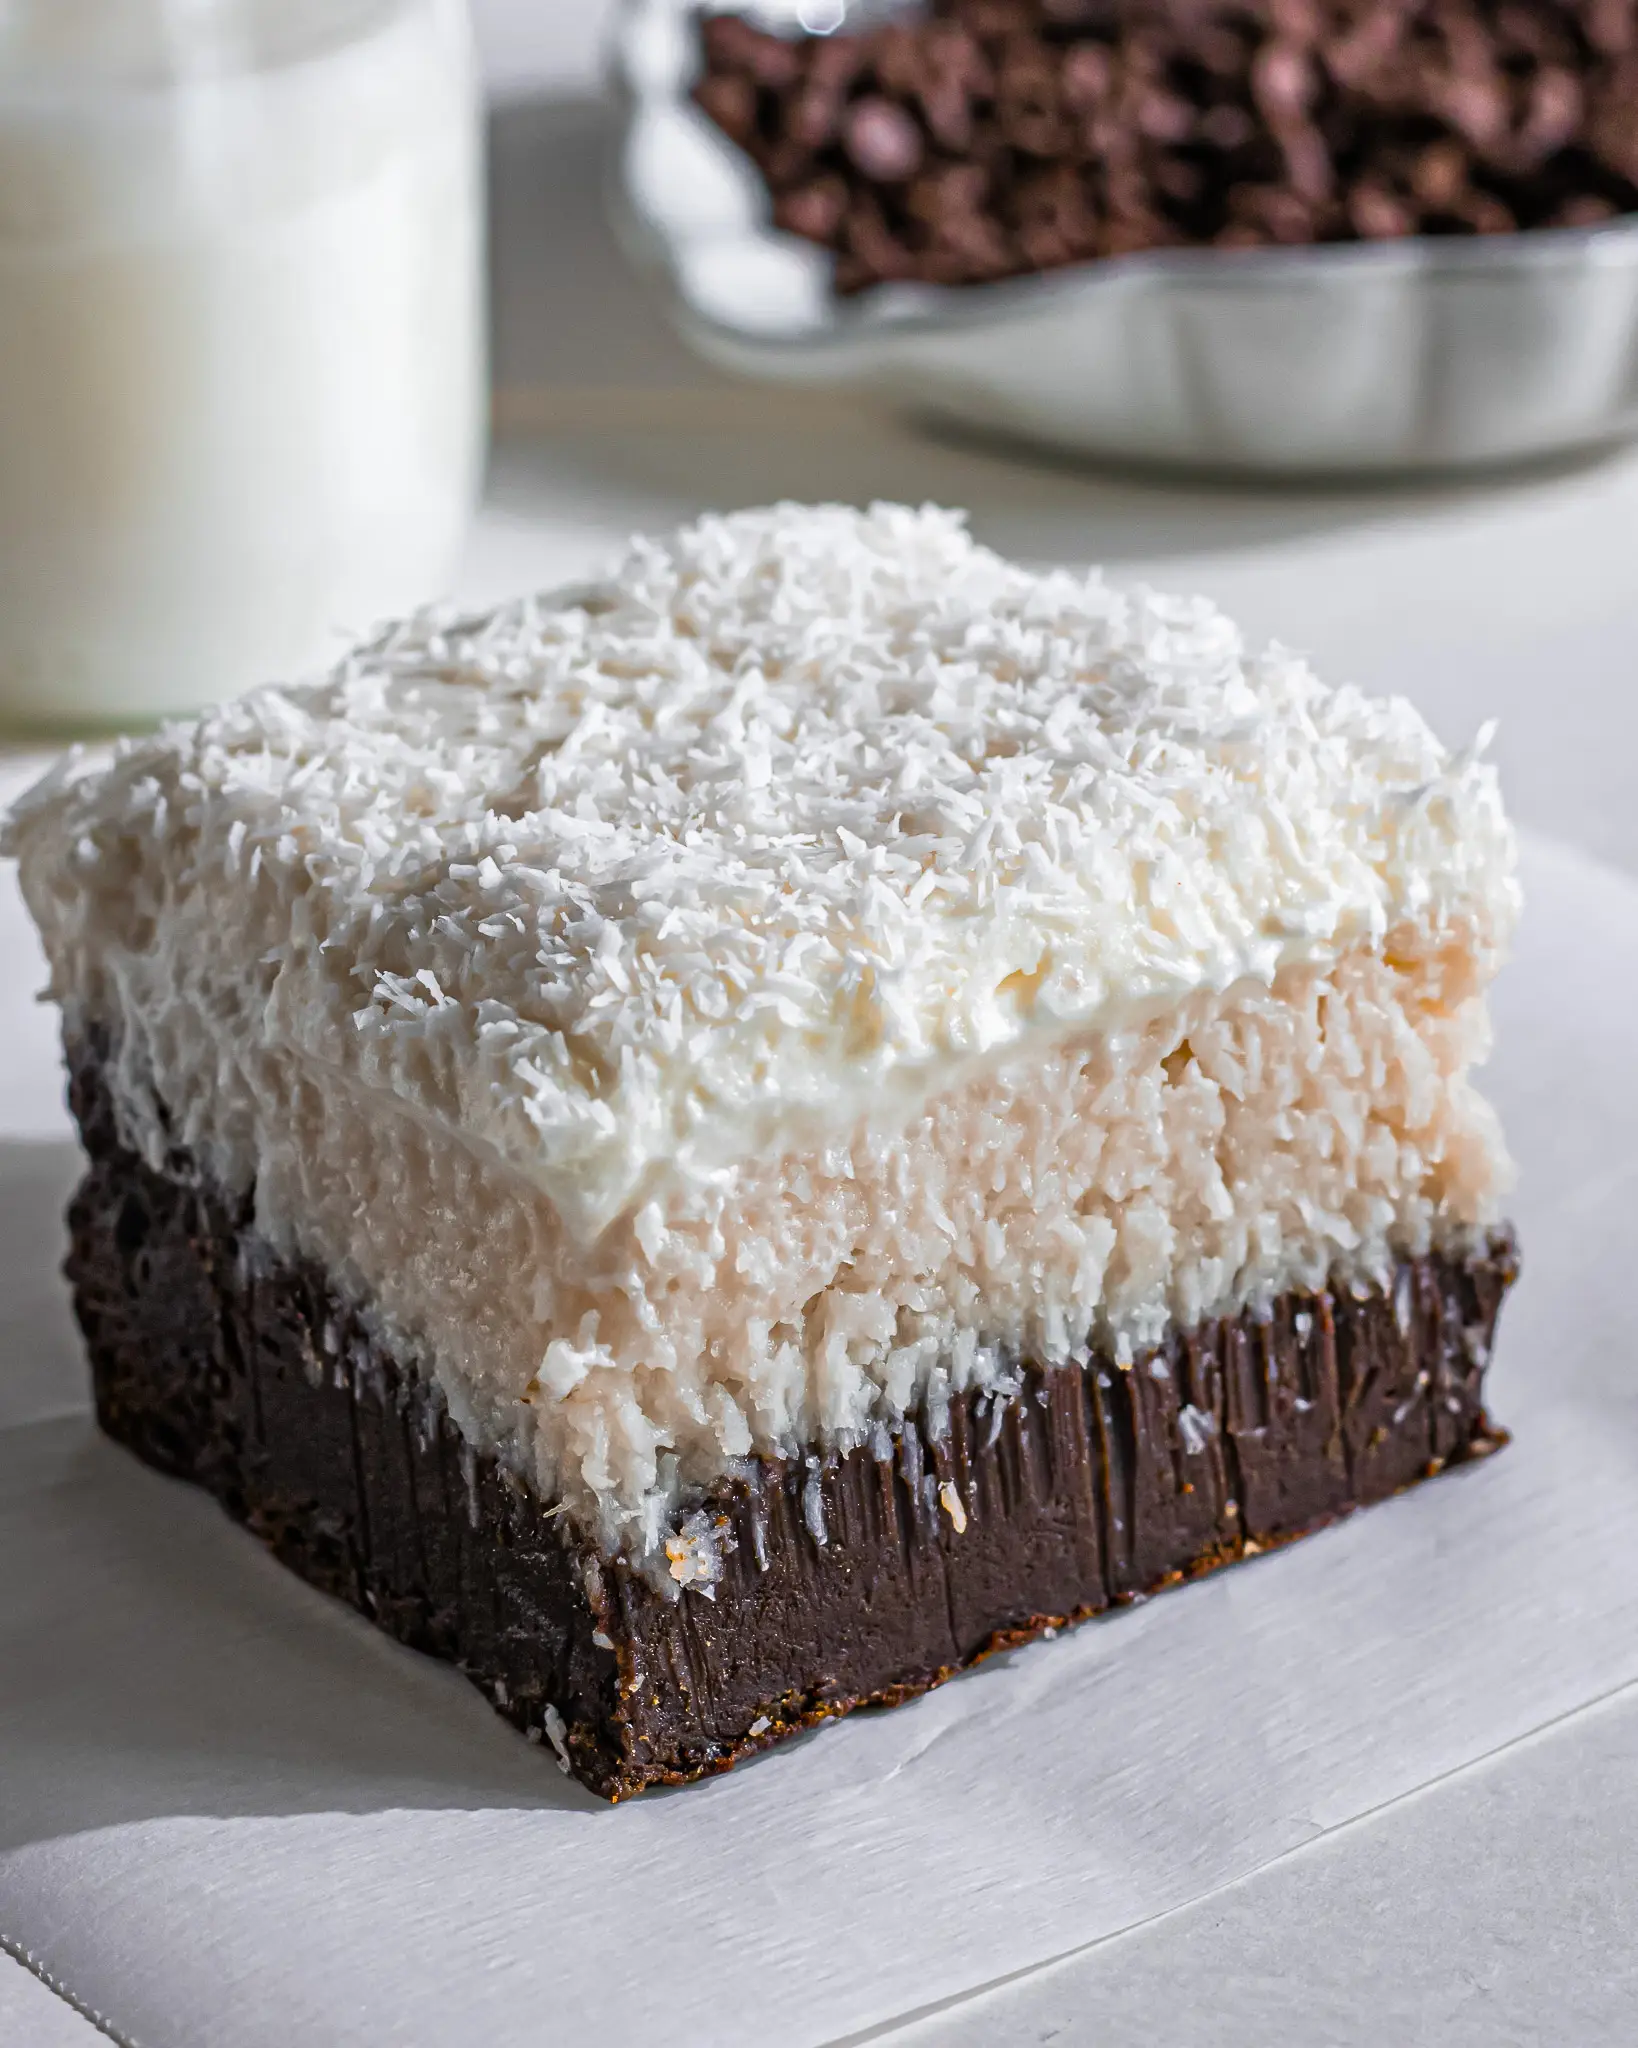
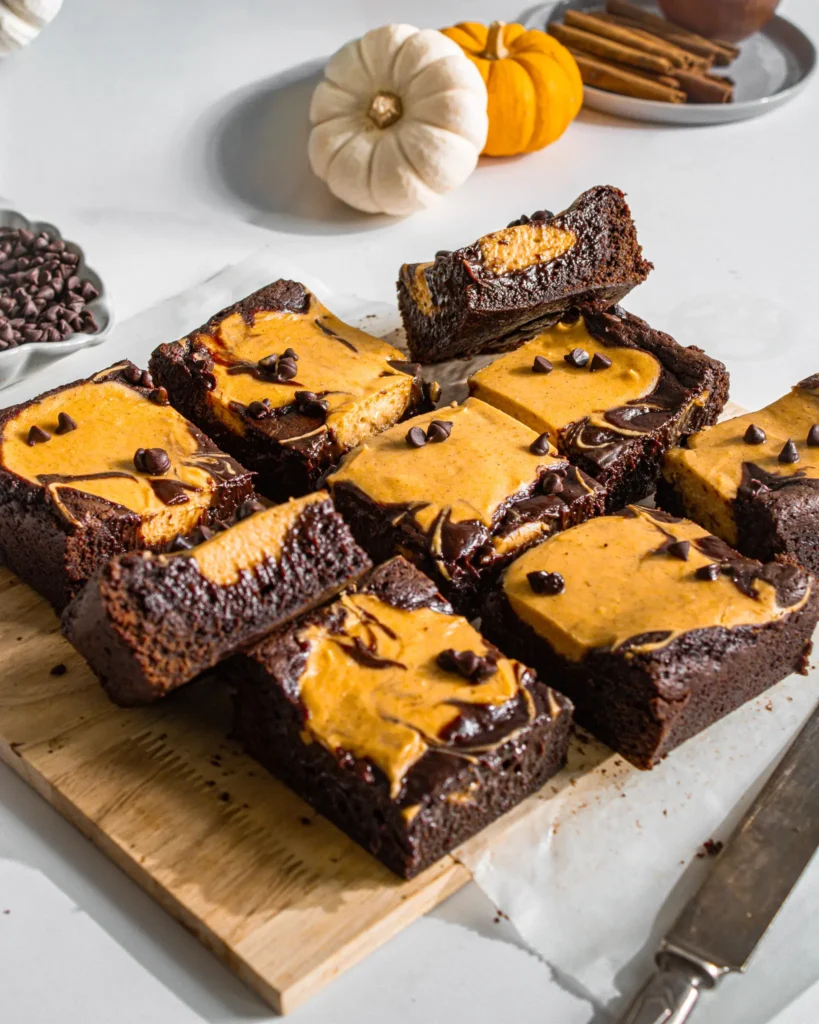
Dreamy and fudgy Coconut Cream Brownies are layered with a rich coconut filling and whipped topping. A show-stopping, tropical-inspired dessert that’s perfect for any gathering! 100% eggless with an option to make them dairy-free!
These Coconut Cream Brownies Are A Perfect Blend of Rich and Creamy Flavors without Eggs
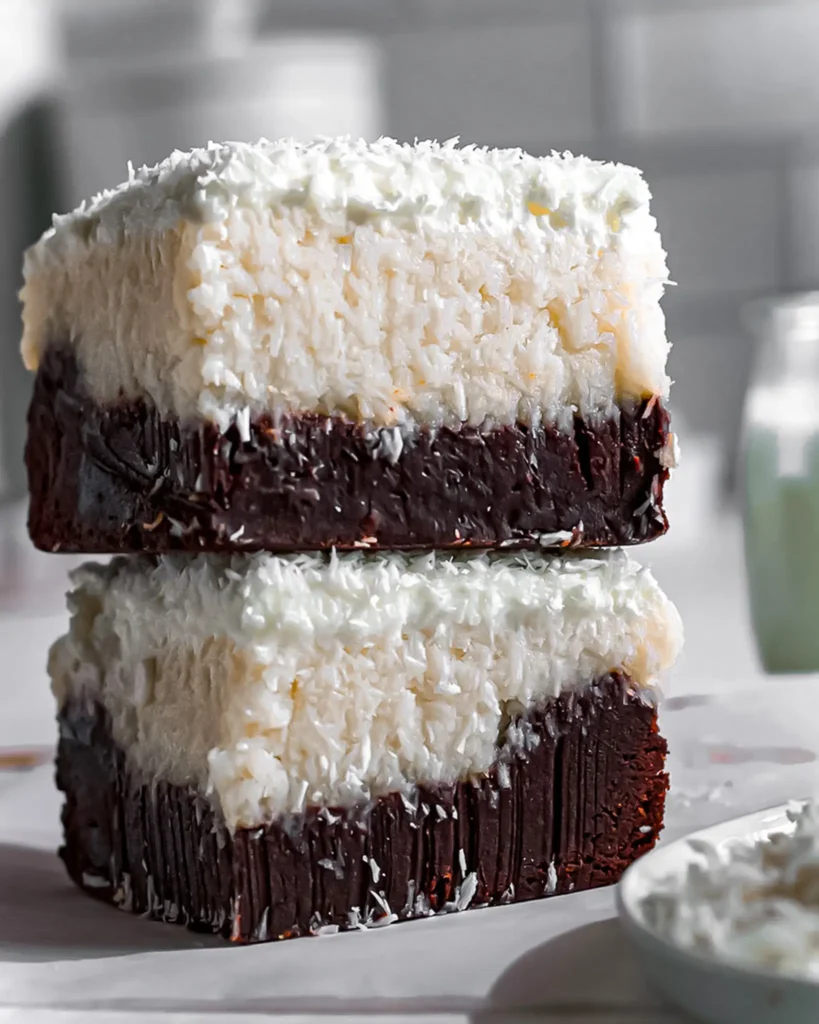
These Coconut Cream Brownies are anything but ordinary this is a show-stopping dessert that layers rich, fudgy chocolate with smooth coconut cream and a light whipped topping.
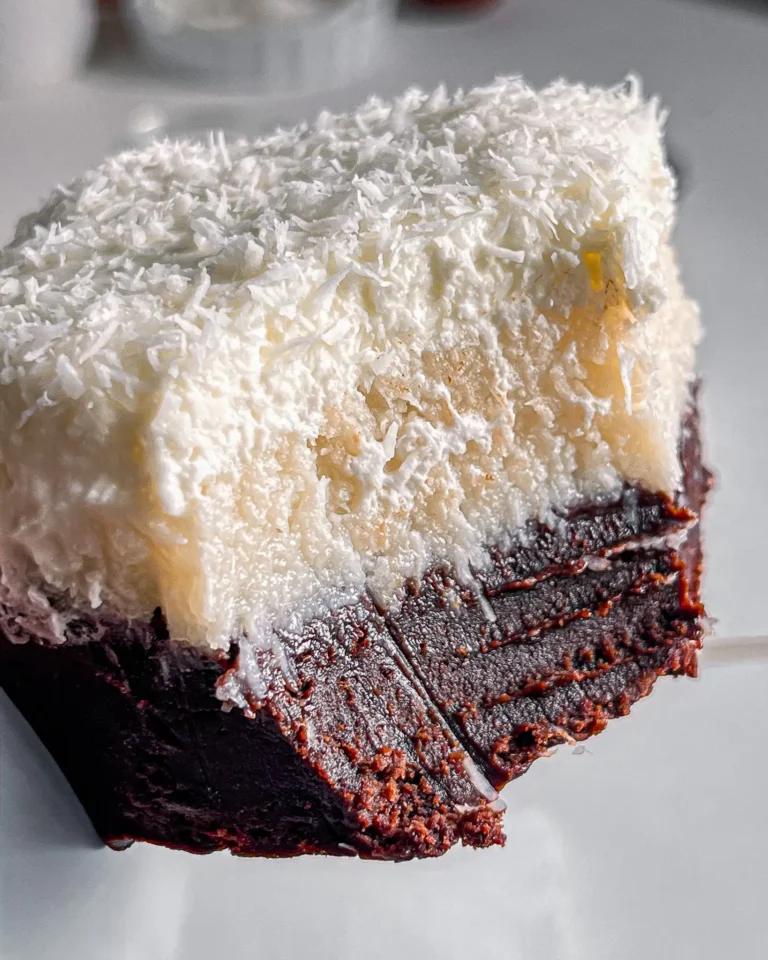
What truly sets them apart is the irresistible contrast in textures: the dense, decadent brownie base, the creamy coconut center filled with shredded coconut, and a final cloud of whipped cream sprinkled with shredded or toasted coconut for that perfect finish.
Not only do these brownies deliver a dreamy combination of chocolate and coconut, but they also get better as they sit. You can make them up to 3 days in advance, making them an ideal make-ahead dessert for parties, potlucks, or when you just want a sweet treat ready to go.
Tools You’ll Need to Make Coconut Cream Brownies
8 x 8 inch (20x20cm)Square Baking Pan
Mixing Bowls
Spatula
Hand Whisk
Measuring Scale
Which type of Coconut Milk to use?
Full-Fat Canned Coconut Milk : Thick, creamy, and rich ideal for baking and making luscious coconut fillings. Gives the best texture and flavor.
Lite/Light Canned Coconut Milk : Lower fat and thinner than full-fat, so less creamy and rich. Can be used but expect a lighter texture.
Carton Unsweetened Coconut Milk (Shelf-Stable or Refrigerated) : Diluted and this type is too thin for creamy fillings or baking. But you can use it in a pinch!
Coconut Milk Powder : Dehydrated powder that can be reconstituted. Less rich than canned milk, but can work if mixed with less water for a thicker consistency.
What type of Shredded Coconut can you use?
Sweetened Shredded Coconut : Sweetened shredded coconut is moist, finely shredded, and coated in sugar, making it great for traditional desserts but a bit too sweet for recipes that are already rich.
Unsweetened Shredded Coconut : Unsweetened shredded coconut comes in fine or medium shred, has no added sugar, and is perfect for controlling sweetness in both the filling and topping of brownies.
Desiccated Coconut : Desiccated coconut is very finely ground and dry, almost powdery in texture, and works well in fillings but lacks visual appeal for topping.
Coconut Flakes or Chips : Coconut flakes or chips are large, wide pieces that can be sweetened or unsweetened and add great crunch and visual flair when toasted and used as a garnish.
Toasted Coconut : Toasted coconut, often sold pre-toasted, is crispy and nutty with a golden color and is best used as a final decorative topping rather than mixed into the filling.
Fresh Grated Coconut : Yes, you can use fresh grated coconut for the filling or topping, and it will give a wonderfully soft, natural texture but keep in mind it contains more moisture and no preservatives, so it will reduce the shelf life of the brownies and should be stored in the fridge and eaten within a couple of days.
Coconut Cream Brownies Ingredients
Brownie Ingredients
Dark Chocolate or Semi-Sweet Chocolate: The cocoa solids and cocoa butter in chocolate contribute to the flavor and texture. Melting chocolate into the batter delivers both fat and solid content, which increases moistness and enhances the rich, fudgy consistency due to chocolate’s crystalline fat structure.
Butter: Butter is an emulsion of water and fat. The fat contributes to tenderness and richness, while the water interacts with flour proteins to create some gluten structure. It also helps trap air during mixing, affecting texture.
Powdered Sugar: Powdered (or icing) sugar is finely ground and contains cornstarch, which helps prevent clumping. Because of its fine particle size, it dissolves more easily than granulated sugar, contributing to a smoother, denser texture particularly useful in eggless recipes where aeration is limited.
Light Brown Sugar: Contains molasses, which contributes both moisture and flavor due to its hygroscopic (water-attracting) nature. This enhances chewiness and adds depth because of its complex caramel and toffee notes.
Milk (warm): Warming milk helps dissolve cocoa powder and sugars more efficiently. In egg-free recipes, the milk adds liquid volume and proteins that support structure and tenderness.
All-Purpose Flour: Flour contains proteins (glutenin and gliadin) that form gluten when hydrated. Gluten provides structure, but in brownies, you want limited gluten development for a tender, not bready, result—hence careful mixing is key.
Dutch-Processed Cocoa Powder: This cocoa has been alkalized to neutralize its acidity, which mellows its flavor and darkens the color. It doesn’t react with baking soda but pairs well with baking powder and contributes to the overall richness of the chocolate profile.
Baking Powder: A chemical leavening agent that contains both an acid and a base, it releases CO₂ gas when moistened and heated. This gives baked goods a slight lift without the aggressive rise you’d get with baking soda alone.
Salt: Salt is a flavor enhancer. Scientifically, it suppresses bitterness and enhances sweetness and umami, making chocolate and nuts taste more complex and satisfying.
Coconut Layer Ingredients
Coconut Milk (canned, room temp): Forms the creamy base of the filling, bringing rich coconut flavor and a smooth texture. Room temperature helps it blend evenly with other ingredients.
Cane Sugar : (or castor sugar)Adds sweetness and balances the richness of the coconut, while also helping to slightly thicken the mixture during cooking.
Corn Starch : Acts as the thickening agent that transforms the liquid into a luscious, pudding-like consistency once heated.
Vanilla Extract : Enhances the overall flavor, adding a warm, dessert-like aroma that complements the coconut beautifully.
Butter : Contributes richness and a smooth, velvety finish.
Unsweetened Shredded Coconut : Adds body, chewiness, and concentrated coconut flavor. It gives the filling structure and makes it more satisfying.
Coconut Milk (additional, canned) : Used at the end to adjust the consistency, making the filling spreadable and smooth without becoming too thick.
Whipped Cream Topping Ingredients
Whipping Cream: Whipping cream forms the base of the fluffy topping, creating a light, airy texture that balances the richness of the brownie and coconut layers. It adds smoothness, volume, and a creamy finish that ties all the layers together beautifully.
Powdered Sugar (or Icing Sugar) : Adds light sweetness and helps smooth out the whipped topping. It dissolves easily, making it ideal for a soft, airy texture without any graininess.
Vanilla Extract : Enhances the flavor of the whipped topping with a subtle warmth that pairs beautifully with chocolate and coconut.
Shredded Coconut : Sprinkled on top for texture, flavor, and visual appeal. It adds a final coconut hit and a bit of chew or crunch, depending on whether it’s raw or lightly toasted.
How to Make The Brownies
Preheat your oven to 340°F (170°C). Lightly grease an 8×8-inch baking pan with oil, then line it with parchment paper—leave a little overhang so it’s easy to lift the brownies out later. Trust me, future-you will thank you.
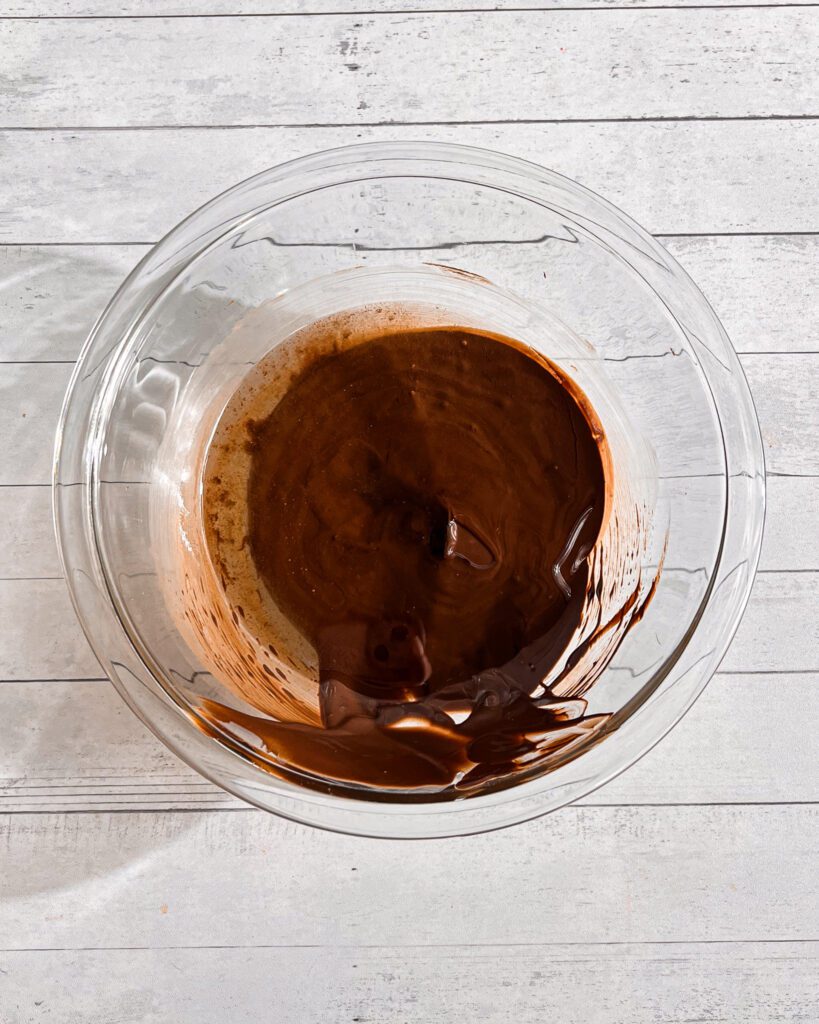
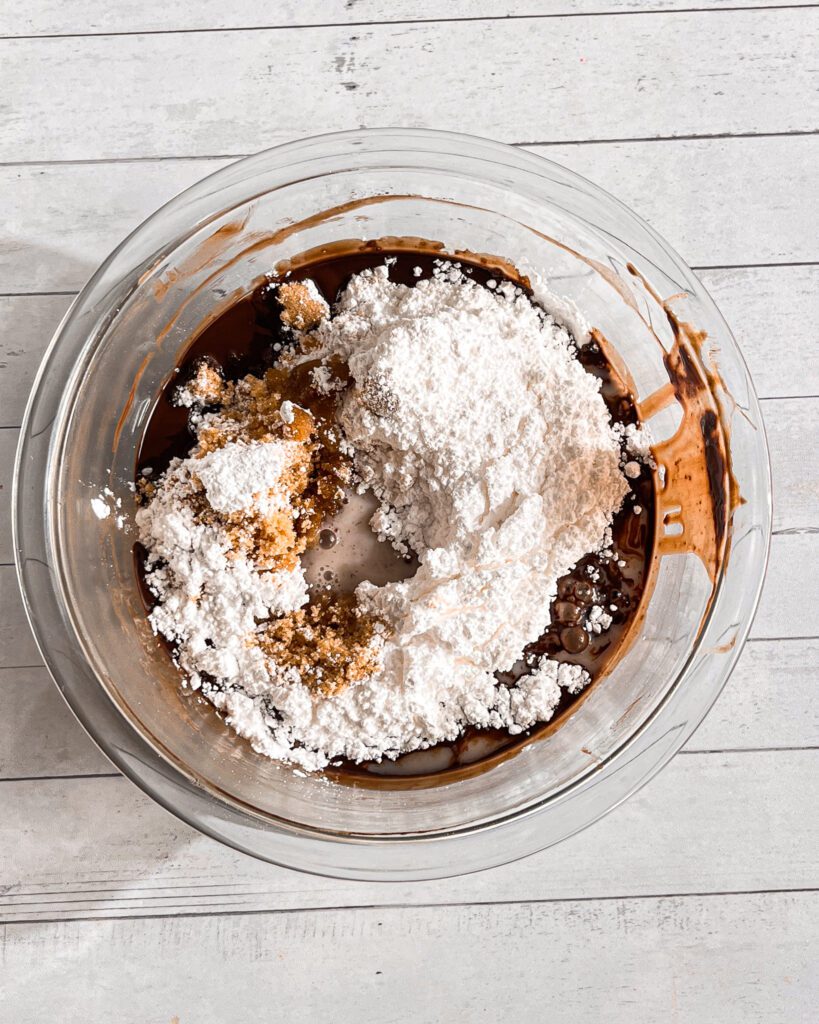
Melt the butter and dark chocolate together in a heatproof bowl either over a double boiler or in the microwave (just go in short bursts and stir in between so nothing scorches). Once melted and smooth, stir in the sugar and warm milk. Whisk it all together until the sugar mostly dissolves.
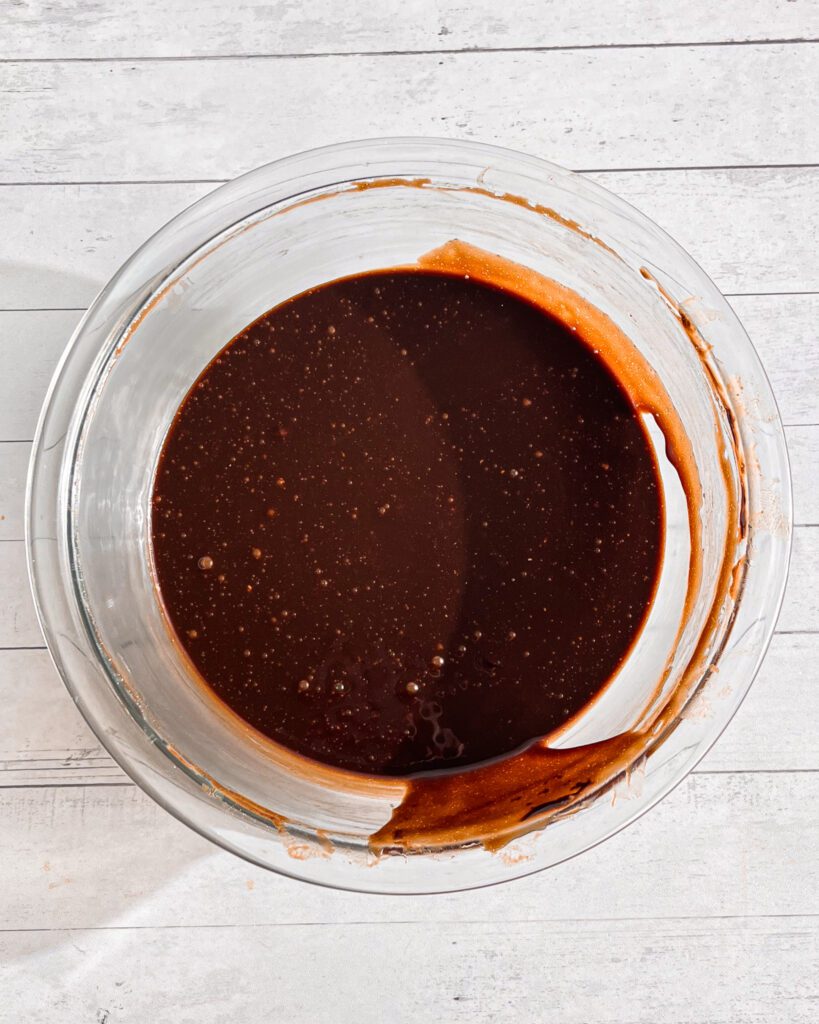
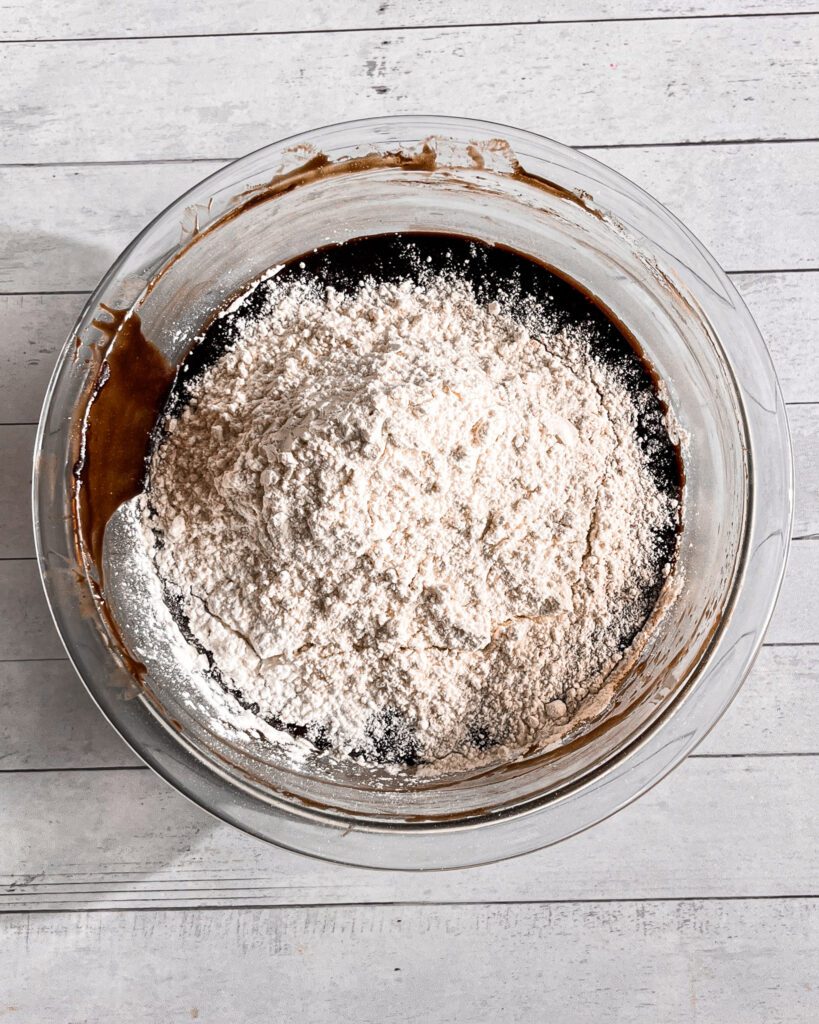
Now add your dry ingredients: flour, cocoa powder, baking powder, and salt. Whisk it in gently until the batter is smooth and no streaks remain.
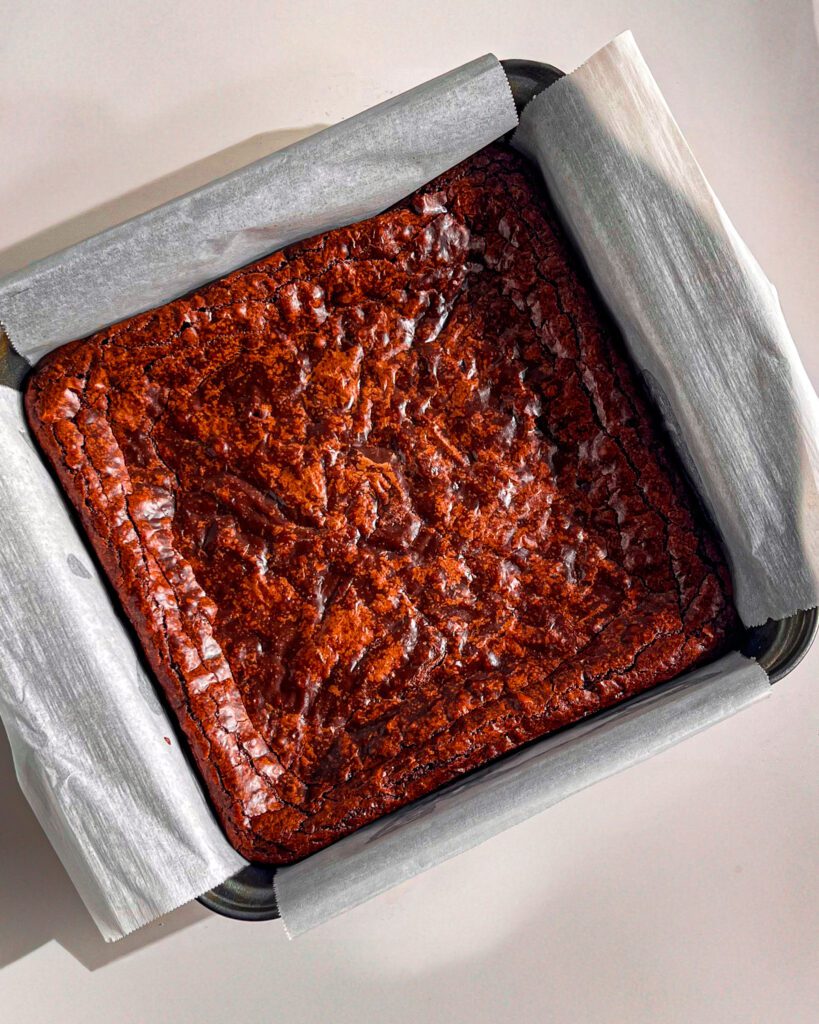
Pour the brownie batter into your prepped pan and spread it out evenly. Bake for 25 to 30 minutes, or until the top looks set and the center doesn’t jiggle. Let it cool completely.
How to Make the Creamy Coconut Layer
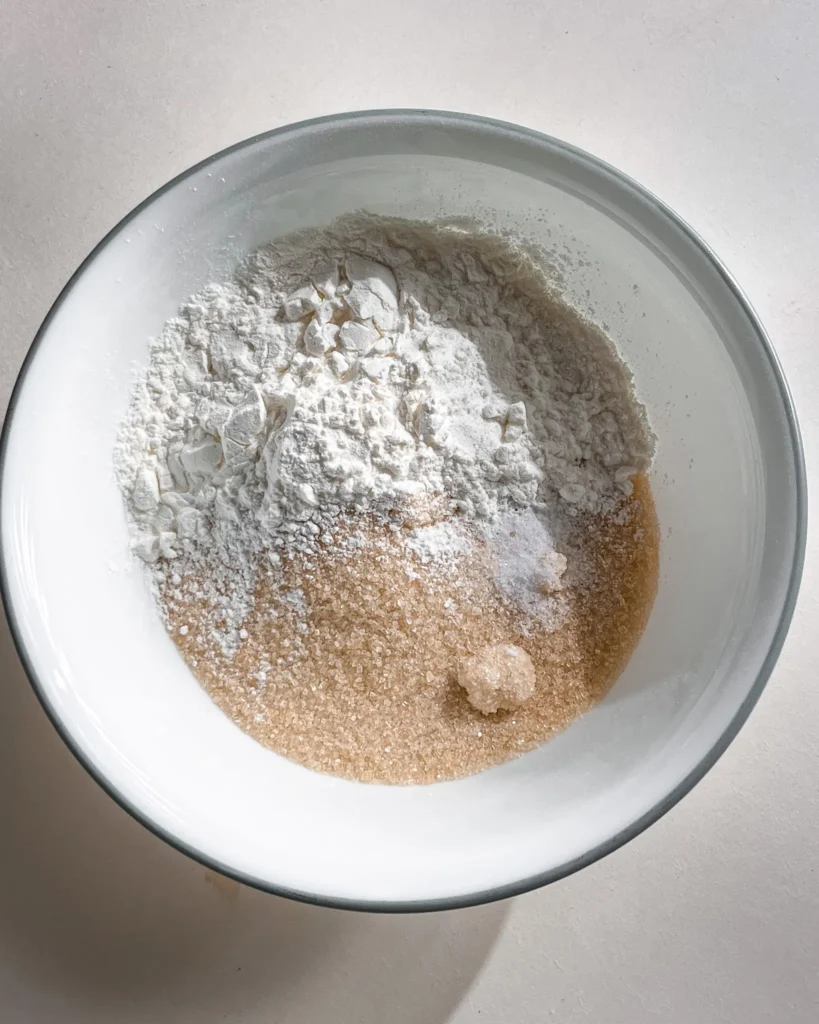
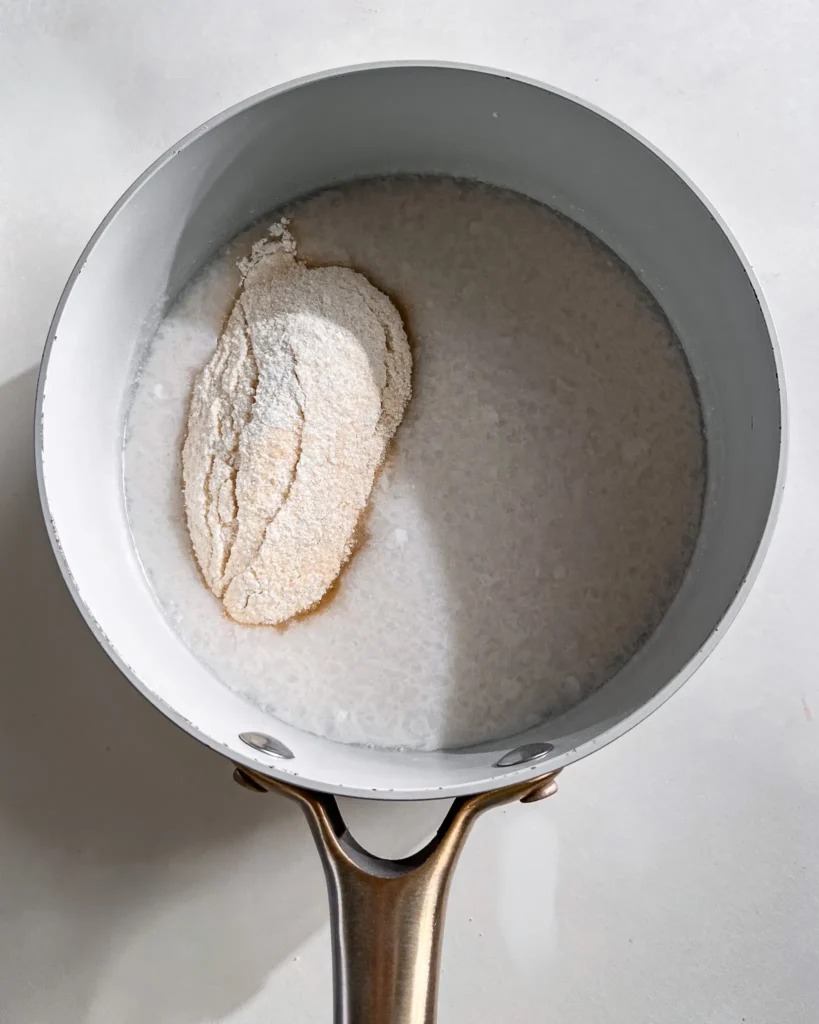
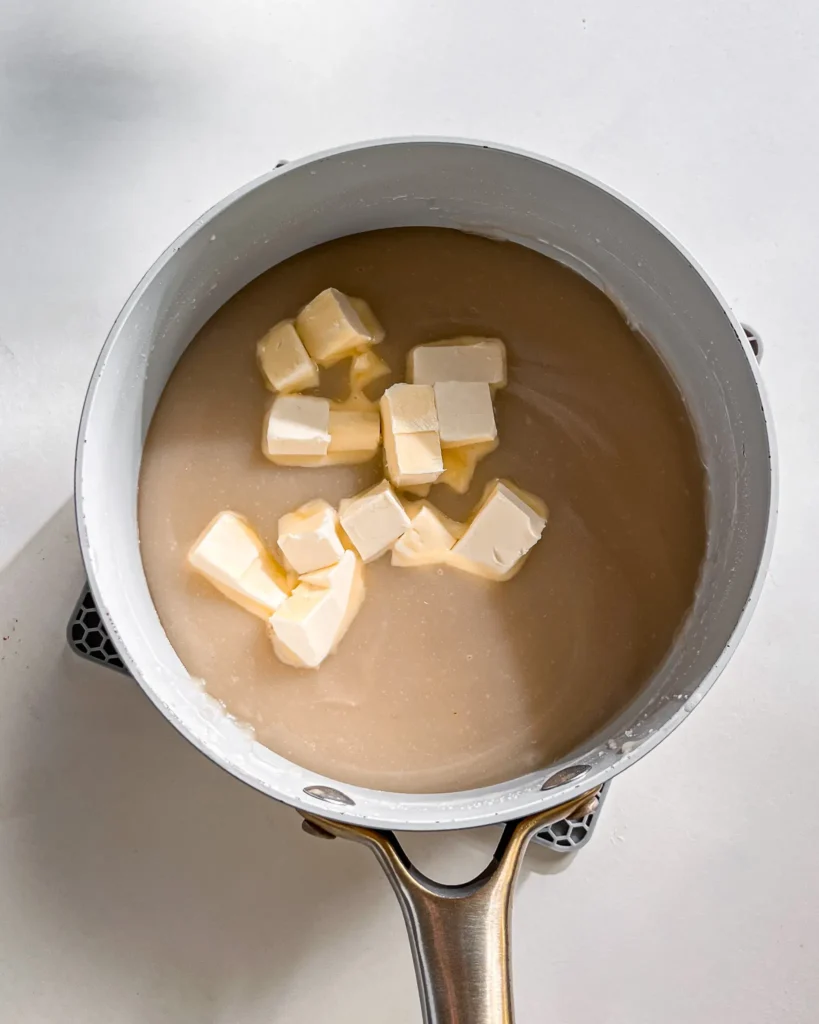
Prepare the coconut layer. In a saucepan, combine 270ml (1+1/8 cup) coconut milk , vanilla extract, sugar, and cornstarch.
Stir constantly over medium heat until the mixture comes to a boil and thickens.
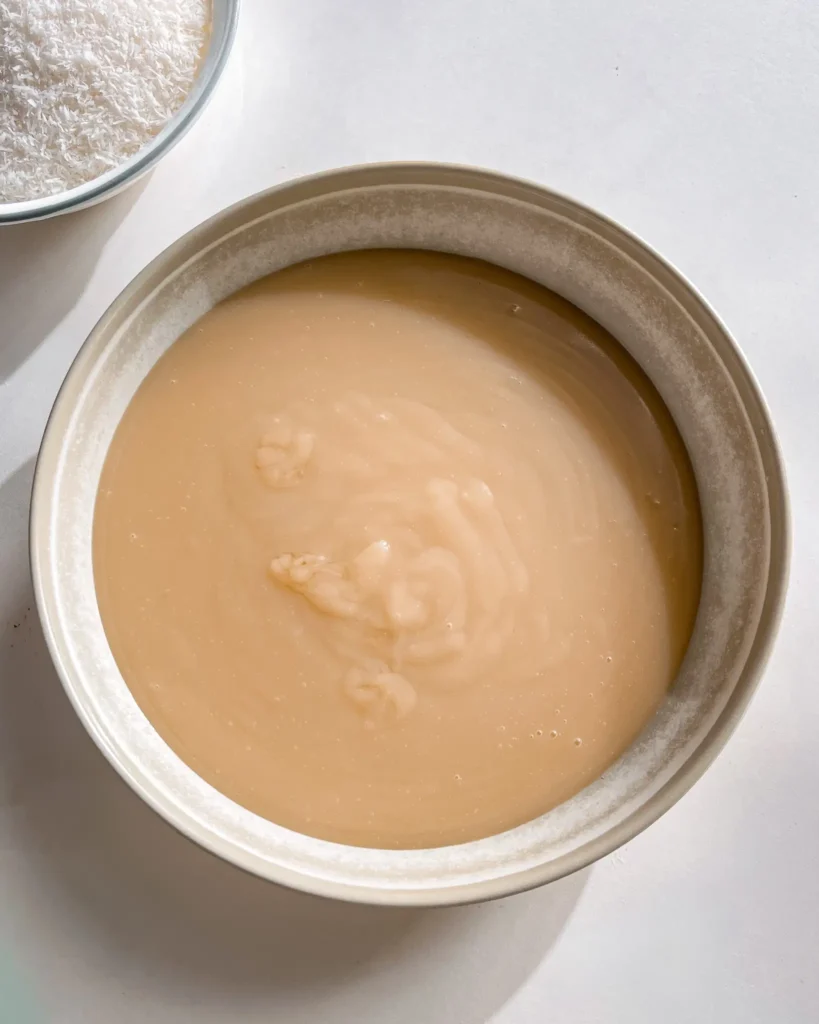
Remove from heat and stir in vanilla extract, butter, and stir until combined.
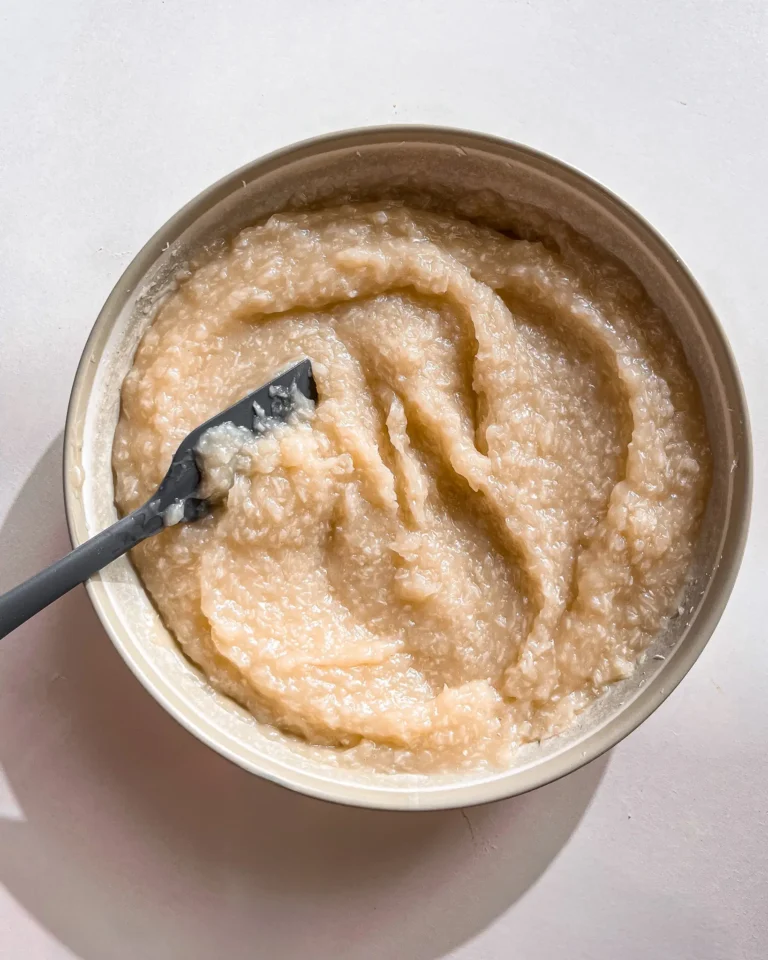
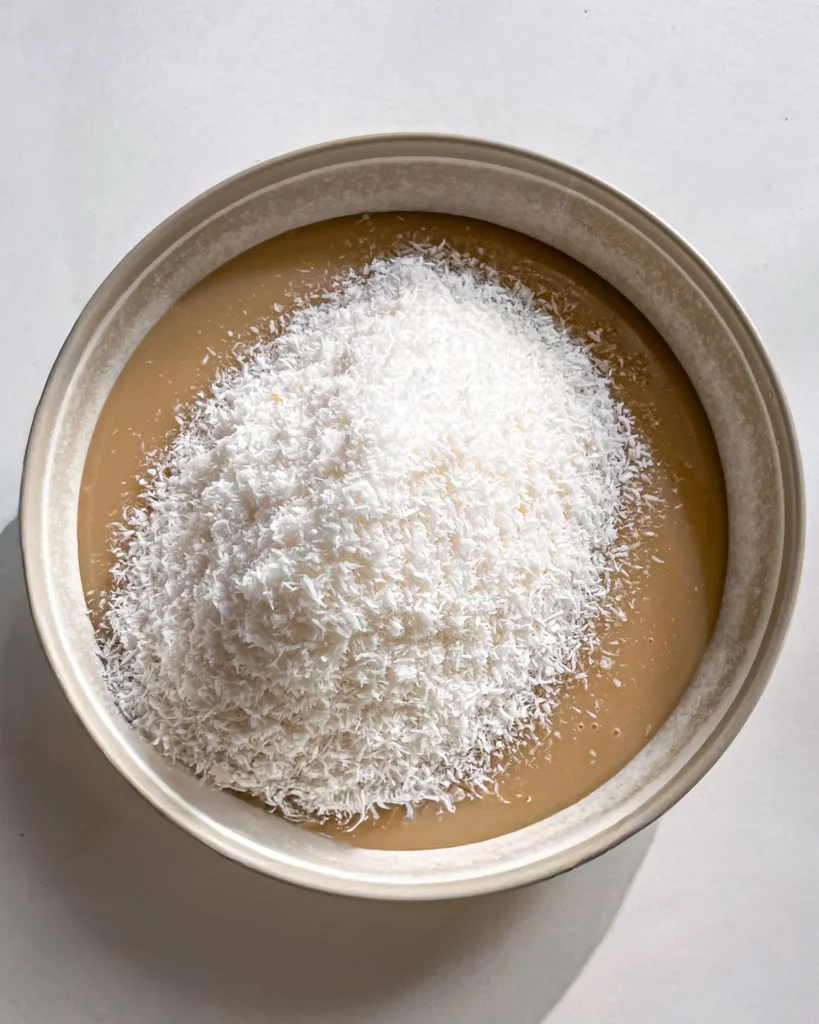
Transfer into a clean bowl and stir in the shredded or desiccated coconut. Cover the with plastic wrap in contact with coconut cream.
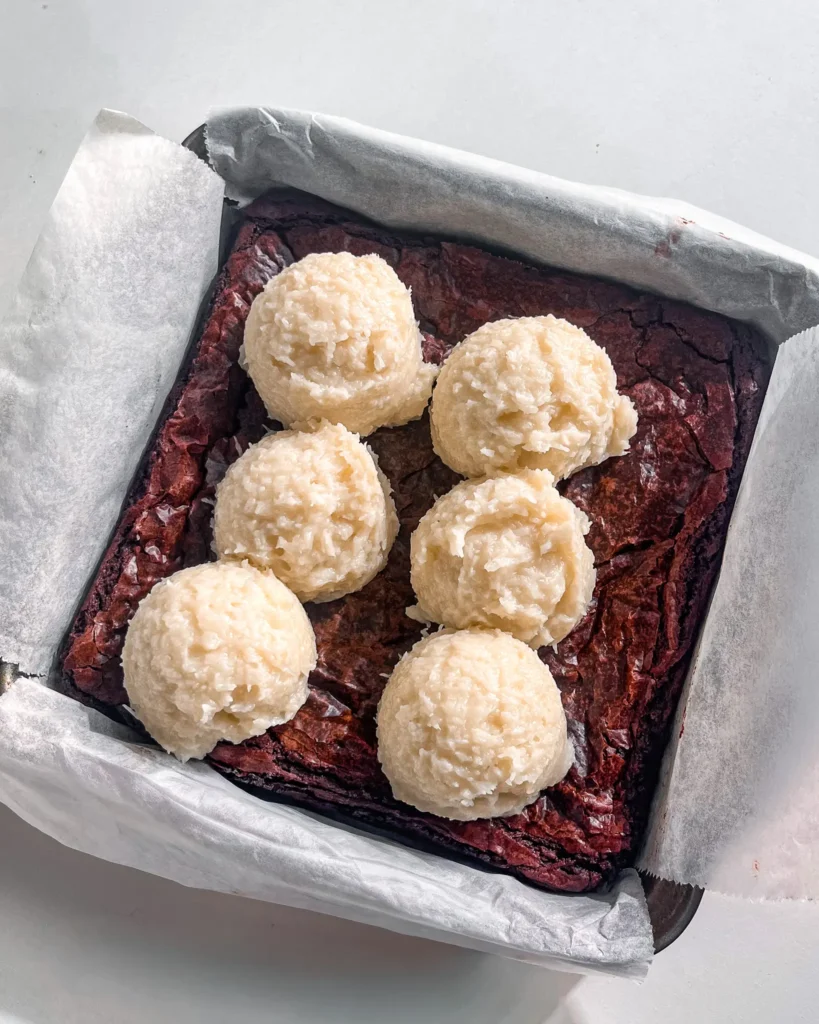
Let the mixture cool in the fridge, then add the remaining 60ml (1/4cup) coconut milk to loosen the consistency slightly. it should be soft and spreadable.
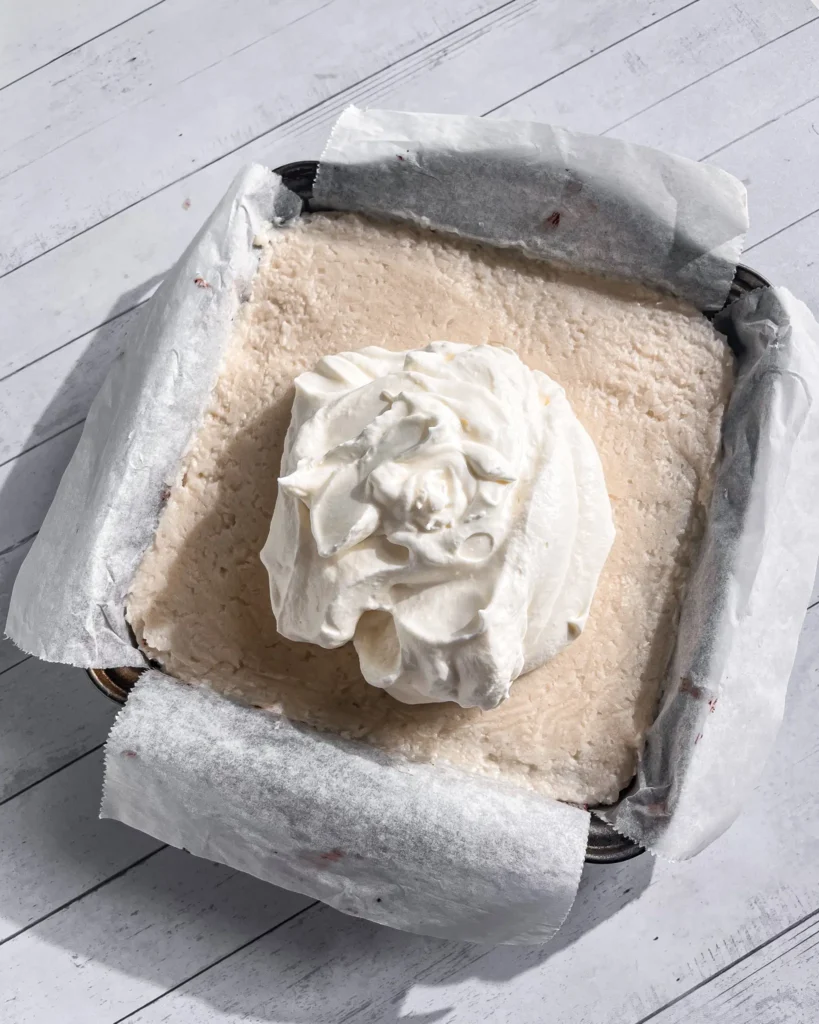
Once the brownie base is fully cooled, spread the coconut mixture evenly.
Next up: let’s make that whipped cream topping.
How to Make the Whipped Cream Topping
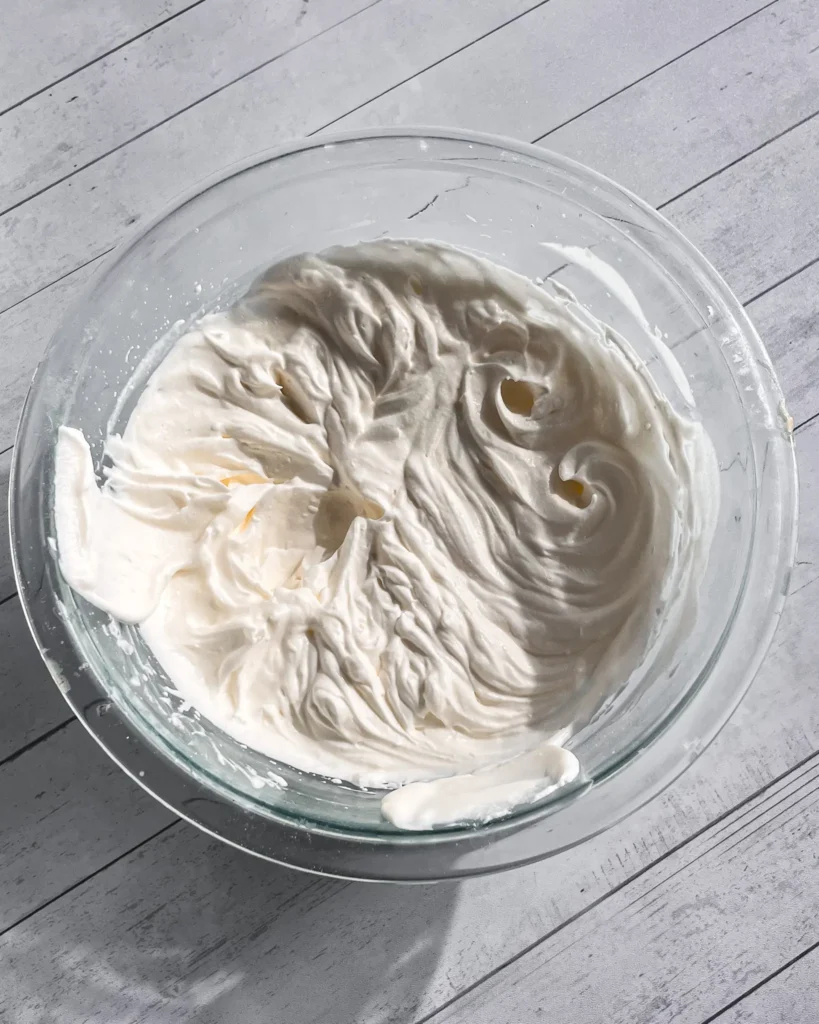
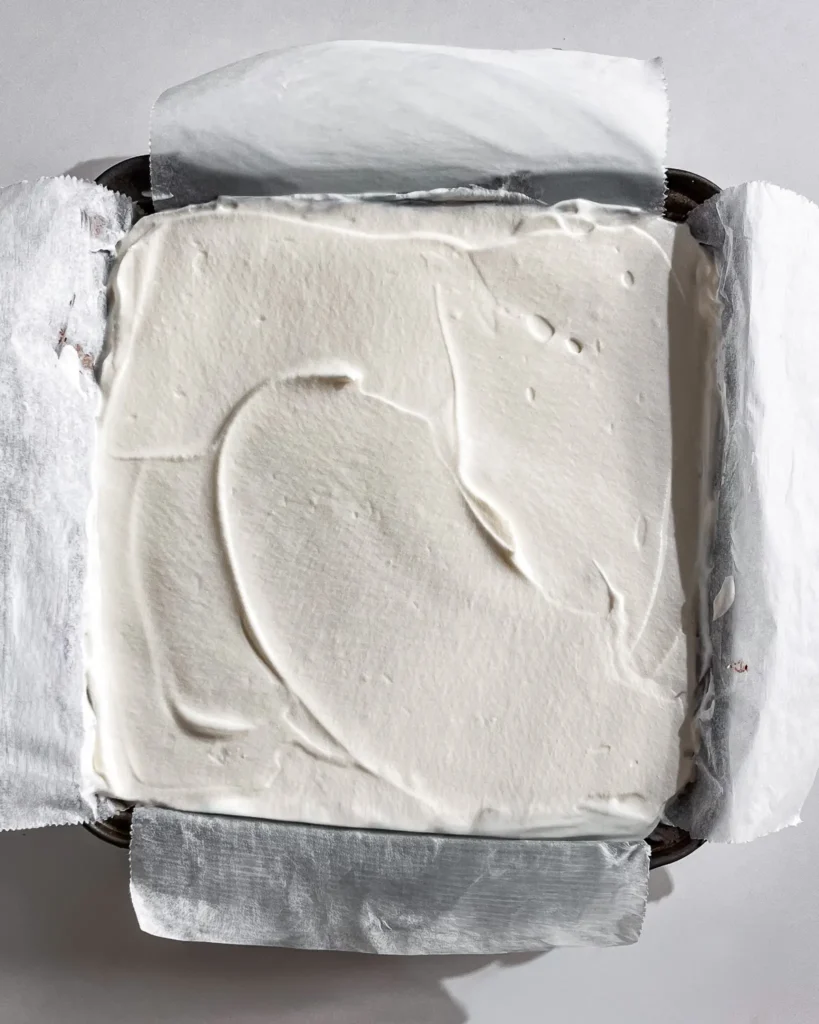
In a separate bowl, whip cold whipping cream, vanilla extract, and powdered sugar until stiff peaks form. Gently spread the whipped cream over the coconut layer.
Sprinkle with shredded coconut and chill in the fridge for at least 1 hour before slicing and serving. Enjoy!
Yes! Just use a dairy-free butter alternative and plant-based whipping cream (like coconut or oat-based). Be sure your chocolate (if used) is also dairy-free.
Totally up to you! If you’re just avoiding eggs and not going fully dairy-free, regular unsalted butter works just fine. If you’re keeping it vegan or dairy-free, plant-based butter will give you great results, too.
Give the pan a gentle shake if the center doesn’t jiggle and the edges looks set, you’re good. You can also do the toothpick test, but keep in mind a few moist crumbs are okay. You don’t want to over bake these!
Coconut cream is thicker and has more fat, making it great for a richer filling or whipped topping. Canned coconut milk has both cream and liquid and is slightly lighter perfect for the main filling base.
Yes! These brownies actually get better after chilling. You can make them a day in advance and store them in the fridge. Add the whipped topping and coconut garnish just before serving for the freshest look.
Yes, but keep in mind it has more moisture and no preservatives, so the brownies won’t last as long. Store them in the fridge and enjoy within 2–3 days.
Watch this Video for Making Your Chocolate Pistachio Brownies:
Here are my top tips to make Coconut Cream Brownies absolutely perfect:
Use full-fat canned coconut milk or coconut cream for the richest, creamiest coconut filling don’t substitute with watered-down versions.
Choose unsweetened shredded coconut to control sweetness and get that authentic coconut flavor.
Don’t over bake the brownies keep them fudgy and moist in the middle for the best texture contrast with the creamy coconut layer.
Let the brownies cool completely before adding the coconut cream layer and whipped topping to prevent melting or sliding.
If using fresh grated coconut, eat the brownies within a couple of days and keep them refrigerated to avoid spoilage.
If your coconut milk separates in the can, stir or blend it well before measuring for smoothness.
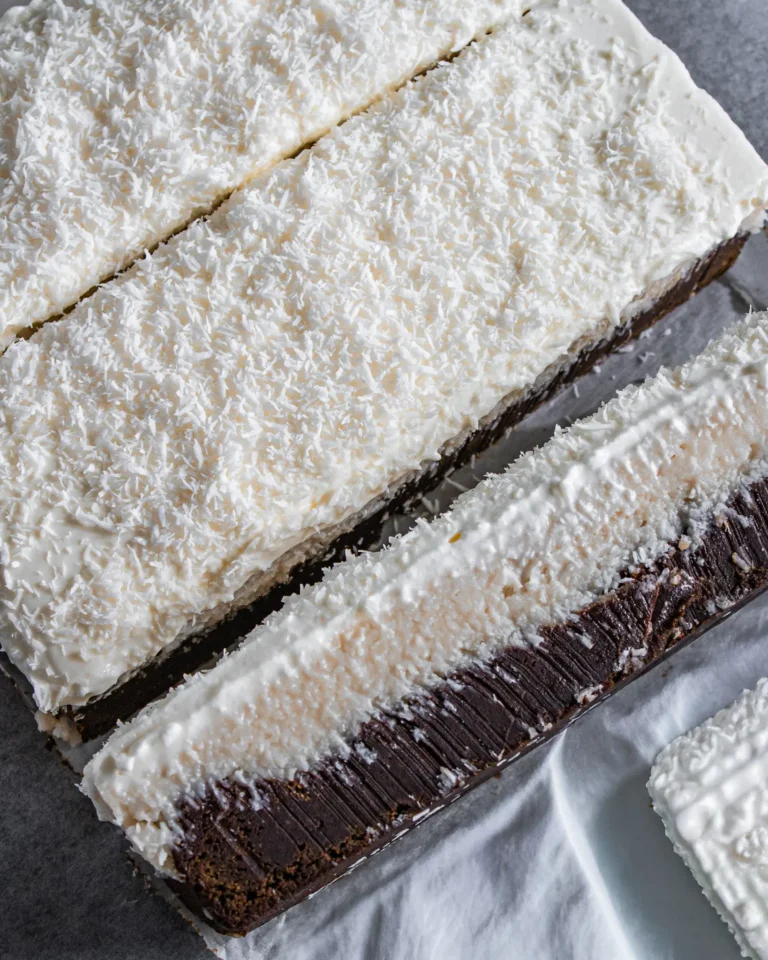
Chill the brownies before slicing to get clean cuts and prevent the layers from mixing.
Baked My Coconut Cream Brownies?
Show Them Off!
Whether you followed the recipe to a tee or added your own creative twist, I love seeing how you bring these brownies to life in your own kitchen.
If you baked a batch for a celebration, a cozy weekend treat, or just because chocolate is always the answer, snap a photo and tag me @pastrybysaloni. I’d love to share your masterpiece!
If these brownies made your day a little sweeter, just wait until you try the rest of my eggless dessert lineup. Craving your next chocolate fix? Try one of these next:
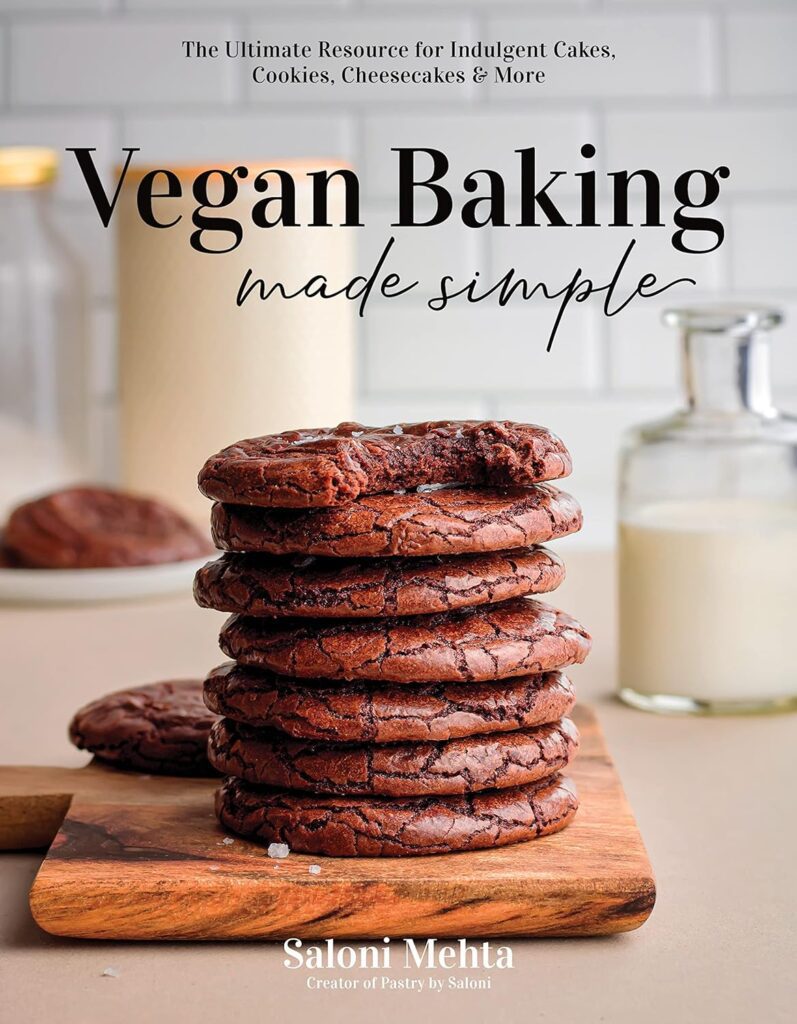
Want to go deeper into eggless baking? My cookbook Vegan Baking Made Simple is packed with all my go-to recipes, tips, and swaps to help you bake confidently without eggs or dairy. Grab your copy on Amazon HERE!
5 from 2 votes
Coconut Cream Brownies
These fudgy Coconut Cream Brownies are layered with a rich coconut filling and whipped topping. A show-stopping, tropical-inspired dessert that’s perfect for any gathering! 100% eggless, dairy-free optional!
270mlCoconut Milkpreferably canned at room temperature
125gCane Sugaror castor sugar
24gCornstarch
2tspVanila Extract
60gButtersoft; see notes for options
150 gUnsweetened Shredded Coconut
60mlCoconut Milk preferably canned at room temp
Whipped Cream Topping
180mlWhipping Creamcold; see notes for options
1tspVanilla Extract
40gPowdered Sugaror icing sugar
30gUnsweetened Shredded Coconutto sprinkle
Instructions
For Chocolate Brownie Layer
Preheat the oven to 340°F (170°C). Grease and line an 8x8inch (20x20 cm) square baking tin with baking paper, leaving some overhang for easy removal.
Melt the butter and dark chocolate together using a double boiler or microwave. Once smooth, stir in the powdered sugar, light brown sugar, vanilla and warm milk.
Whisk until the sugars are dissolved. Add the flour, cocoa powder, baking powder, and salt, then whisk until the batter is smooth and well combined.
Pour the batter into the prepared tin and bake for 25–30minutes, or until the brownies are set in the center and slightly risen. Let them cool completely in the tin.Prepare the coconut layer.
For Coconut Layer
In a saucepan, combine 270ml (1+1/8 cup) coconut milk, sugar, and cornstarch. Stir constantly over medium heat until the mixture comes to a boil and thickens.
Remove from heat and stir in vanilla extract, butter, and stir until combined.
Transfer into a clean bowl and stir in the shredded or desiccated coconut. Cover the with plastic wrap in contact with coconut cream.
Let the mixture cool in the fridge, then add the remaining 60ml (1/4cup) coconut milk to loosen the consistency slightly. it should be soft and spreadable.
Once the brownie base is fully cooled, spread the coconut mixture evenly over the top.
For Whipped Cream Topping
In a separate bowl, using an electric whisk to whip cold whipping cream, vanilla and powdered sugar until stiff peaks form. Gently spread the whipped cream over the coconut layer.
Sprinkle with shredded coconut and chill in the fridge for at least 1 hour before slicing and serving. Enjoy!
Notes
Cup vs weighing scale: The US customary cup measurement serves as a rough estimate, as it can have uncertainties, so for precise results, it's recommended to weigh your ingredients using a digital scale in grams. Before making any recipe, measure and prepare your ingredients so the process will go smoothly and easily.
For teaspoon (tsp) and tablespoon (tbsp) measurements, please use measuring spoons and not the type of spoons you eat with for accuracy.
Milk : Use canned coconut milk for coconut layer and for the brownie layer you can use canned coconut milk / almond milk / oat milk or regular whole milk)
Butter: You can use dairy-free butter sticks or regular unsalted butter will also work.
Whipping Cream: Use Dairy-free unsweetened whipping cream for vegan and dairy-free or any full-fat whipping cream of choice
Sugar: Cane sugar can be substituted with granulated sugar or castor sugar. Ensure the sugar is vegan-friendly (some sugars are processed with bone char) or use organic cane sugar.
Dark Chocolate: Use dark or semi-sweet baking chocolate chips/55% couverture chocolate/good quality 60% chocolate bar. To Make vegan, use dark chocolate or any dairy-free chocolate brand (make sure it doesn't contain milk solids or butter) but cocoa butter is totally fine.
Meet Saloni
I’m a former pastry chef with a love for breads, cakes and everything in between! My recipes are easy to follow, egg free and are designed to be shared with others!


5 Responses
Best
Thanks for sharing! Does it keep long?
Hi
Yes it will stay good for 4-5 days in the fridge and they even freeze well for 2 months, store in airtight container.
This looks so good! What a great combination of flavors!
The chocolate with coconut