prep time: 30 min | bake time: 30 min | total time: 6-7 hrs
Home » Baked Biscoff Cheesecake
If you’re not familiar with Biscoff, prepare to be amazed. These cookies are simply irresistible, and this cheesecake It’ll leave you speechless, scraping the plate for every last bite. I made this Biscoff Cheesecake recipe eggless – because that’s just how we do things here. This cheesecake is made with pantry staples you likely already have, and I’ve kept the recipe super easy to follow.
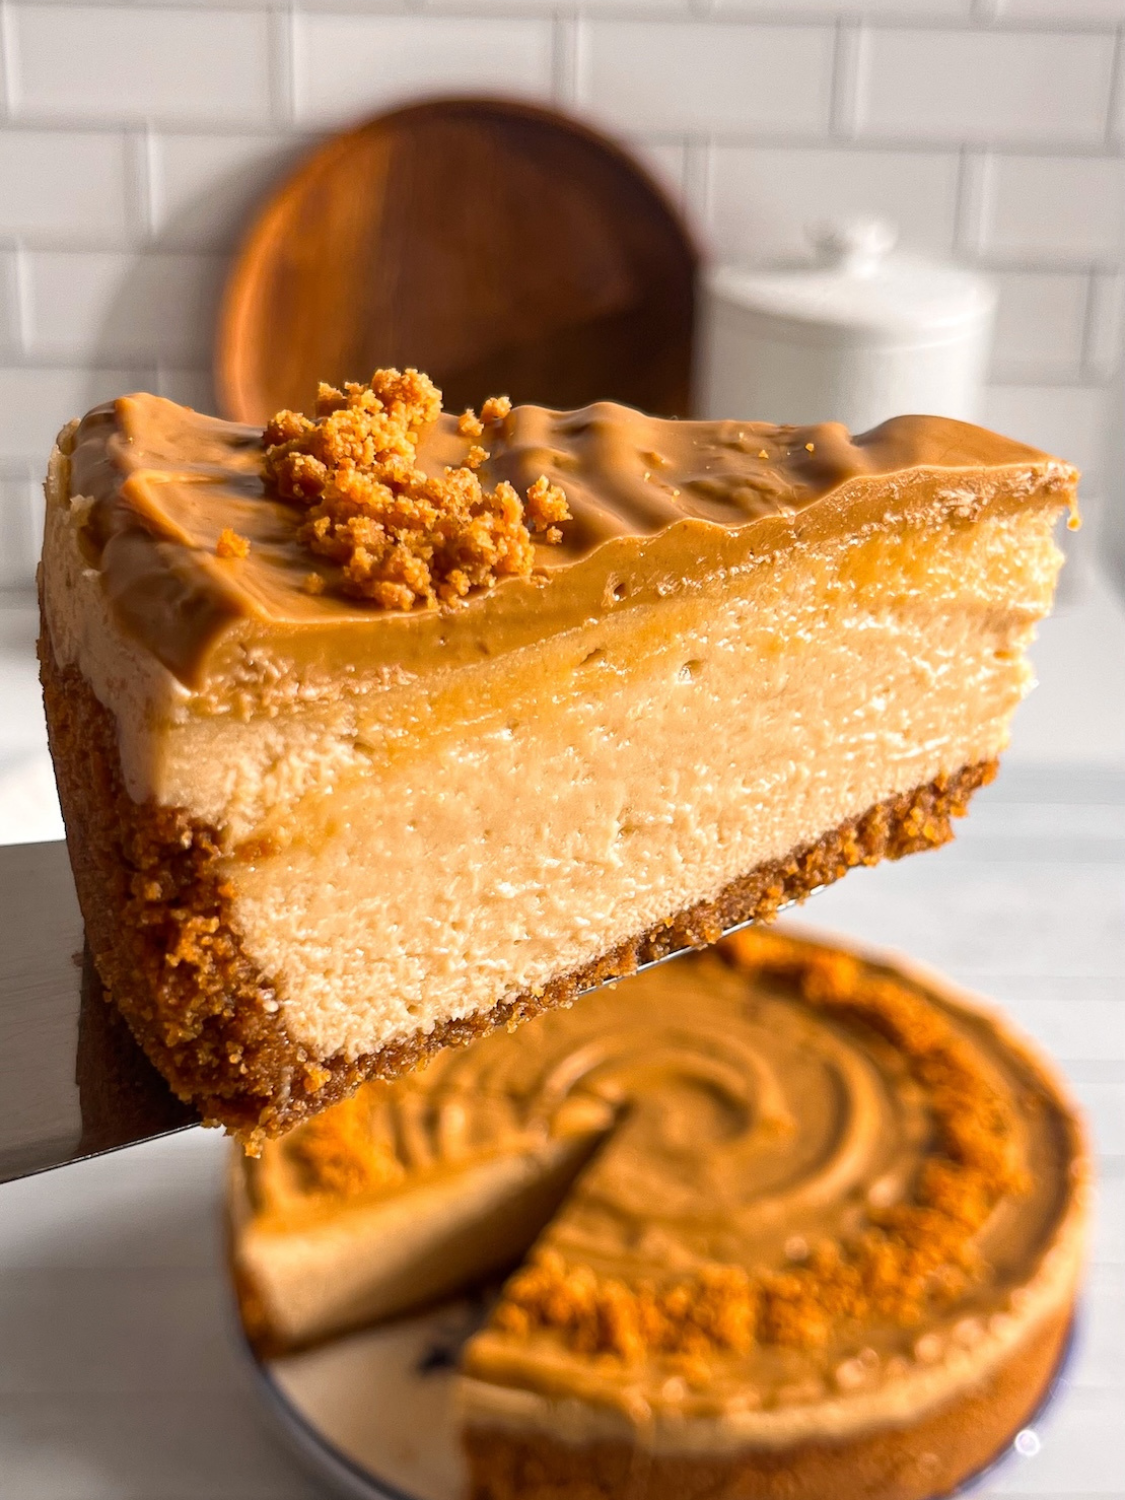
This baked Biscoff Cheesecake is rich, creamy, and packed with the signature caramelized flavor of Biscoff cookies. The velvety eggless cheesecake filling sits atop a crunchy Biscoff cookie crust and the filling is topped with a layer of smooth Biscoff spread for even more indulgence! Whether you’re celebrating a special occasion or just craving something sweet, this cheesecake is the perfect no-fuss, show-stopping dessert. Plus, it’s easy to make vegan and dairy-free, so it’s suitable for everyone. Serve it with a scoop of ice cream or a hot coffee, and let’s get baking!
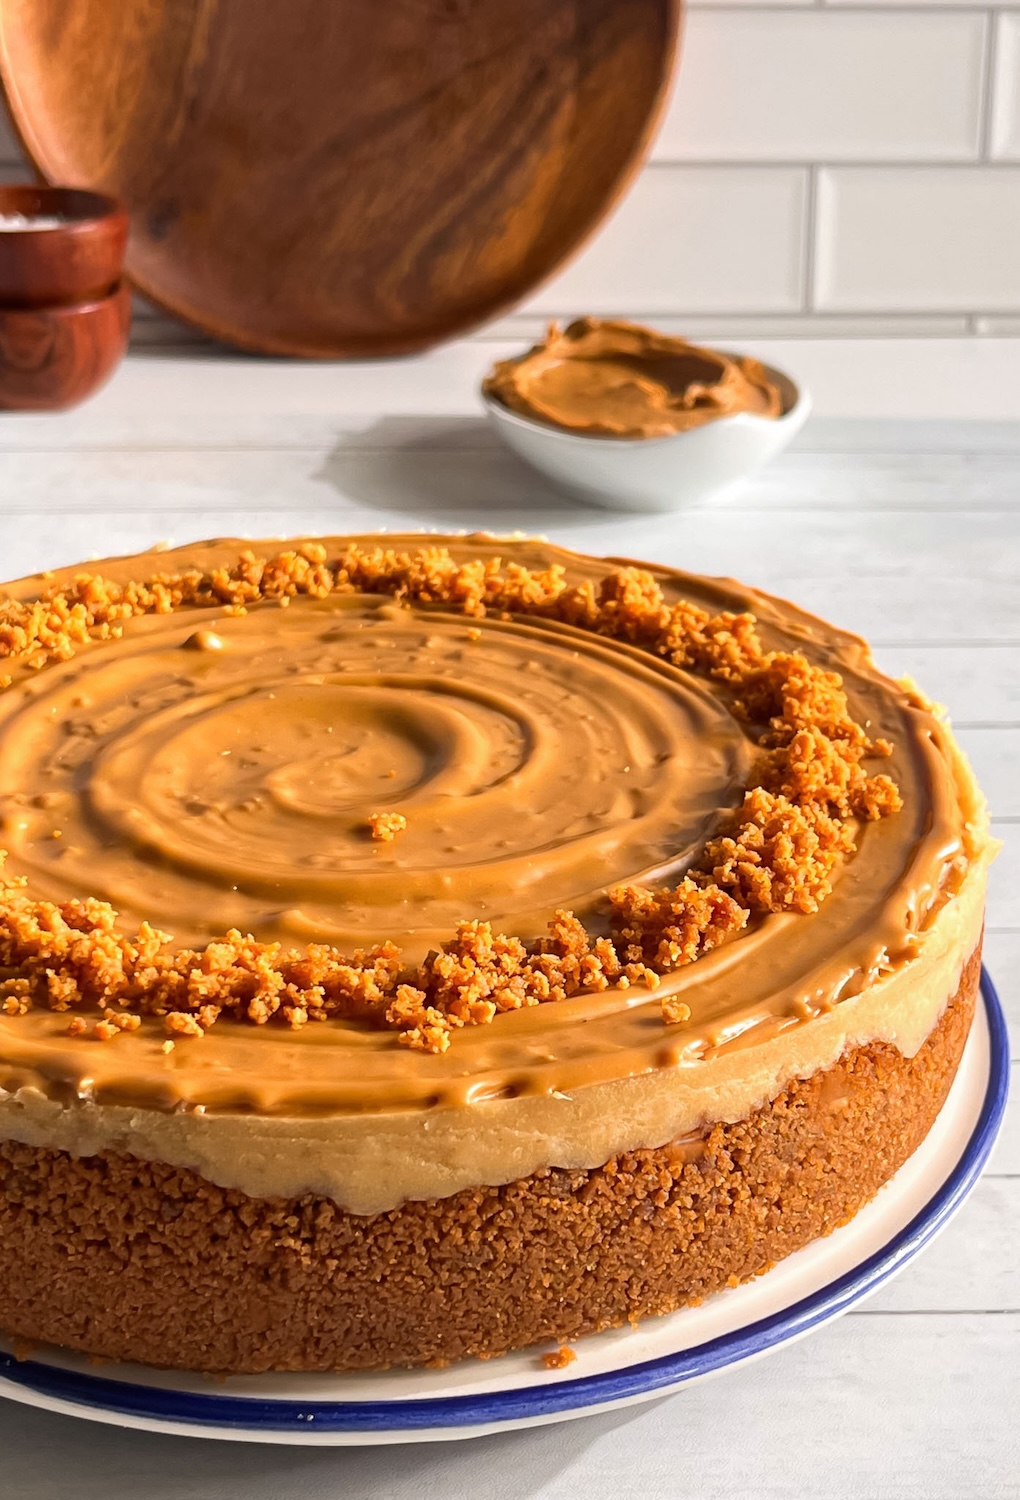
Biscoff cookies originate from Belgium and are known for their caramelized, spiced flavors, often leaving you craving more. Made from brown sugar and a blend of spices like cinnamon, they offer a unique taste that has become beloved worldwide. Lotus Biscoff also comes in the form of a spread, known as cookie butter, which is made from crushed Biscoff cookies (it is arguably more addictive than the cookies!). Its smooth, spreadable consistency adds a rich flavor to cheesecakes, desserts, and even ice cream. Biscoff has been around since 1932, the family-owned company prides itself on using only natural and whole ingredients.
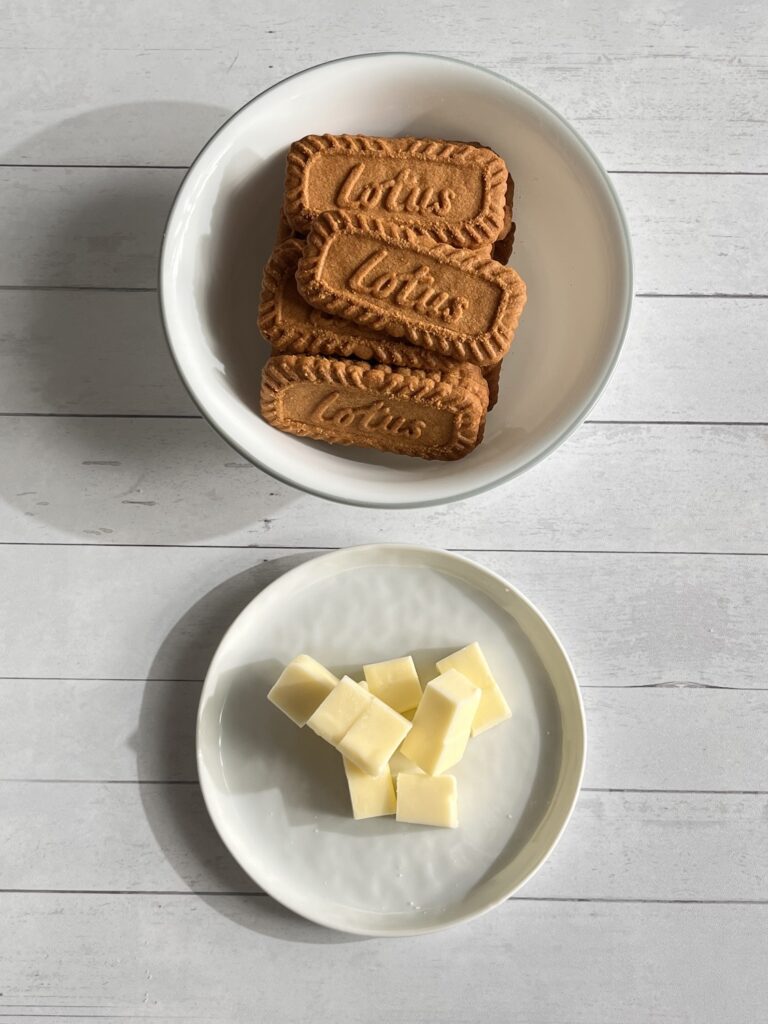
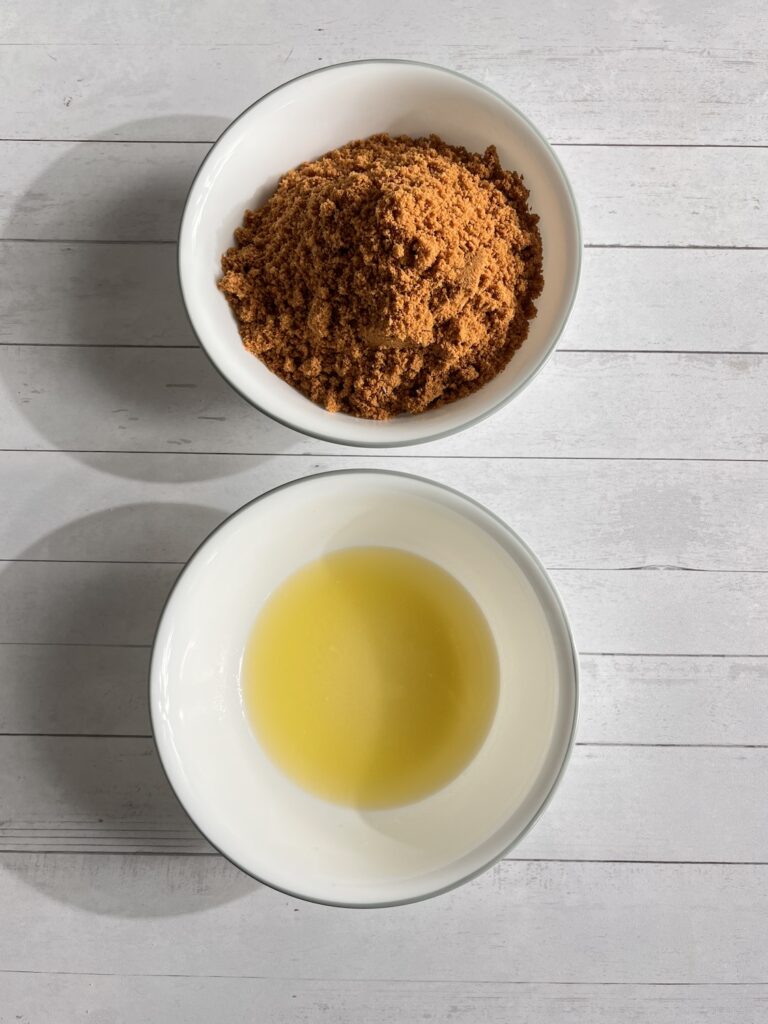
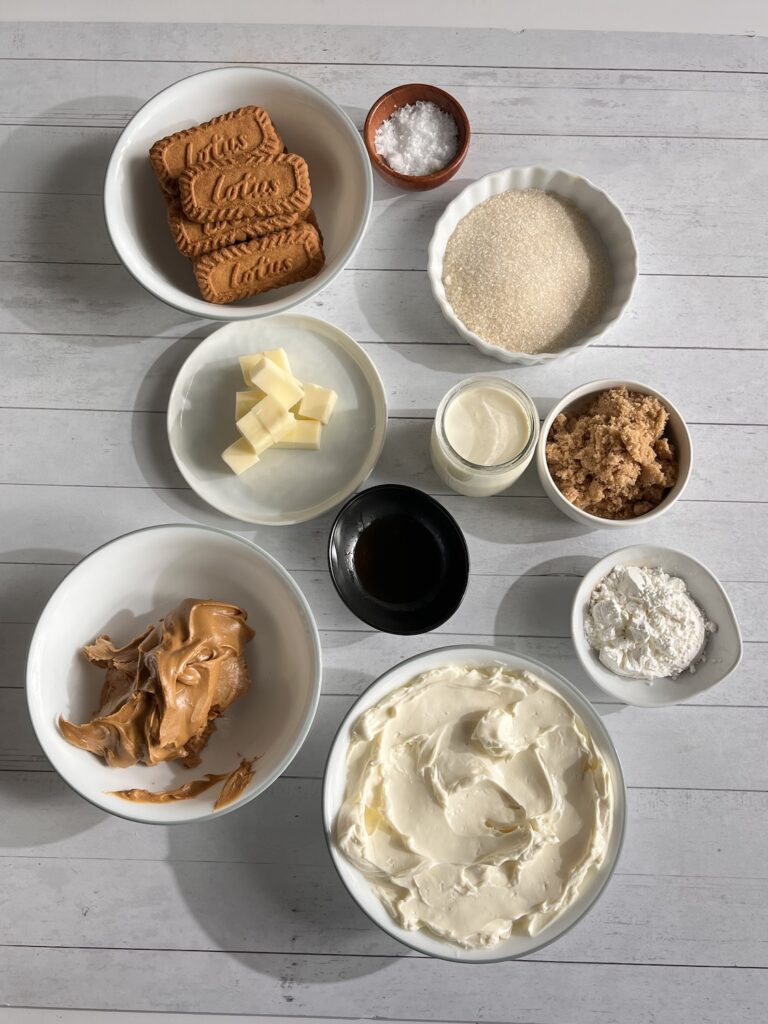
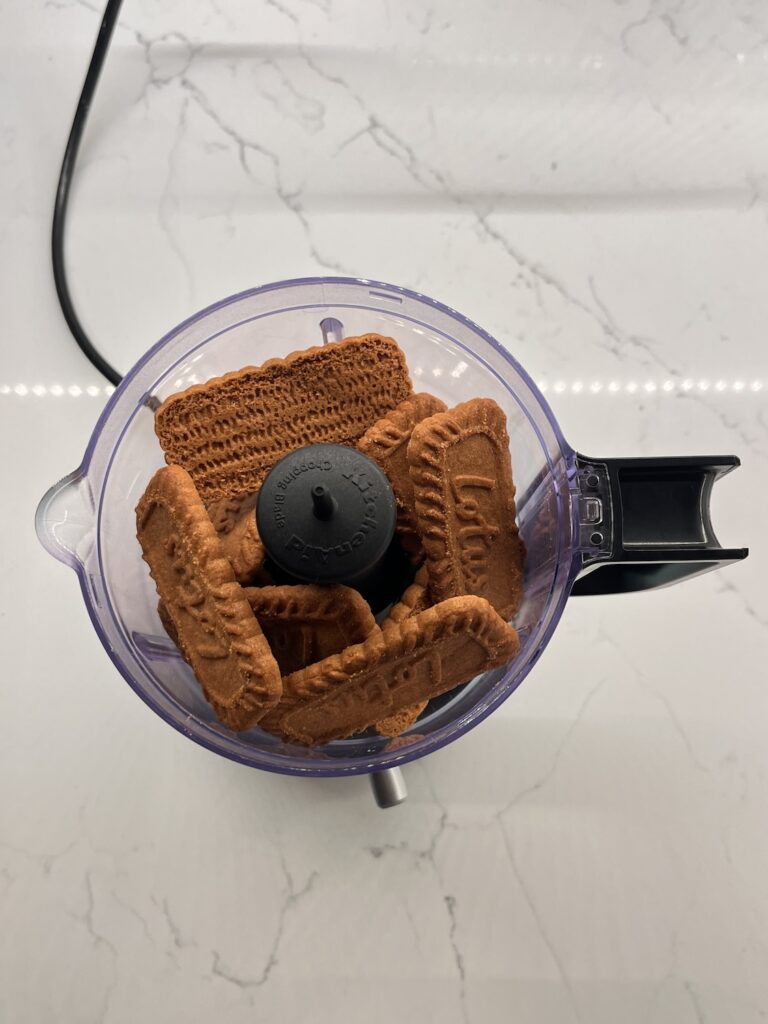
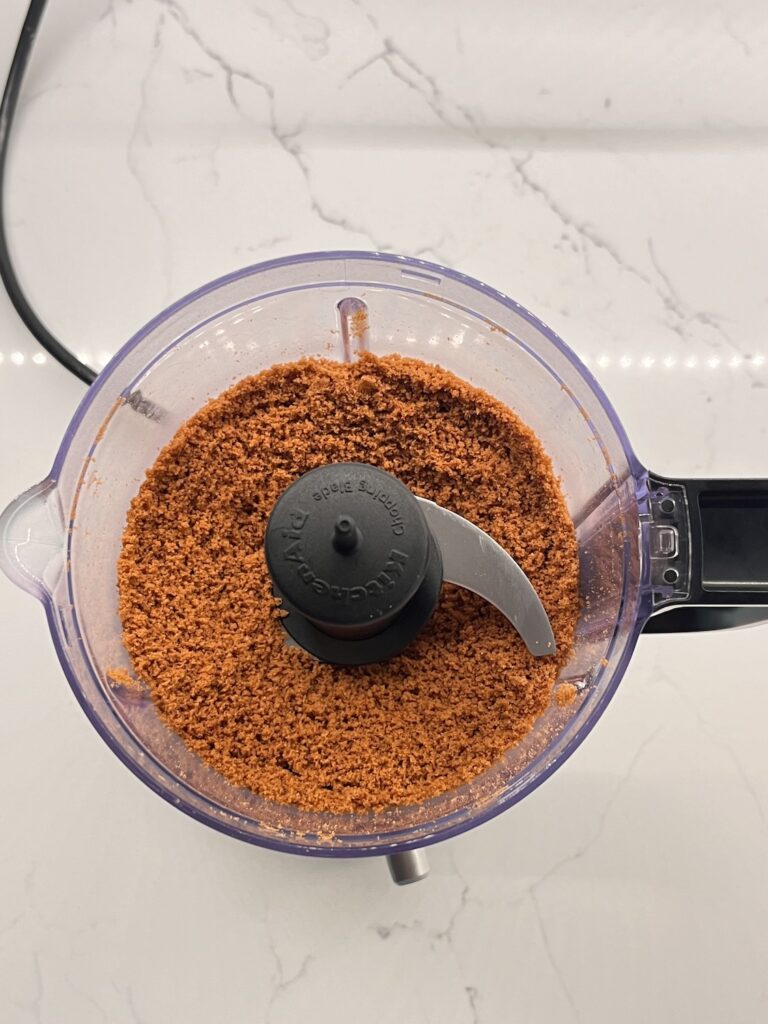
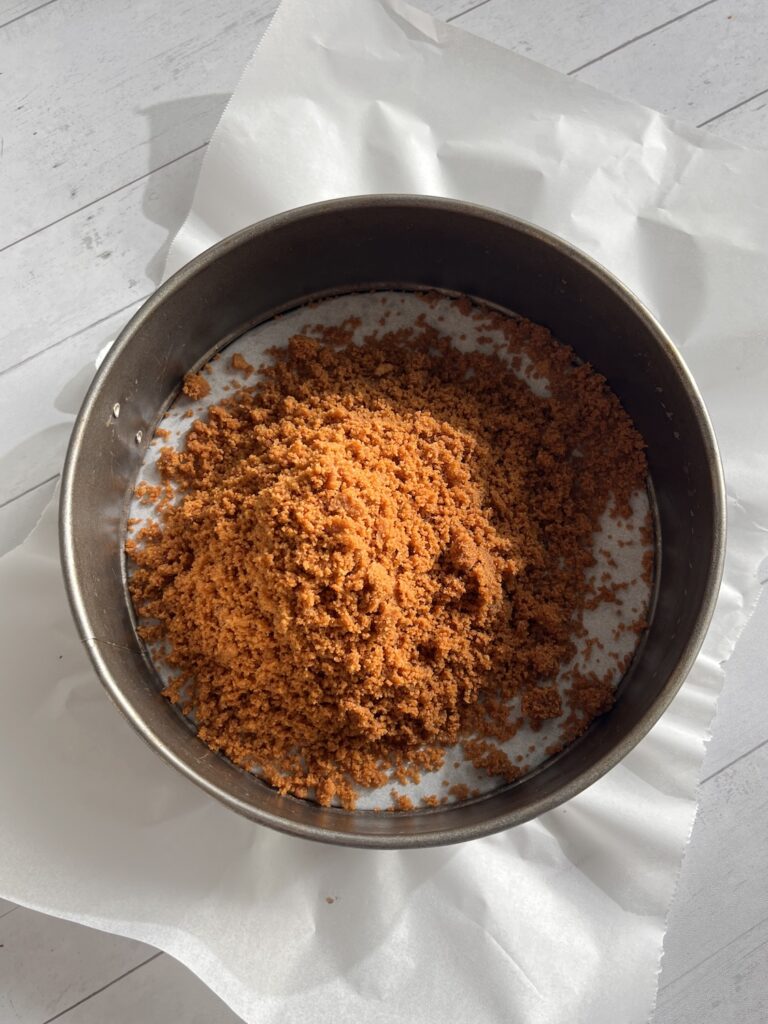
Making a Biscoff cheesecake is straightforward. Follow these instructions and you’ll be cutting yourself a slice of heaven in no time!
To make the Biscoff cookie crust, mix crushed Biscoff cookies with melted butter until the mixture resembles wet sand. Press the mixture firmly into a springform pan, creating an even layer at the bottom and sides. Chill the crust for 30 minutes to set while you prepare the cheesecake filling.
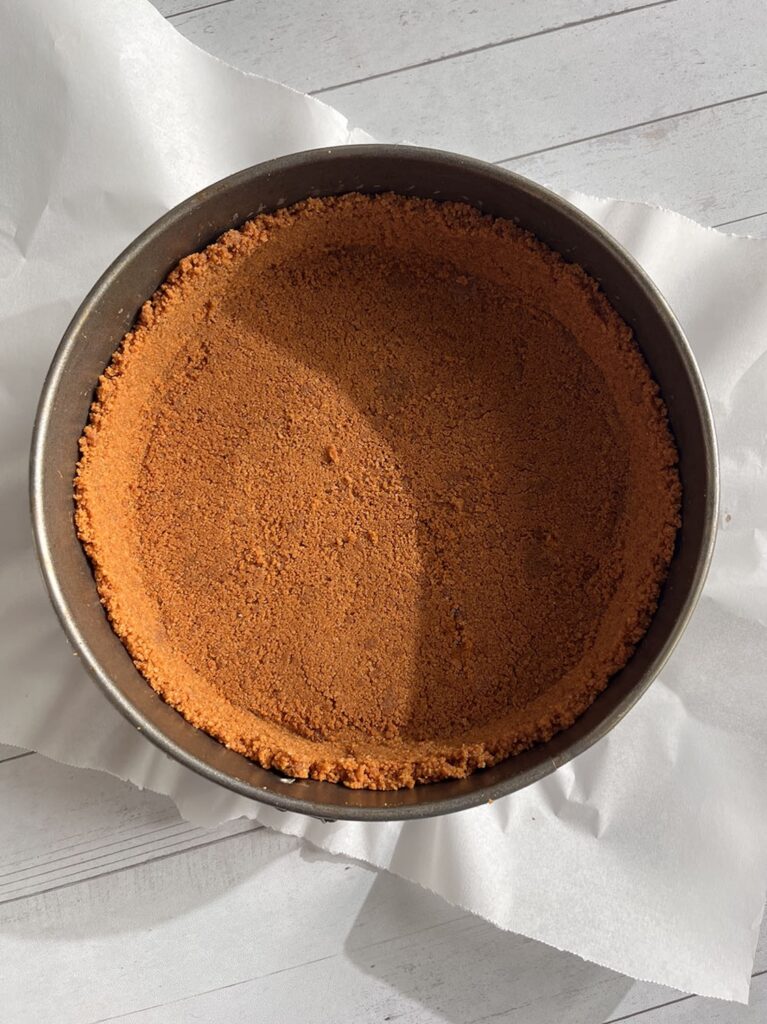
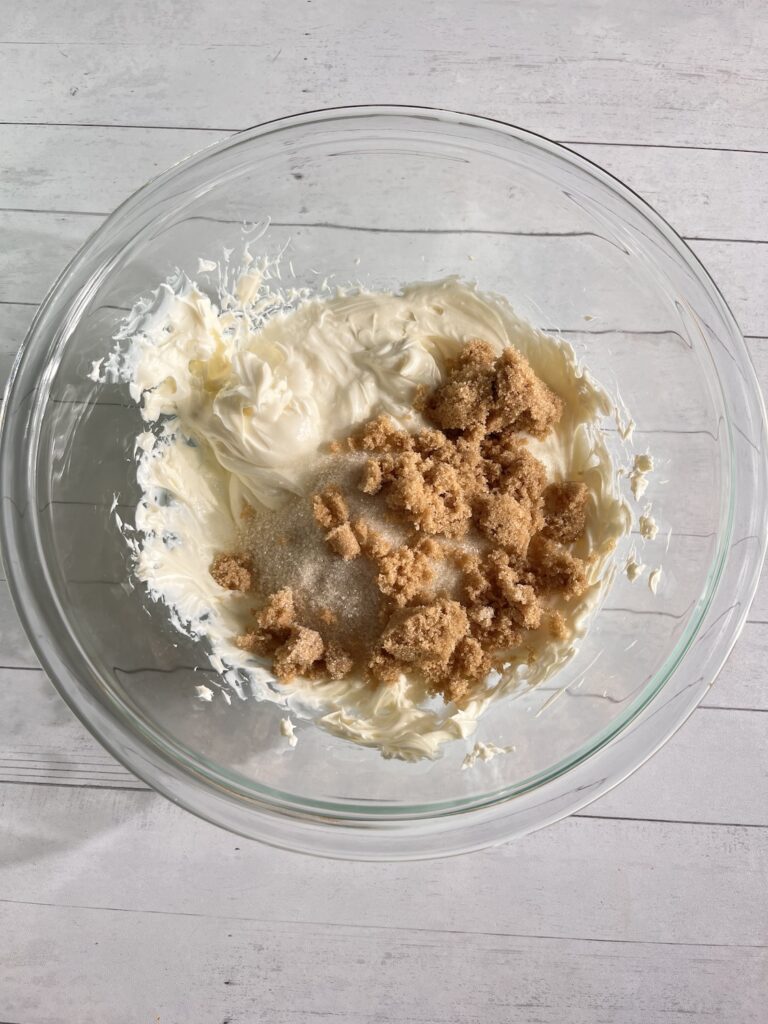
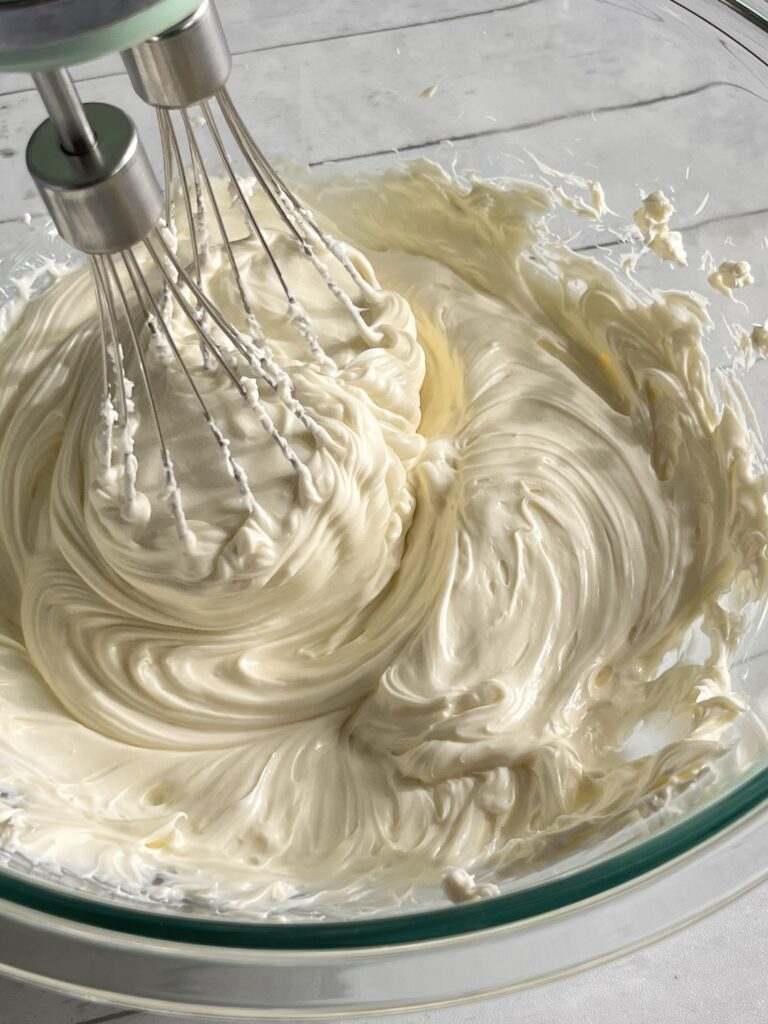
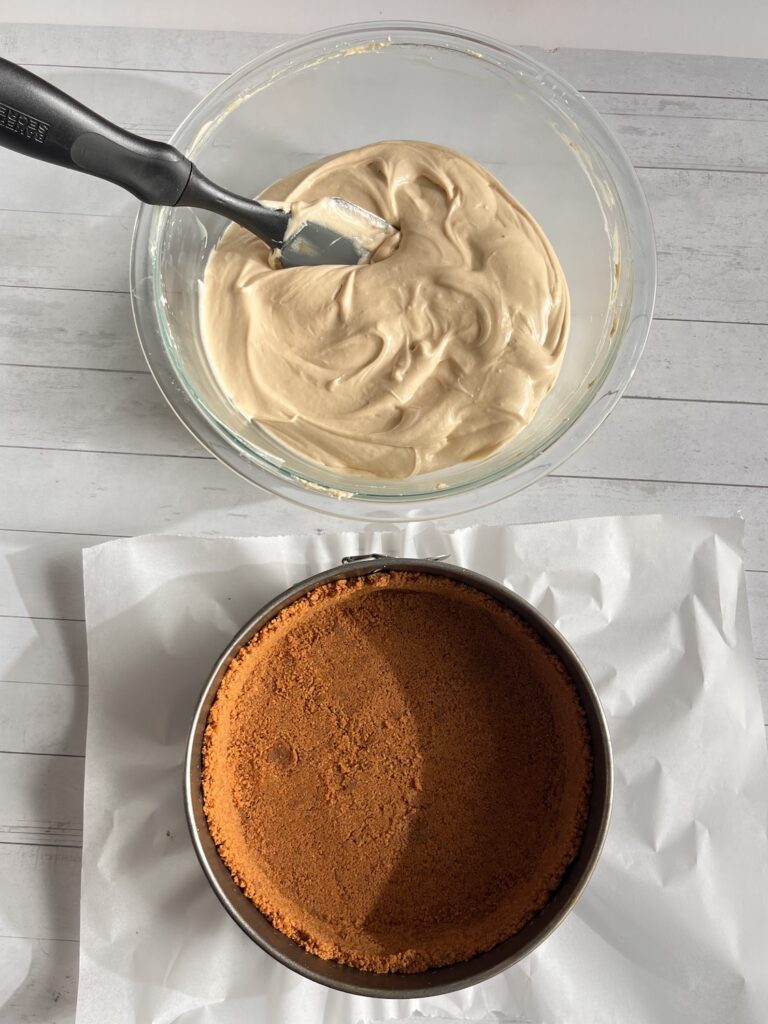
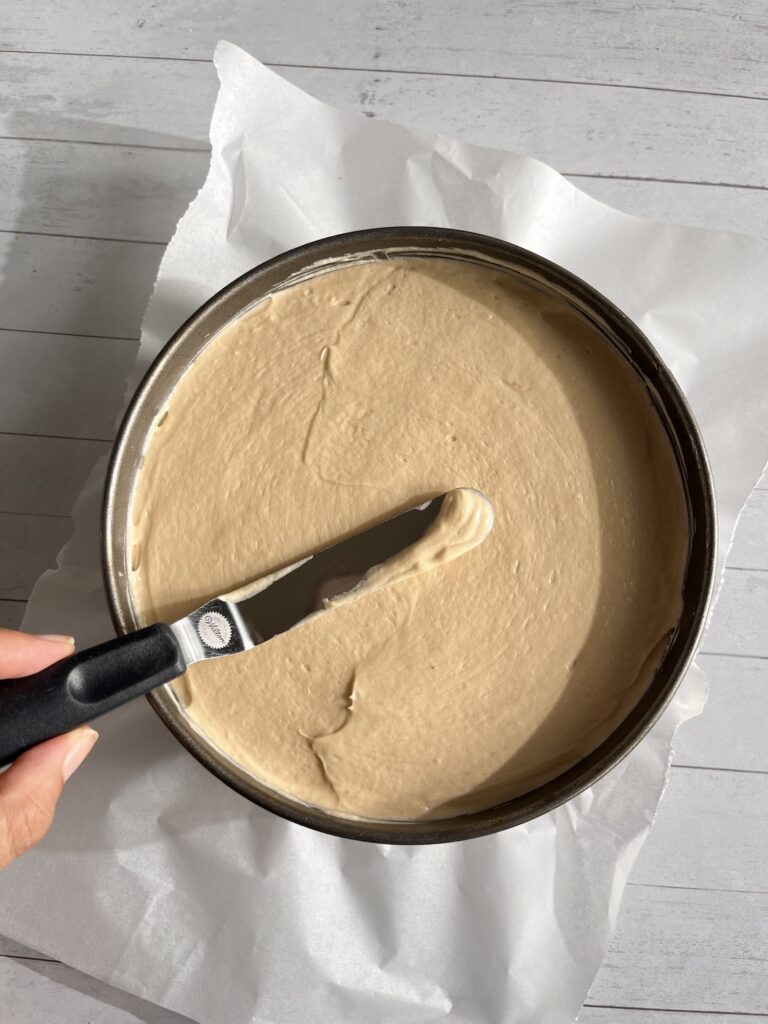
For the filling, start by mixing room temperature cream cheese until smooth. Add sugars, vanilla, salt, and then fold in the whipping cream and cornstarch to create a lump-free, creamy Biscoff cheesecake filling. Pour the filling over the prepared crust.
Preheating an oven for baking a cheesecake is important to ensure that it is even baking and has the right texture. Depending on the type of oven you have, here’s how you can preheat for each:
These temperature settings ensure a slow, gentle bake for cheesecakes, preventing cracks and ensuring a smooth texture.
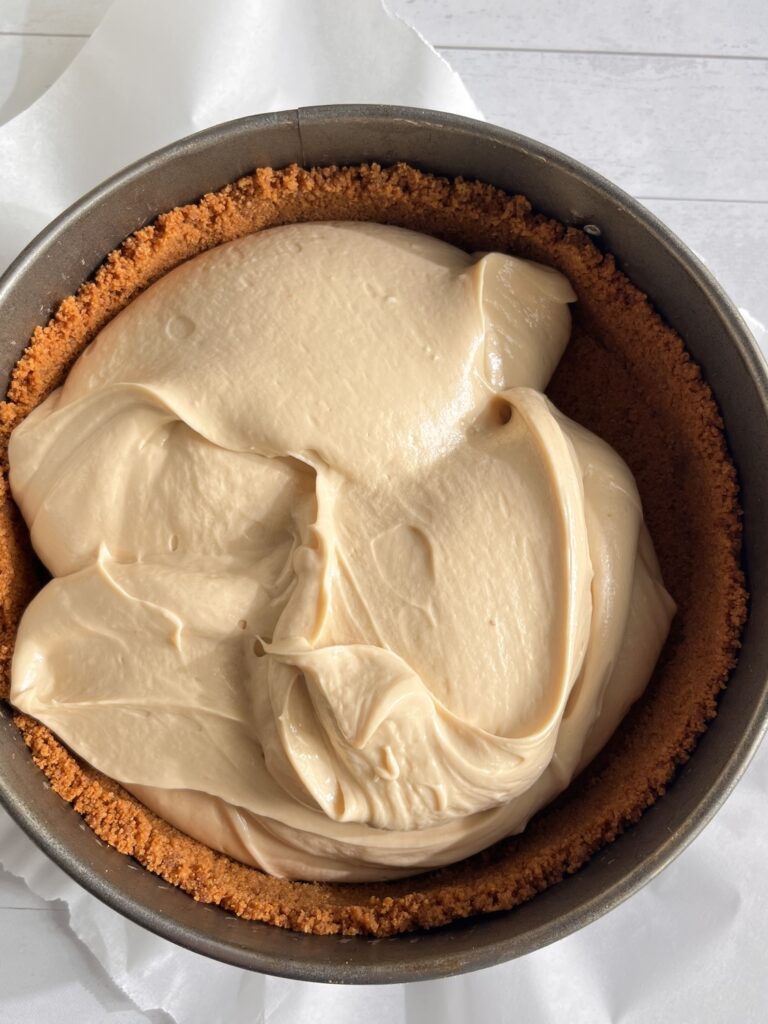
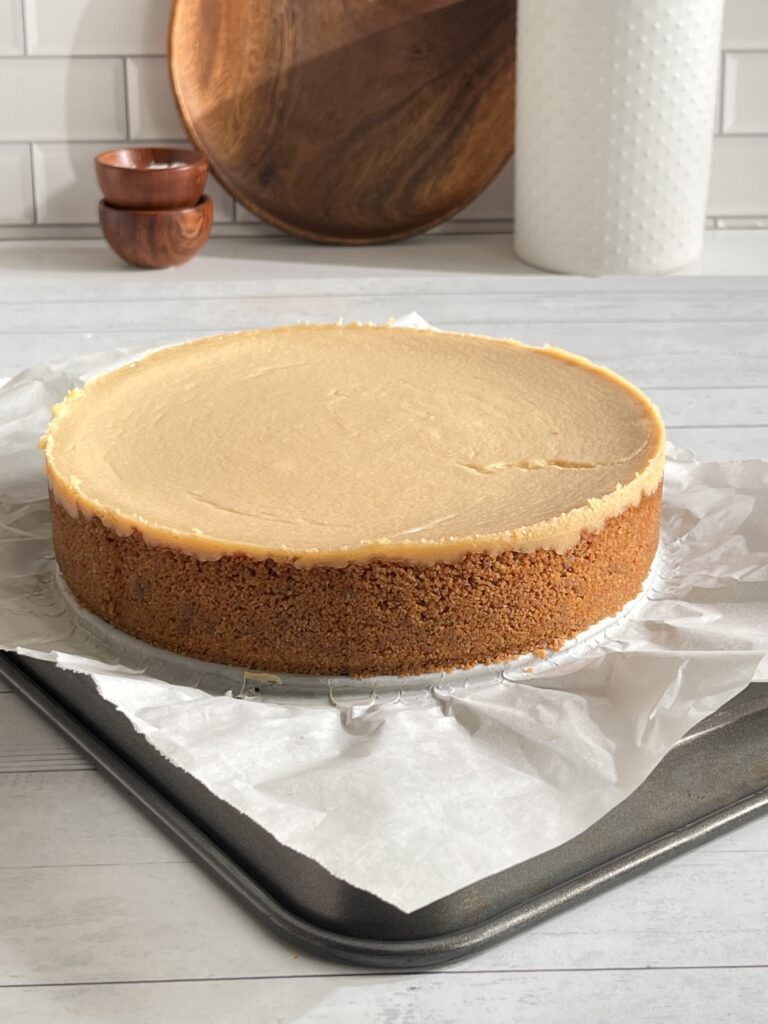
Place the cheesecake pan on a baking tray and bake for 25-30 minutes, until the edges have slightly risen and appear set. Turn off the oven and allow the cheesecake to cool inside the oven. Once cooled, remove the cheesecake from the oven and let it cool completely at room temperature for at least 1 hour, then transfer it to the fridge to chill. After it has fully set, gently remove the cheesecake from the springform pan and place it on a serving plate using a spatula.
Place the wrapped springform pan into a larger roasting pan or baking tray. Carefully pour hot water into the larger pan until it reaches halfway up the sides of the springform pan. Place the setup in the oven and bake. The cheesecake is done when the edges are set, but the center still has a slight jiggle. Let the cheesecake cool in the water bath to avoid sudden temperature changes that could cause cracking.
Place a large, oven-safe baking dish or roasting pan on the lower rack of your oven. This will be your steam tray. Fill the steam tray with hot water, making sure it’s deep enough to create steam. Place the cheesecake pan on a middle rack in the oven above the steam tray. Once the cheesecake is baked, turn off the oven and crack the oven door slightly. Let the cheesecake cool in the oven for about an hour. This gradual cooling helps prevent cracking due to sudden temperature changes.
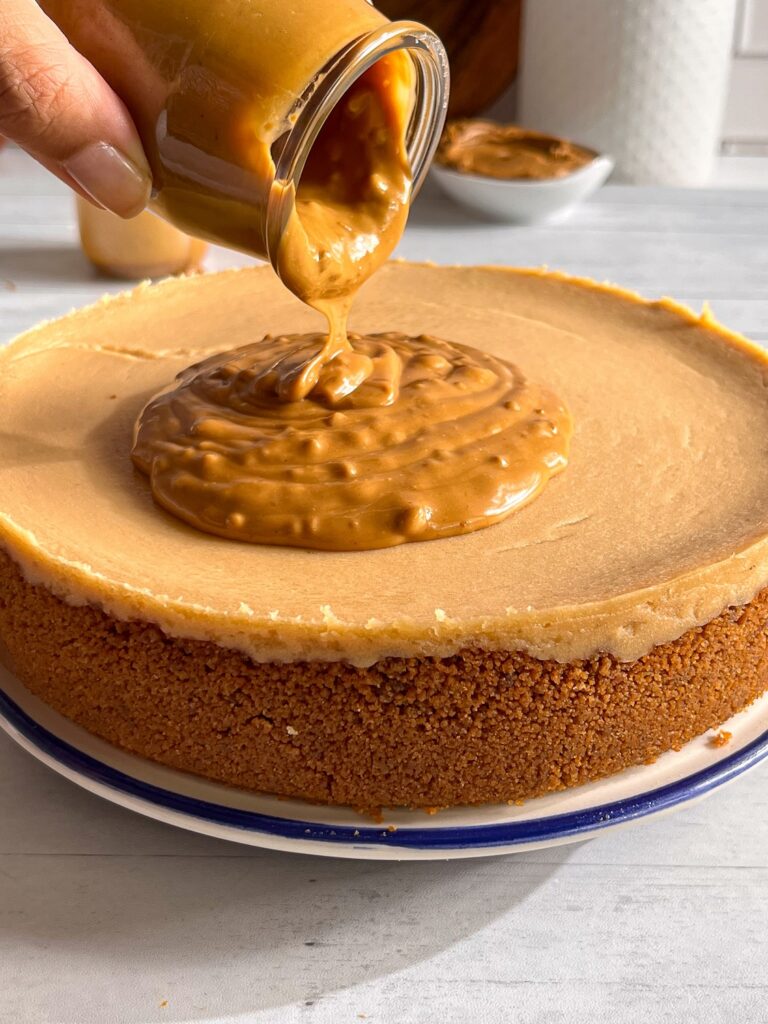
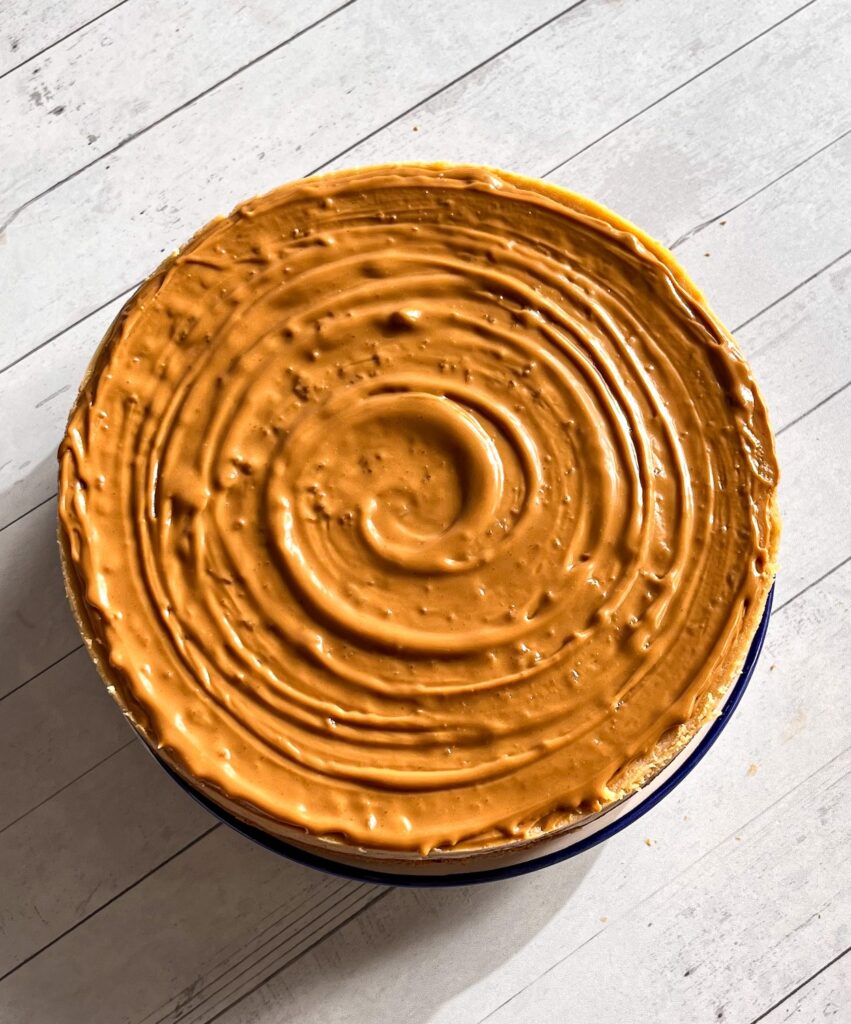
Once you’ve removed the cake from the springform pan you can add a thick layer of melted Biscoff (not too hot) on top of cooled cheesecake. Decorate with cookie crumbs and store any leftovers in an airtight container in the fridge for 3-4 days.
Ensure your cream cheese and whipping cream are at room temperature before mixing. This helps them blend smoothly, preventing lumps in the batter.
Bake the cheesecake in a water bath or place a tray of water on the oven’s bottom rack to create steam. This helps regulate moisture and prevents cracks.
Store your cheesecake in an airtight container in the fridge for up to 3-4 days. The Biscoff topping and cookie crumbs stay fresh during this time.
The cheesecake is done when the edges are set, but the center still has a slight jiggle. It will firm up as it cools.
You can make this Biscoff cheesecake up to 2 days in advance and store it in the fridge.
Yes! You can freeze the Biscoff cheesecake by wrapping it tightly in plastic wrap. Freeze for up to 2 months and thaw in the fridge overnight before serving.
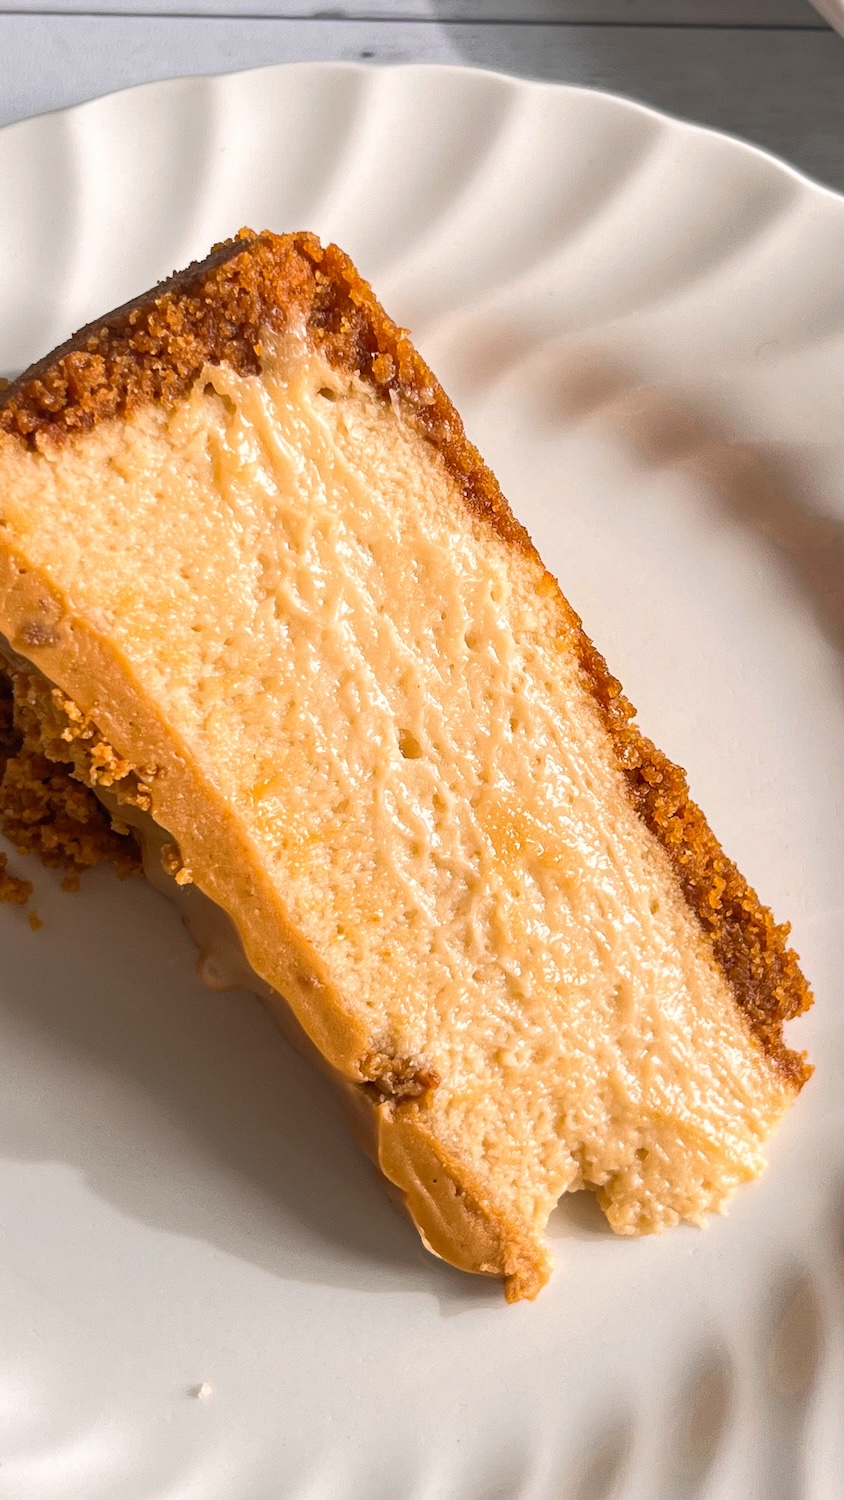
You’ll love this cheesecake because it’s eggless, making it ideal for those who prefer egg-free baking. The recipe is simple and uses basic ingredients, making it easy for beginners to follow. The signature spiced, caramelized flavor of Biscoff cookies is infused throughout, from the crust to the topping, adding a unique twist. This cheesecake is also incredibly easy to make vegan without compromising on flavor or texture!
If you liked this recipe make sure to leave a comment and review below. Check out these other cheesecakes!
4 Responses
I loved this recipe ♥️♥️
Hi Sheetal,
Thank you so much!
Hey hi ..the recipe looks so good..but wanted to make biscoff cake ..can these elements be used..or do u have biscoff sponge recipe
Hi RBV
Unfortunately none of the elements of this cheesecake can be applied to a layer cake. I will plan to share a biscoff cake recipe in the coming weeks.