prep time: 30 min | bake time: 30 min | total time: 1 hr
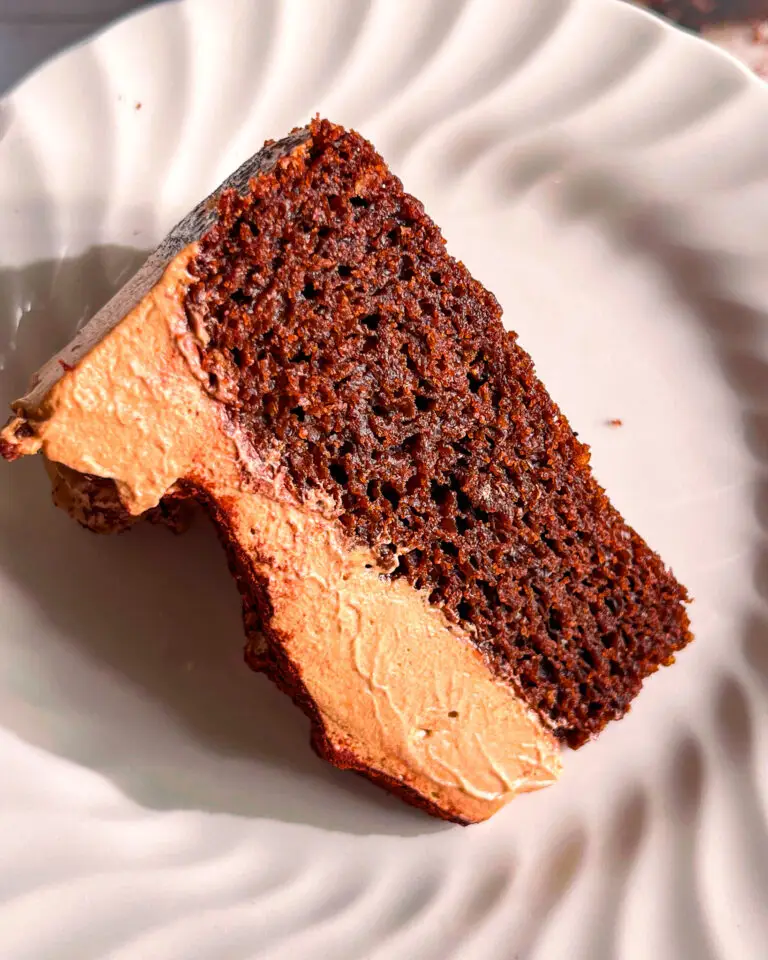
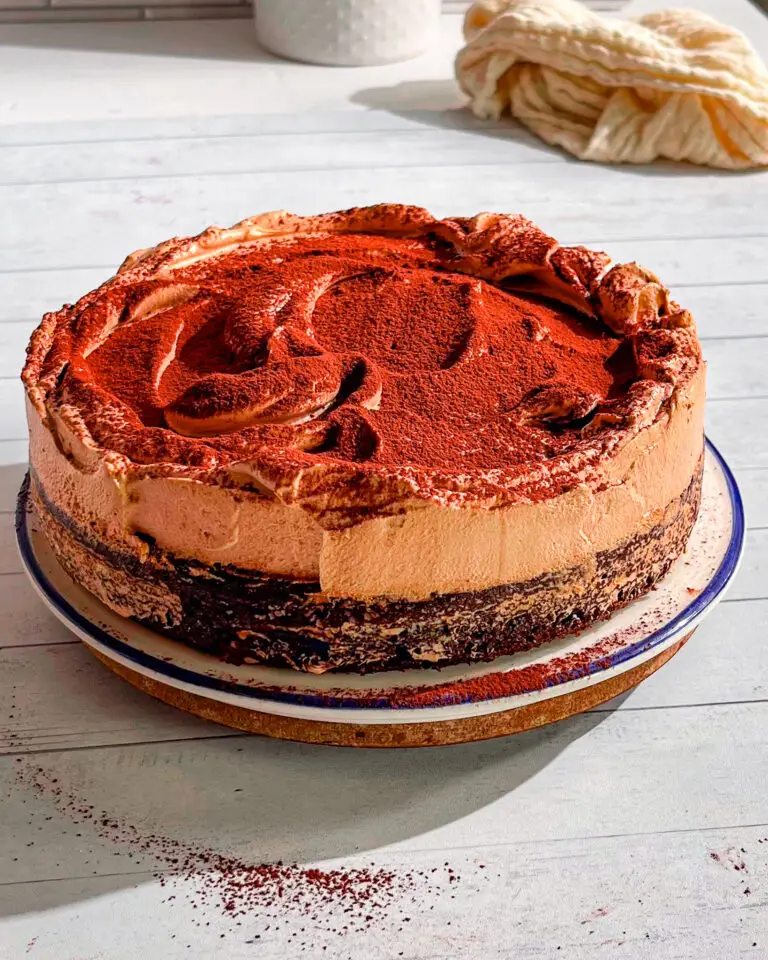
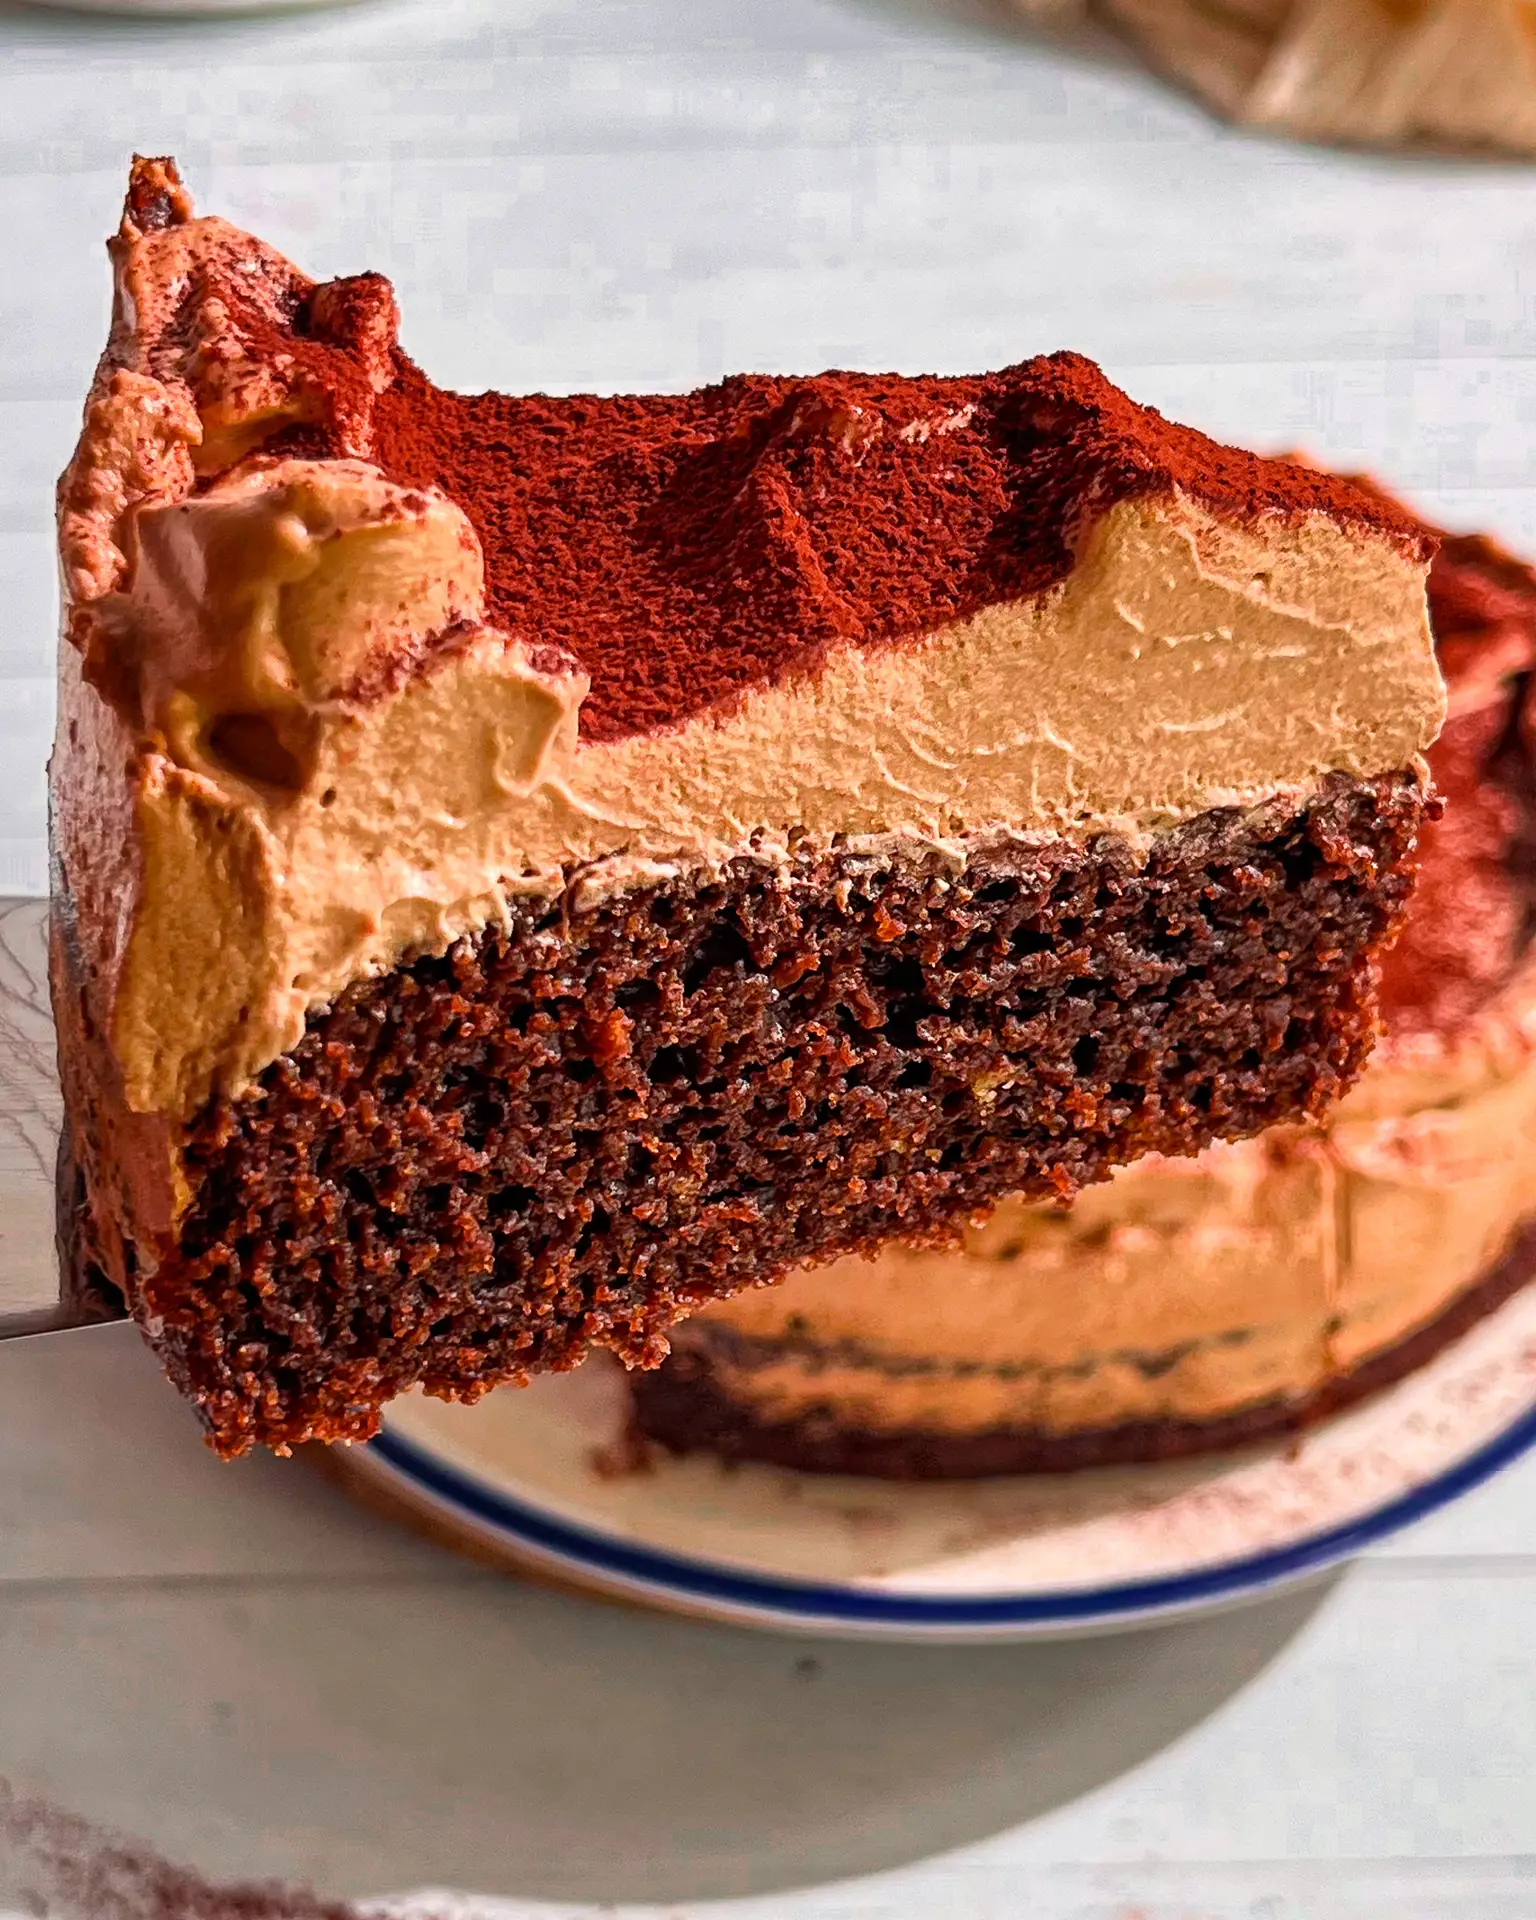
A soft, moist eggless chocolate cake infused with coffee and topped with fluffy mocha whipped cream. This easy one-layer cake can also be made dairy-free with suitable substitutions.
This eggless chocolate mocha cake is rich, moist, and full of chocolate and coffee flavor. The soft chocolate sponge is made with instant coffee to deepen the cocoa flavor, then topped with fluffy mocha whipped cream for a simple but delicious finish.
The coffee enhances the chocolate without making the cake taste overwhelmingly like coffee.This is an easy, one-layer chocolate cake that doesn’t require eggs or complicated techniques. You can also make it dairy-free!
Ingredients You’ll Need
Chocolate Cake
Milk: Whole milk adds moisture and helps create a tender crumb. Unsweetened almond, soy, or oat milk works for a dairy-free version.
White vinegar or lemon juice: Combines with the milk to create a buttermilk-style mixture that helps tenderize the cake and activate the baking soda.
Instant coffee or espresso powder: Deepens the chocolate flavor. Use instant coffee granules or espresso powder that dissolves easily.
Light brown sugar, caster sugar, or coconut sugar: Sweetens the cake. Light brown sugar adds a subtle caramel note, while caster sugar gives a more neutral sweetness.
Vanilla extract: Rounds out the chocolate and coffee flavors.
Neutral oil: Keeps the sponge moist. Use sunflower, canola, or vegetable oil.
All-purpose flour: Provides structure for the cake.
Cocoa powder: Use unsweetened cocoa powder for a rich chocolate flavor.
Cornstarch: Helps create a more tender crumb.
Baking powder and baking soda: Help the cake rise and stay light.
Salt: Balances the sweetness and enhances the chocolate flavor.
Mocha Whipped Cream Frosting
Whipping cream: Cold heavy whipping cream creates a light, fluffy frosting. For a dairy-free cake, use a dairy-free whipping cream alternative that can be whipped to stiff peaks.
Vanilla extract: Adds warmth and rounds out the mocha flavor.
Cocoa powder: Adds chocolate flavor to the whipped cream.
Instant coffee or espresso powder: Gives the frosting its mocha flavor.
Powdered sugar: Sweetens the frosting and helps it hold its shape.
Optional Coffee Soak
Freshly brewed coffee or coffee syrup: Brushing a little over the cooled cake adds extra coffee flavor and moisture. This step is optional.
How to Make Chocolate Mocha Cake
Preheat the oven to 350°F (175°C). Grease an 8-inch (20 cm) round cake pan and line the bottom with parchment paper to make removing the cake easier.
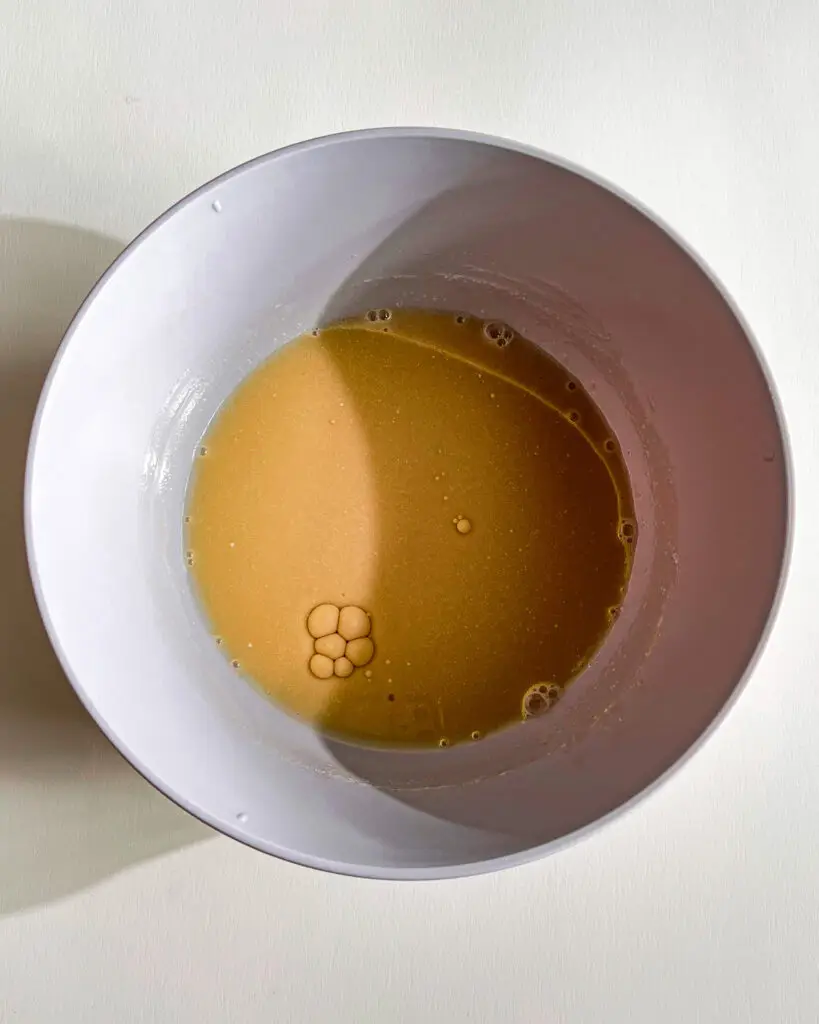
In a mixing bowl, combine the milk and vinegar or lemon juice. Let it stand for 5 minutes. The milk may look slightly curdled, which is normal. Add the instant coffee, sugar, oil, and vanilla extract to the milk mixture. Whisk until the coffee dissolves and the ingredients are well combined.
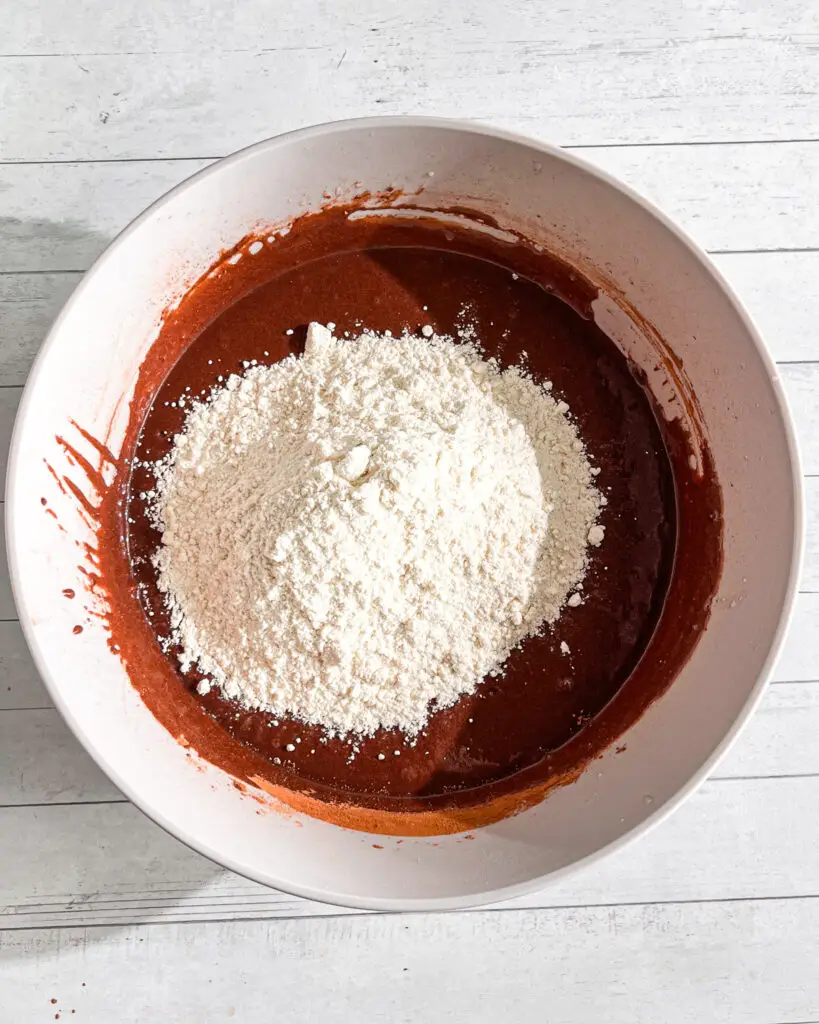
In a separate bowl, sift together the all-purpose flour, cocoa powder, cornstarch, baking soda, baking powder, and salt.
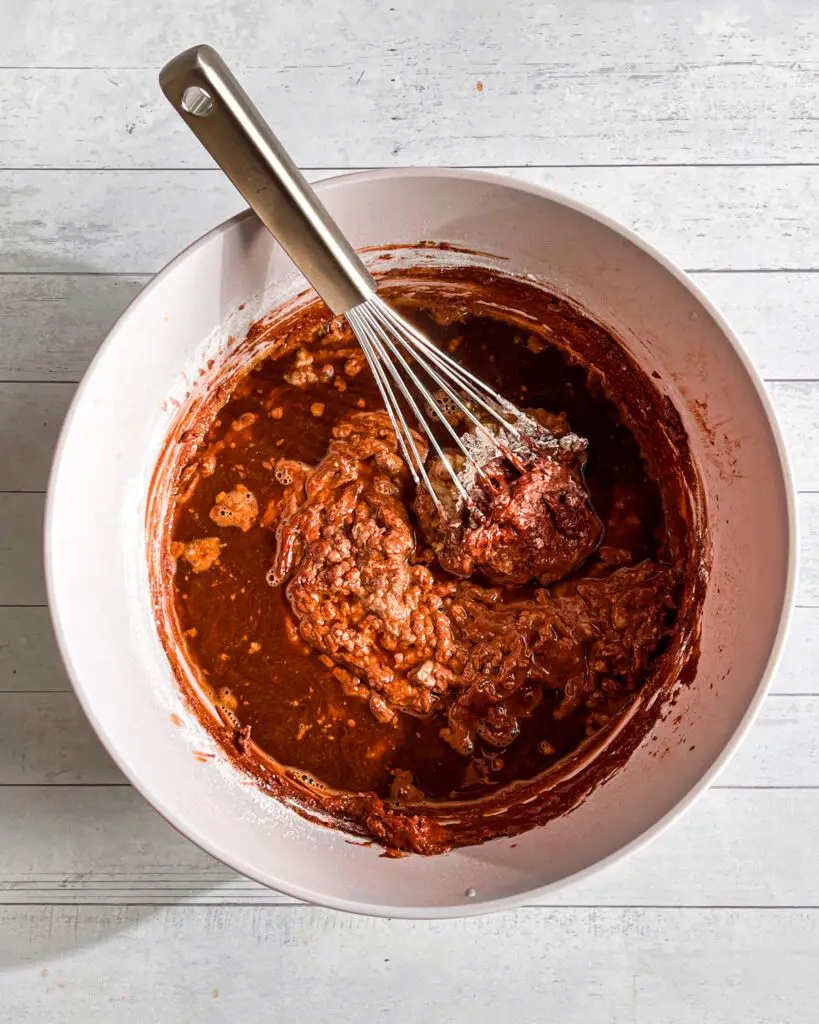
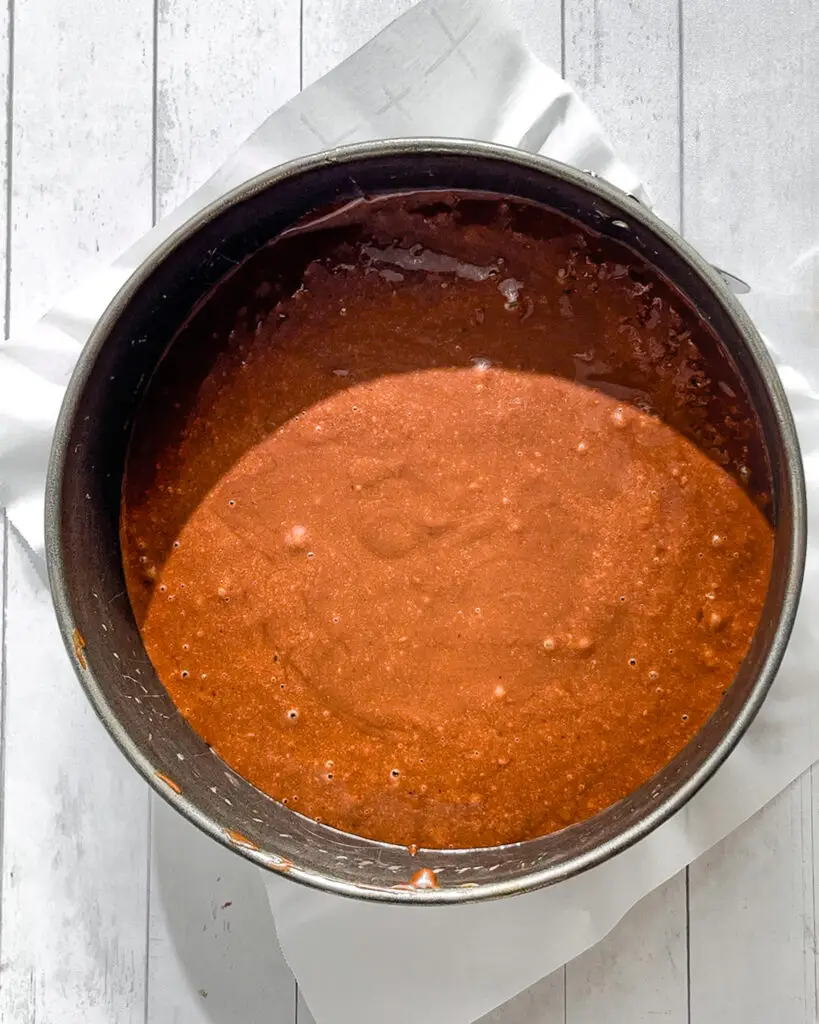
Add the dry ingredients to the wet mixture and whisk gently until the batter is smooth and no dry flour remains. Pour the batter into the prepared cake pan and smooth the top.
Bake for approximately 25 minutes, or until a toothpick inserted into the center comes out clean or with a few moist crumbs. Allow the cake to cool completely before removing it from the pan and adding the frosting.
Make the Mocha Whipped Cream
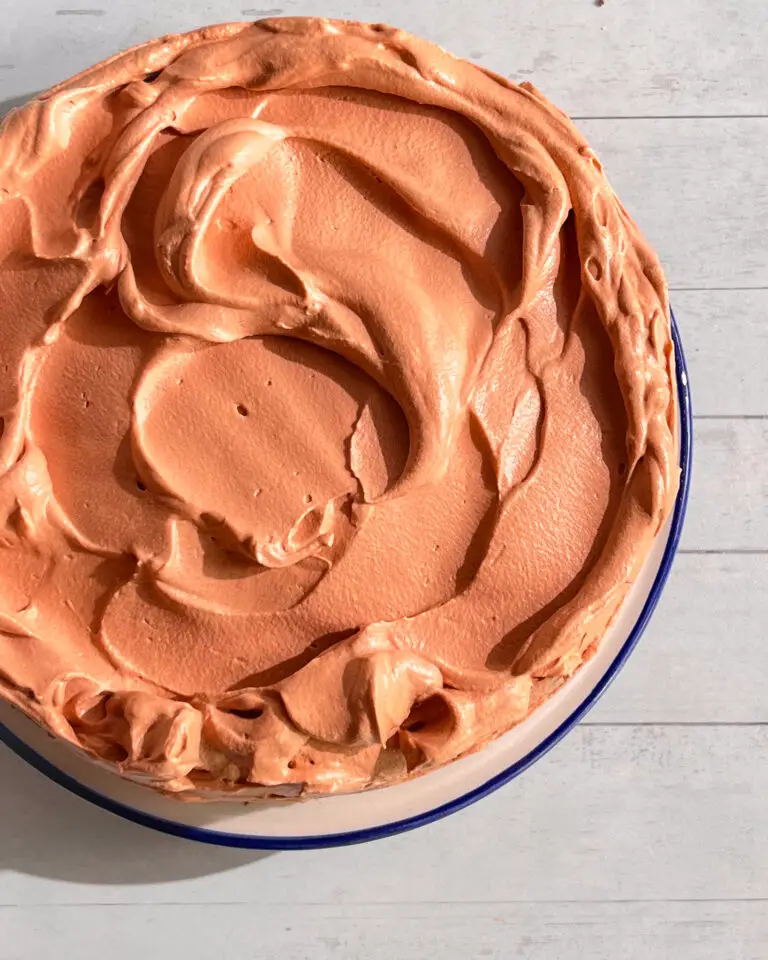
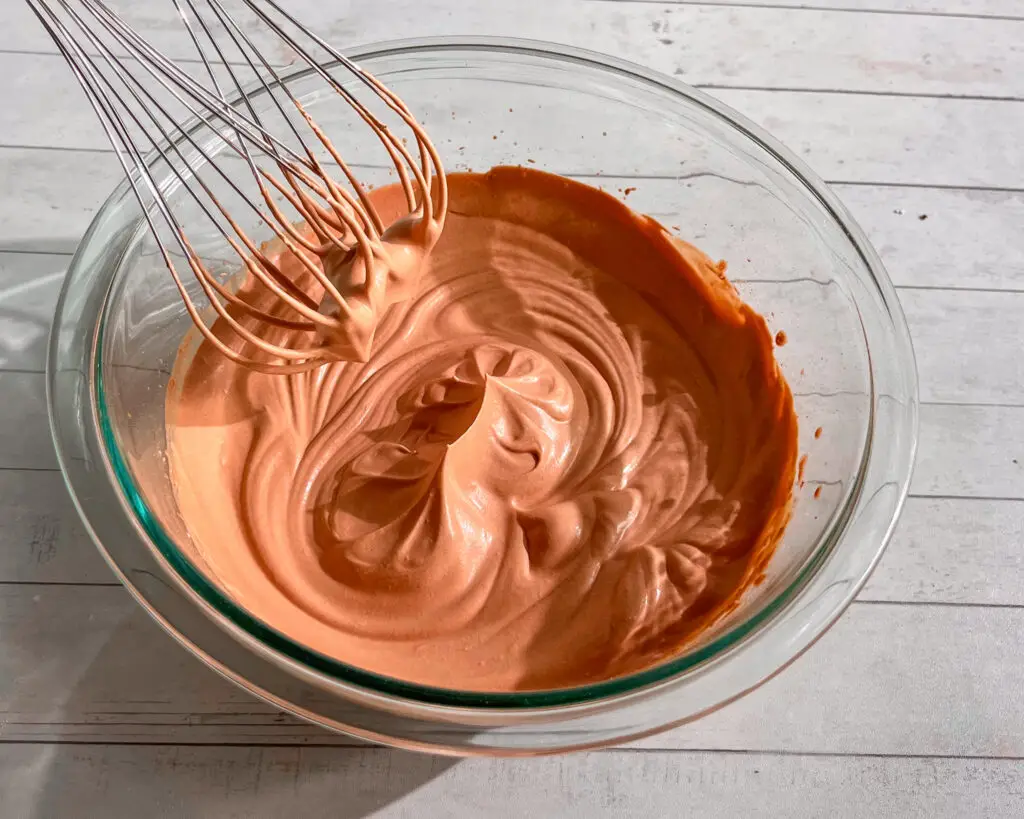
Add the cold whipping cream, vanilla extract, sifted cocoa powder, instant coffee, and powdered sugar to a mixing bowl. Using an electric mixer, beat until the mixture thickens and holds stiff peaks.Once the cake has cooled completely, brush the top with a little freshly brewed coffee or coffee syrup if you want a stronger coffee flavor.
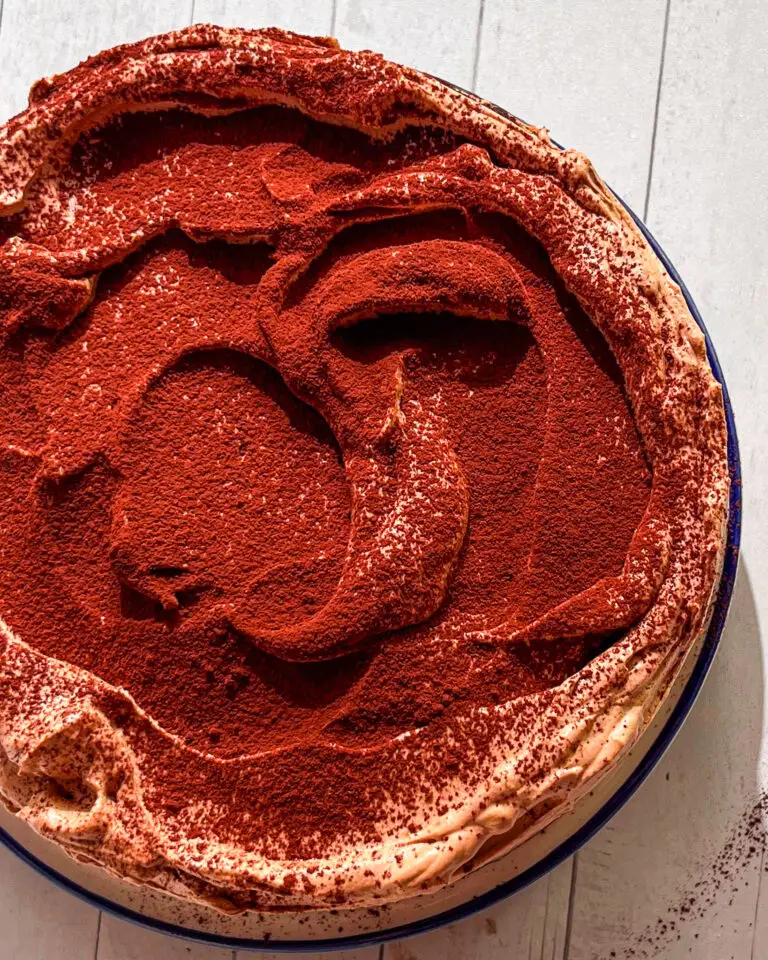
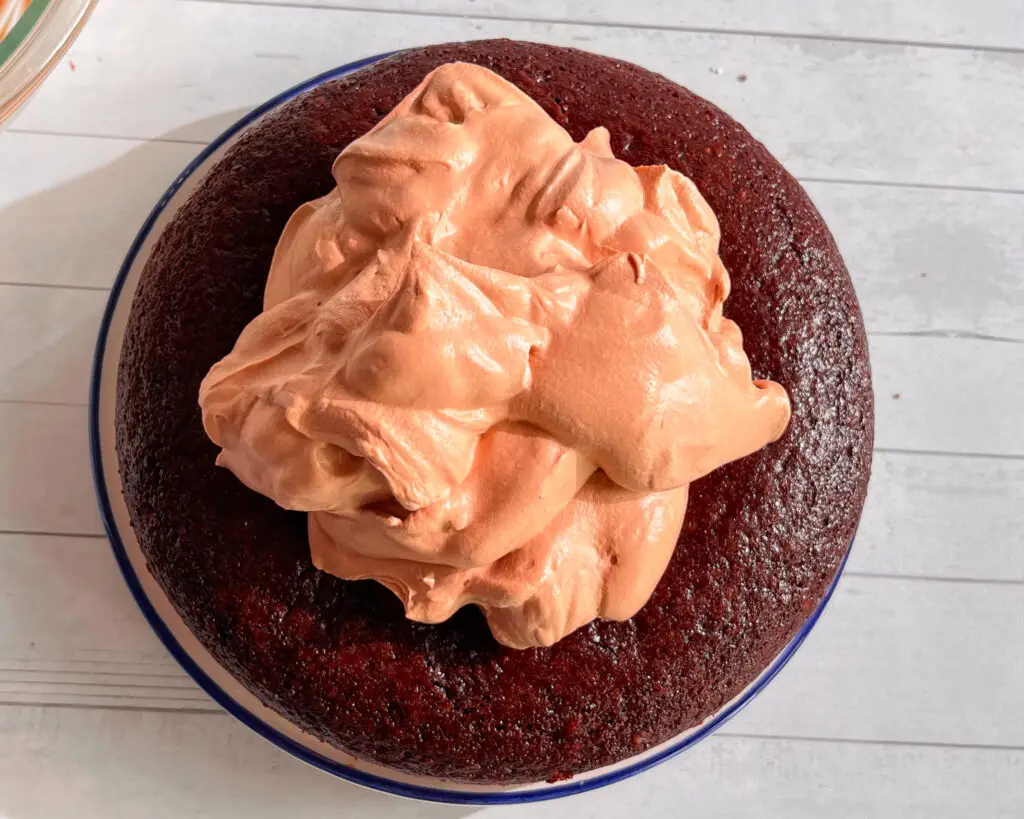
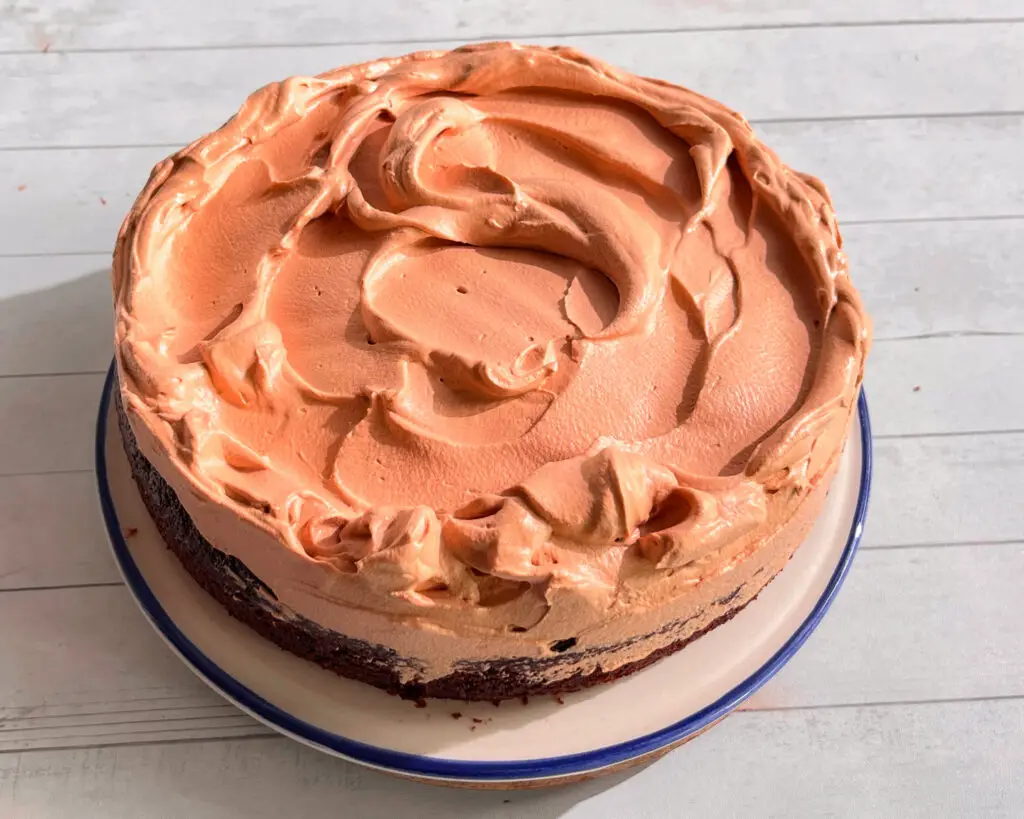
Spread the mocha whipped cream evenly over the cooled cake. Dust with a little cocoa powder if desired. For the neatest slices, refrigerate the frosted cake for at least 1 hour before serving. Keep the cake refrigerated until ready to serve.
Tips for the Best Chocolate Mocha Cake
Use coffee to enhance the chocolate: Instant coffee or espresso powder adds depth without overpowering the cocoa flavor.
Measure the flour accurately: Weighing ingredients is the most reliable way to get consistent results.
Don’t overmix the batter: Whisk only until the ingredients are combined to help keep the cake tender.
Let the cake cool completely: Warm cake will melt the whipped cream frosting.
Use cold whipping cream: Cold cream whips more efficiently and helps the frosting hold its shape.
Dissolve the coffee well: Make sure the instant coffee is evenly mixed into the wet ingredients to avoid concentrated bitter spots.
Yes! This recipe is already eggless, and you can easily make it fully vegan by using non-dairy milk (like almond, oat, or soy) and a vegan whipping cream for the frosting.
Instant coffee or espresso powder is recommended for the cake batter and frosting because it provides concentrated flavor without adding extra liquid. Brewed coffee can be used for the optional soak.
Yes. Bake the cake a day ahead, allow it to cool completely, and store it covered. Prepare the frosting and assemble the cake closer to serving for the best whipped cream texture.
I can’t wait to see your chocolate mocha cake creations! Whether you’re baking it for a special occasion or just indulging in a well-deserved treat, this cake is sure to impress. Snap a photo, tag me @pastrybysaloni, and let’s celebrate your masterpiece together!
And finally… grab a copy of my cookbook Vegan Baking Made Simple – this is perfect for anyone looking to learn more about baking traditional recipes without dairy or eggs! Available on Amazon HERE
Meet Saloni
I’m a former pastry chef with a love for breads, cakes and everything in between! My recipes are easy to follow, egg free and are designed to be shared with others!
A soft, moist eggless chocolate cake infused with coffee and topped with fluffy mocha whipped cream. This easy one-layer cake can also be made dairy-free with suitable substitutions.
130gLight Brown Sugaror castor sugar / coconut sugar
1tspVanilla Extract
80mlOilsunflower or vegetable oil
125gAll Purpose Flour or gluten free flour blend for baking
25gCocoa Powder,sifted
10g Cornstarch
1/8tspBaking Soda
1tspBaking Powder
1/8tspSalt
Mocha Whipped Cream Frosting Ingredients
160mlWhipping Creamcold; see notes for options
1tspVanilla Extract
2tbspCocoa Powdersifted
2tspInstant Coffee or espresso powder
2tbspPowdered Sugaror icing sugar
Topping Ingredients
60mlFreshly Brewed Coffee or Coffee Syrupoptional to soak the cake to keep it moist
1-2tbspCocoa Powder for dusting
Instructions
How to Make the Chocolate Cake:
Preheat your oven to 350°F (175°C). Grease and line an 8-inch (20cm) springform cake pan with baking paper to prevent sticking.
In a bowl, mix hot milk and vinegar; let it sit for 5 minutes to create a tangy buttermilk substitute that enhances moisture.
Add instant coffee, oil, vanilla extract, and sugar to the buttermilk mixture; whisk until the sugar dissolves completely and the mixture becomes smooth.
In a separate bowl, sift together all-purpose flour, cocoa powder, cornstarch, baking soda, baking powder, and salt; gradually fold the dry ingredients into the wet mixture, stirring until you achieve a lump-free batter.
Pour the batter into the prepared cake pan, smoothing the top; bake for about 25 minutes, or until the center feels firm to the touch and a toothpick inserted comes out clean.
Let the cake cool completely in the pan before unmolding; for a deeper coffee essence, brush or soak the cake with freshly brewed espresso once cooled.
How to Make the Mocha Frosting:
In a mixing bowl, combine cold whipping cream, instant coffee, vanilla extract, cocoa powder, and powdered sugar.
Using an electric whisk, beat the mixture until stiff peaks form; the frosting should be thick and airy.
Soak the cake in freshly brewed coffee or coffee syrup if desired. Spread the whipped mocha frosting evenly over the cooled cake; for an elegant touch, dust the top with a light sprinkle of cocoa powder.
Refrigerate the frosted cake for at least 1 hour to allow the flavors to meld and the frosting to set; when ready to serve, dip a knife in warm water for clean, effortless slices.
Because this cake is topped with whipped cream, store it covered in the refrigerator for up to 3 days. For the best texture, let a slice sit at room temperature for a few minutes before serving.
Notes
Cup vs. Weighing Scale: The US customary cup measurement serves as a rough estimate and can lead to inconsistencies; for precise results, always weigh your ingredients using a digital scale in grams.
Ingredient Preparation: Before starting any recipe, measure and prepare all ingredients in advance to ensure a smooth and efficient process. Measuring Spoons: For teaspoon (tsp) and tablespoon (tbsp) measurements, always use standard measuring spoons rather than regular eating spoons for accuracy.
Milk: You can use any dairy-free unsweetened milk (such as almond, soy, or oat milk) or dairy-based whole milk as needed.
Lemon Juice: Can be substituted with apple cider vinegar or white vinegar, and vice versa.
Whipping Cream: Choose dairy-free unsweetened whipping cream for a vegan and dairy-free option, or use any full-fat whipping cream of your choice.
Sugar: Cane sugar can be replaced with granulated sugar or caster sugar; ensure your sugar is vegan-friendly (some sugars are processed with bone char) or use organic cane sugar for a guaranteed vegan option.
Hi Saloni, tried this recipe and it’s a great success. everyone liked it especially my kids…just wanted to know whether this chocolate cake recipe can used used as a base for making any chocolate cake. thanks
Hi Vanathi,
I’m so glad to hear that the recipe was a success and that your kids loved it! 😊 Yes, this chocolate cake recipe can definitely be used as a base for other chocolate cakes. You can easily adapt it by adding different fillings, frosting, or layers to suit your preferences. Just keep in mind that depending on the changes you make, you might need to adjust baking time or temperature.







6 Responses
Can this cake be frozen ?
Hello,
Yes! You can store this cake in an airtight container and freeze up to 2 months.
Looking like boom 💥
Yummy
Hi Saloni, tried this recipe and it’s a great success. everyone liked it especially my kids…just wanted to know whether this chocolate cake recipe can used used as a base for making any chocolate cake. thanks
Hi Vanathi,
I’m so glad to hear that the recipe was a success and that your kids loved it! 😊 Yes, this chocolate cake recipe can definitely be used as a base for other chocolate cakes. You can easily adapt it by adding different fillings, frosting, or layers to suit your preferences. Just keep in mind that depending on the changes you make, you might need to adjust baking time or temperature.