prep time: 45 min | bake time: 30 min | total time: 2 hrs 15 min
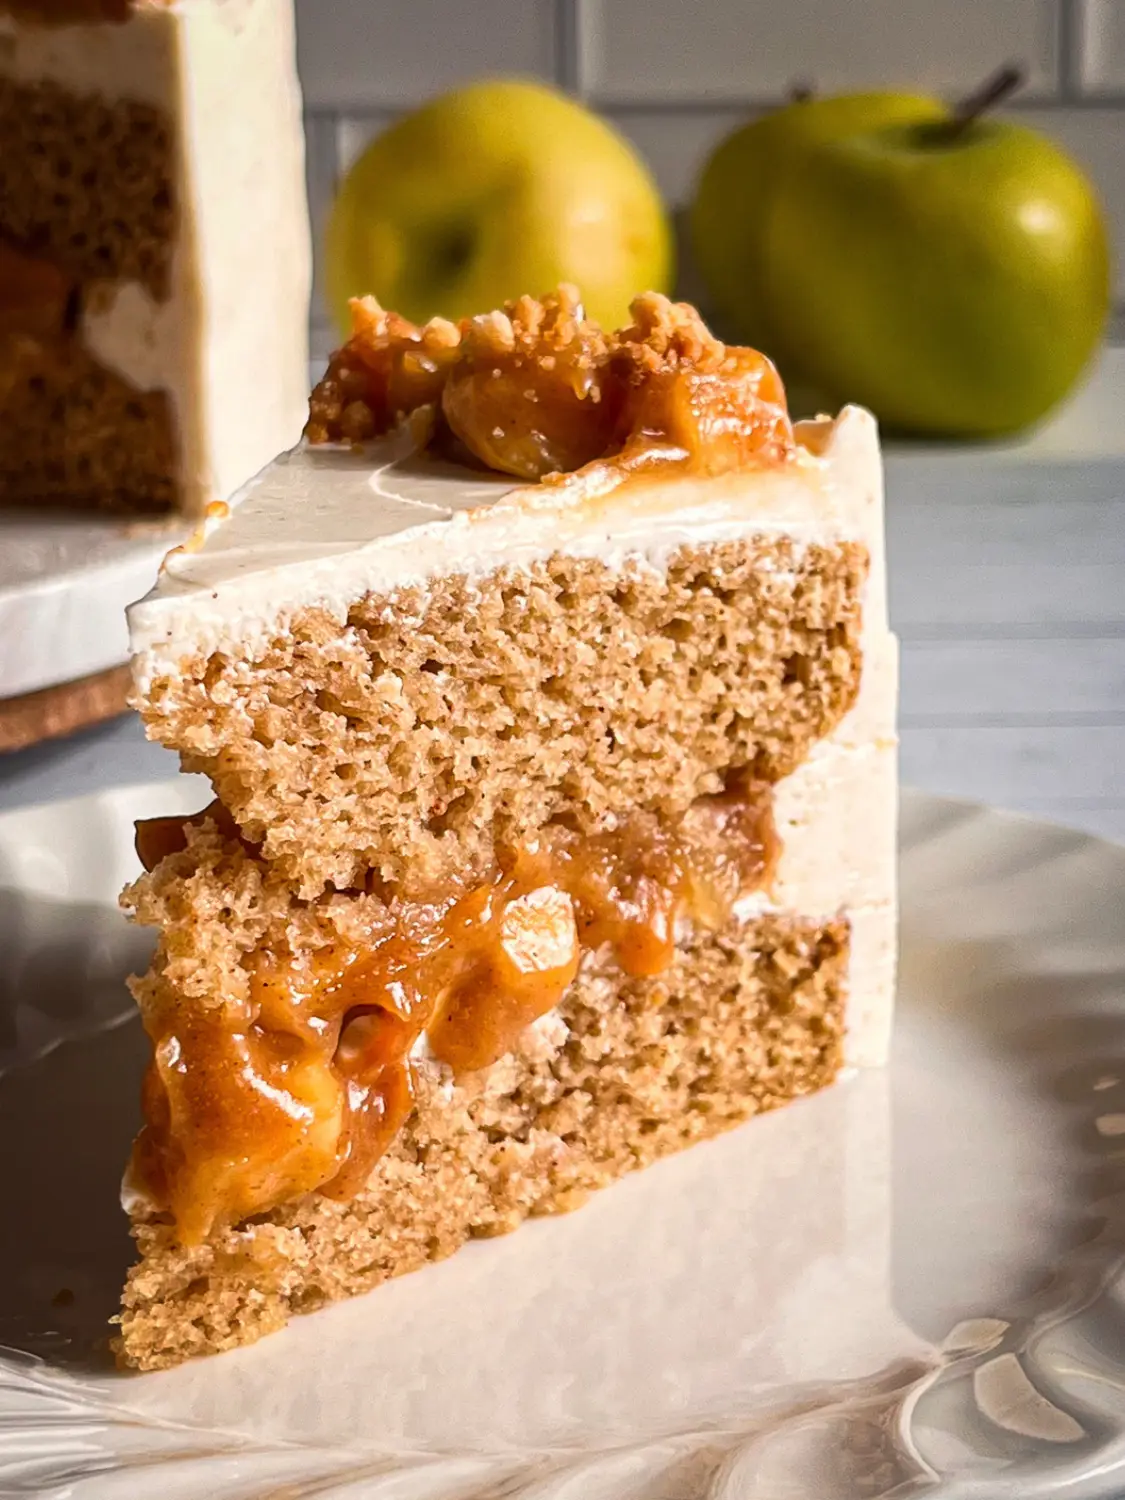
This Apple Pie Cake brings all the cozy flavors of apple pie into an easy-to-make, eggless layer cake. With cinnamon-spiced cake, gooey apple pie filling, and creamy frosting, it’s the perfect dessert for fall, holidays, or any time you’re craving apple pie.
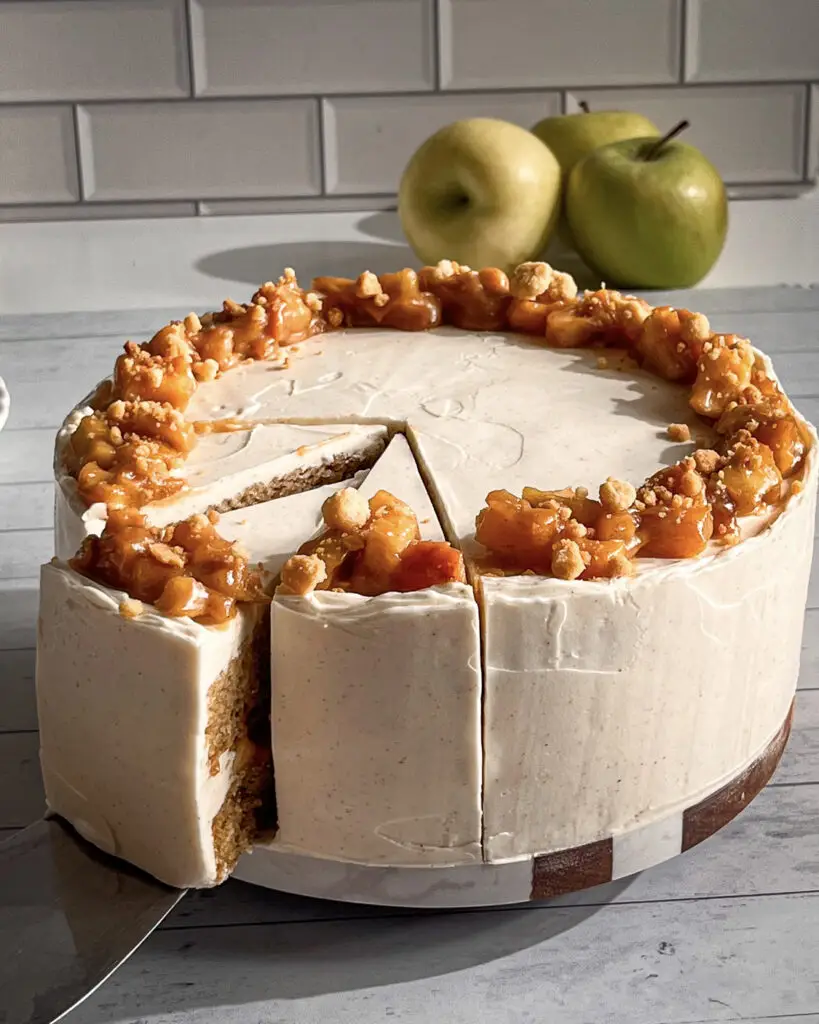
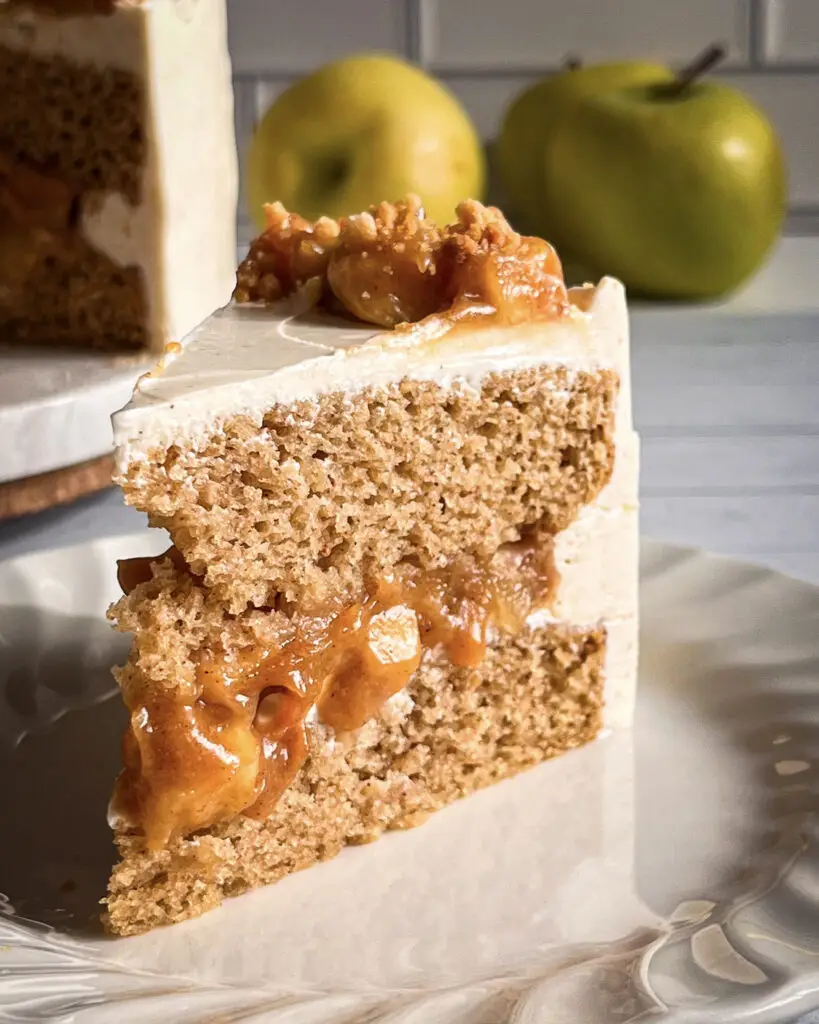
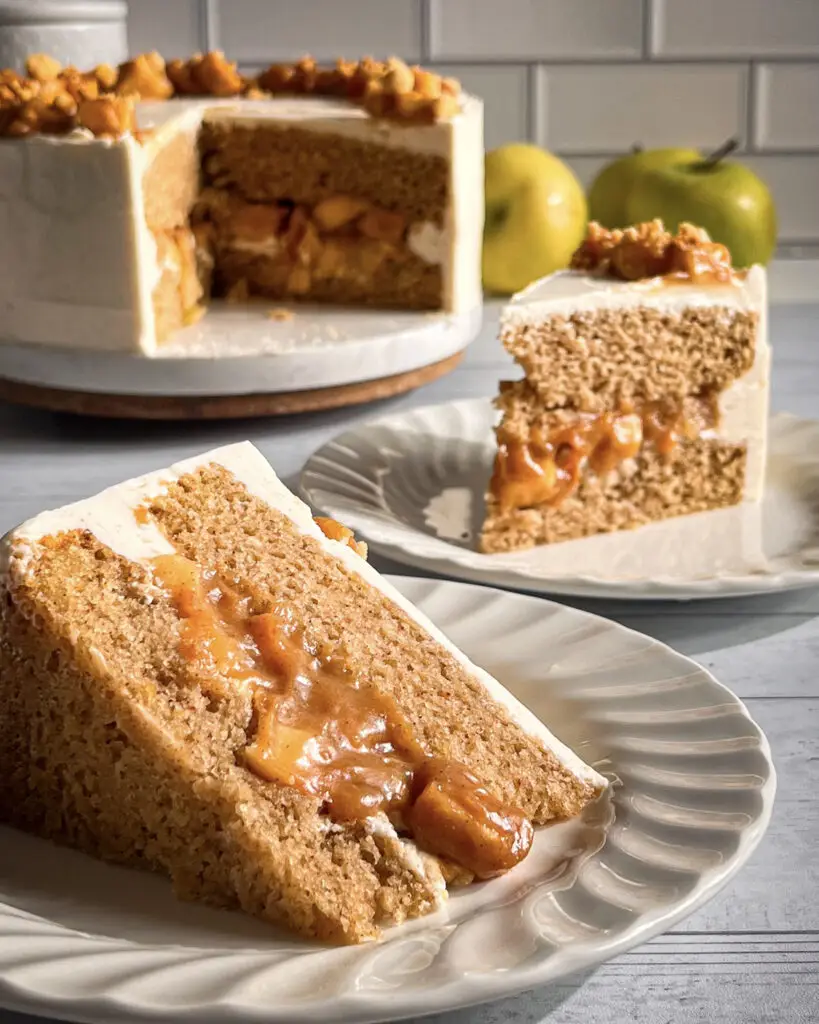
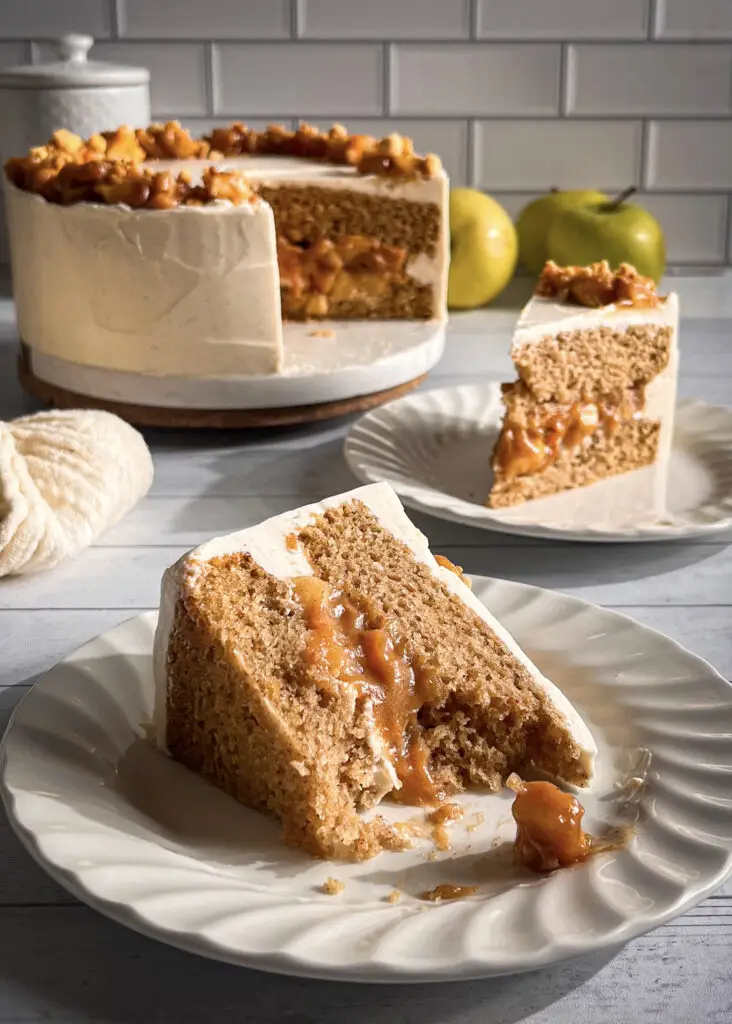
This Apple Pie Cake combines everything I love about apple pie in a soft, cinnamon-spiced layer cake. It has tender cinnamon cake layers, a gooey apple pie filling, creamy cinnamon buttercream, and a buttery crumble topping.
It’s completely eggless and can easily be made vegan, making it a cozy dessert for fall, Thanksgiving, holidays, or any time you’re craving apple pie flavors without making an actual pie.
What Apples Are Best for Apple Pie Cake?
I like using a combination of apples for the best flavor and texture. Granny Smith apples add tartness and hold their shape well, while Honeycrisp, Pink Lady, or Gala add natural sweetness.
You can use just one variety, but a combination of tart and sweet apples gives the filling more depth. I recommend cutting the apples into small ½-inch cubes so they cook evenly and are easy to layer between the cake.
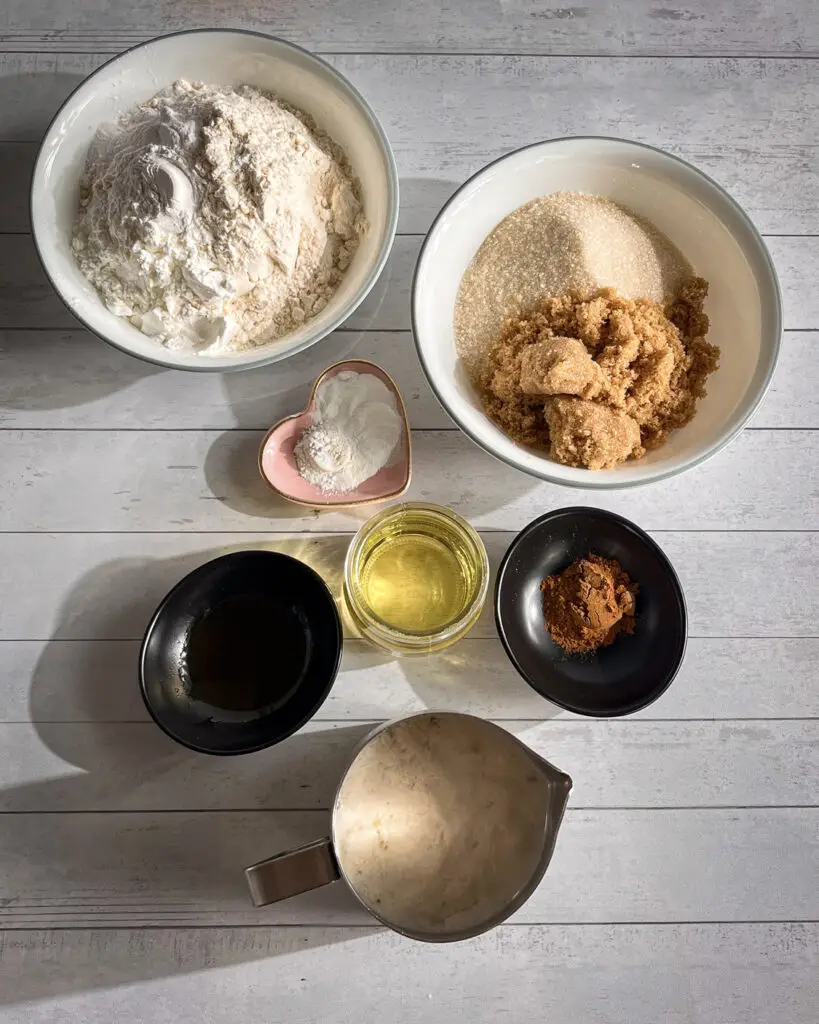
Ingredients for Apple Pie Cake
Apple Pie Filling Ingredients
Apples: Granny Smith apples are ideal for their tartness and firm texture, but you can also use Honeycrisp, Gala, or Pink Lady apples. Leaving the peels on adds texture and nutrients, but peeling creates a smoother filling.
Butter: Helps caramelize the apples and creates a rich, glossy filling. For a vegan option, use plant-based butter or coconut oil as a substitute.
Light Brown Sugar: Adds sweetness and depth of flavor with its molasses content.
Cinnamon Powder: Provides warmth and enhances the flavor of the apples.
Cornstarch: Thickens the apple filling, giving it a pie-like consistency. Arrowroot powder or tapioca starch can be used as alternatives.
Maple Syrup: Adds a subtle caramel note to the filling and helps balance the tartness of the apples.
Cinnamon Sponge Cake Ingredients
Milk: Provides moisture and a tender crumb to the sponge. Use unsweetened almond, oat, or soy milk for a dairy-free option.
White Vinegar: Reacts with baking soda to create lift and lightness in the cake. Substitute with apple cider vinegar or lemon juice.
Light Brown Sugar: Adds a caramel-like sweetness and a slightly softer texture.
Cane Sugar: Provides structure and sweetness to the sponge.
Vegetable Oil: Use neutral oils like canola or sunflower to moisten the cake.
Vanilla Extract: Enhances the flavor of the cake with warm, sweet notes. Pure vanilla extract is recommended for the best taste.
Cinnamon Powder: Infuses the sponge with a warm, spiced flavor that pairs perfectly with the apple filling. Adjust the amount to taste for a more subtle or robust flavor.
Cornstarch:Helps create a soft, tender crumb and gives the cake a lighter texture.
Baking Powder and Baking Soda: Essential for leavening, these ensure the sponge rises evenly and stays light.
All-Purpose Flour: Provides structure to the cake. Use a 1:1 gluten-free flour blend with xanthan gum for a gluten-free version.
Salt: Balances the sweetness and enhances the overall flavor.
Buttercream Frosting Ingredients
Butter: Creates a creamy, rich base for the frosting. Use plant-based butter for a vegan-friendly version.
Vanilla Extract: Adds depth and sweetness, complementing the cinnamon and apples.
Cinnamon Powder: Enhances the spiced profile of the frosting, tying it to the cake and filling. Adjust to taste if you prefer a milder or stronger spice.
Powdered Sugar: Sweetens the frosting while ensuring a smooth texture. Make sure you use sifted powdered sugar for lump-free frosting.
Whipping Cream: Adds lightness and a velvety texture. Substitute with plant based whipping cream or coconut cream for a vegan-friendly alternative.
Baked Crumble Topping Ingredients
All-Purpose Flour: The base for the crumble, providing structure. Substitute with a gluten-free flour blend if needed.
Light Brown Sugar: Sweetens the crumble while adding a slight caramel flavor.
Salt: Balances the sweetness and enhances the flavor of the crumble.
Butter: Creates the buttery, crisp texture of the crumble. Use vegan butter or coconut oil for a dairy-free alternative.
How To Make Apple Pie Cake
Prepare the Apple Filling
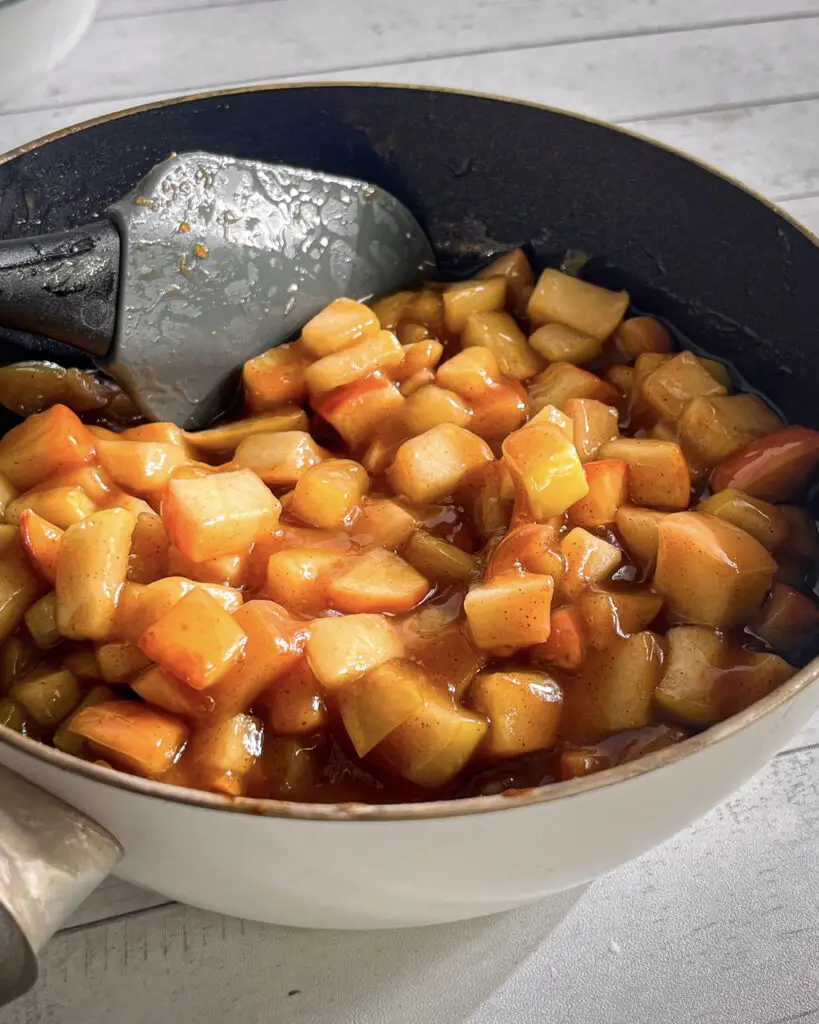
Melt butter in a medium-sized saucepan over medium heat until bubbling. Add the chopped apples, brown sugar, cinnamon, and vanilla extract. Cook the mixture for 7–8 minutes, stirring occasionally, until the apples are partially cooked and bubbly. Remove from heat and stir in the maple syrup. Let the filling cool to room temperature in a separate container.
Bake the Cinnamon Sponge Cake
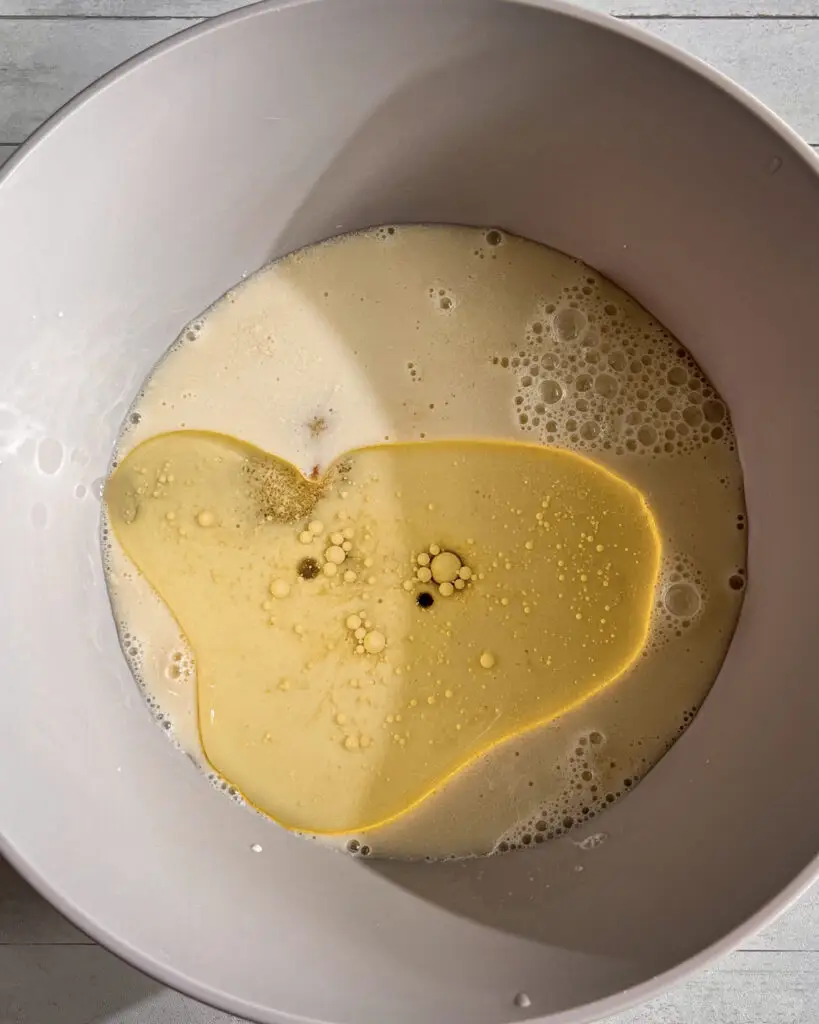
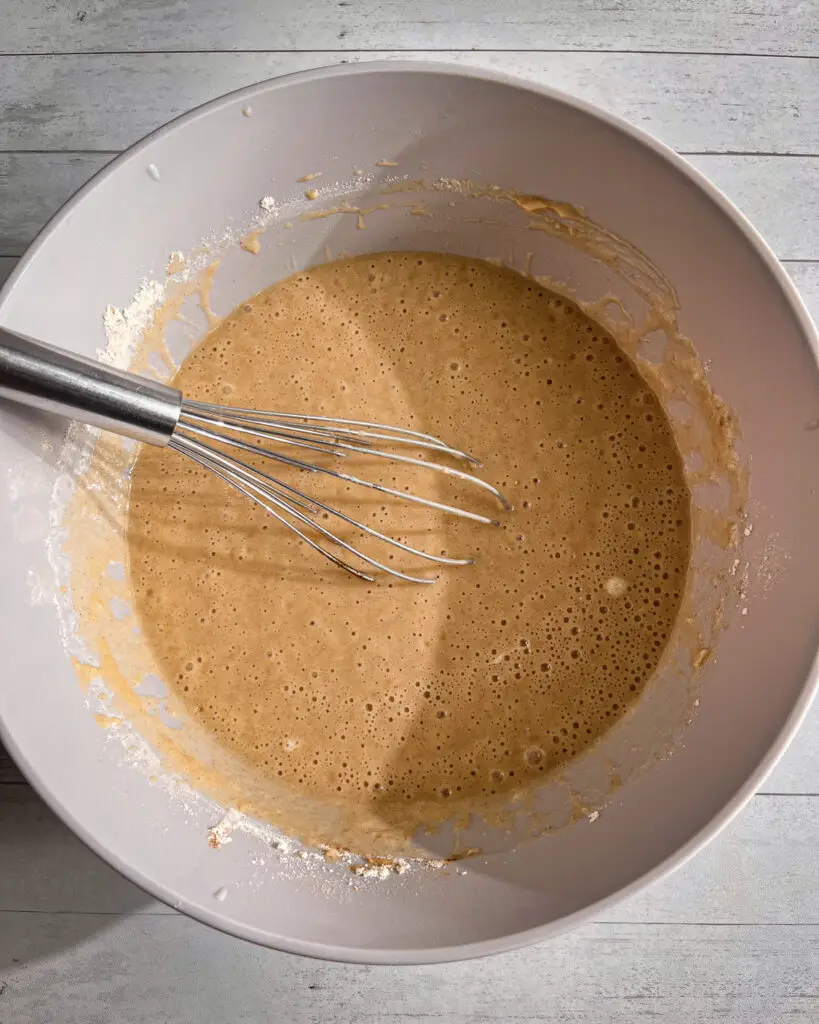
Preheat your oven to 350°F (175°C) and prepare two 8-inch (20cm) cake pans by greasing and lining them with baking paper. In a bowl, mix the milk and white vinegar and let it sit for 5 minutes to curdle slightly. Add the sugars, vegetable oil, and vanilla extract to the milk mixture, whisking until smooth. Sift in the dry ingredients; cinnamon, cornstarch, baking powder, baking soda, flour, and salt. Mix them all until the batter is smooth.
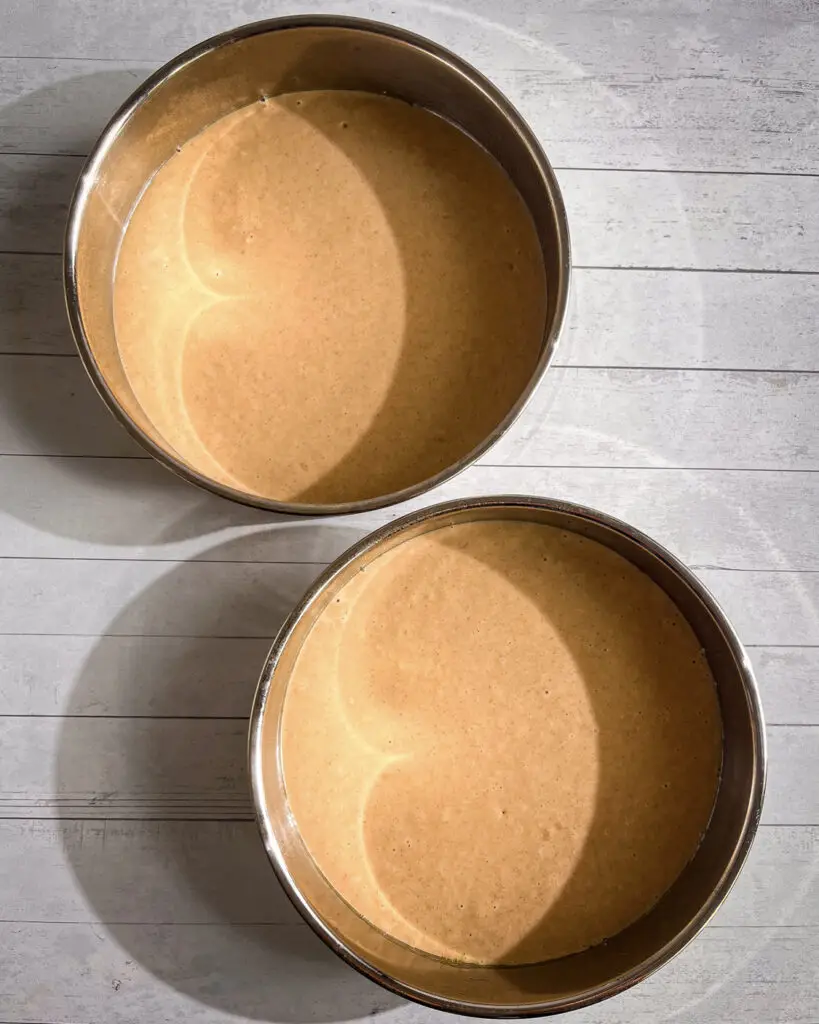
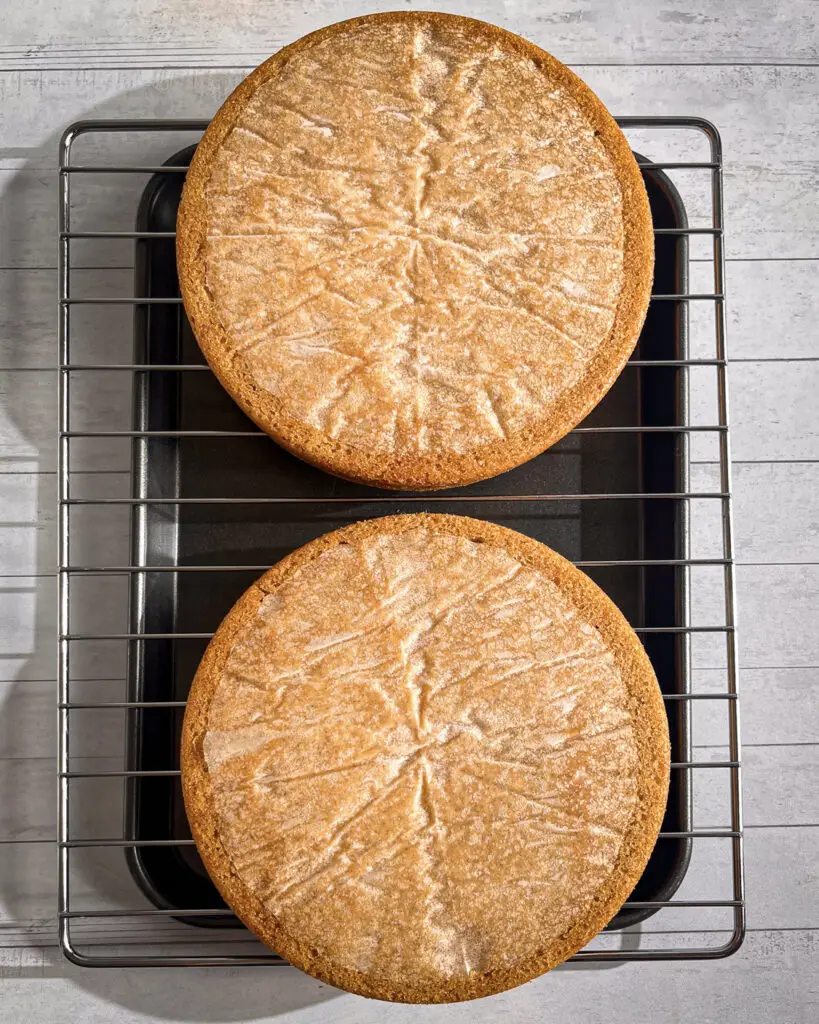
Divide the batter evenly between the prepared pans and bake for 25–30 minutes, or until a toothpick inserted in the center comes out clean. Allow the cakes to cool completely on a wire rack, then trim the tops to create even layers for assembling.
Whip the Buttercream Frosting
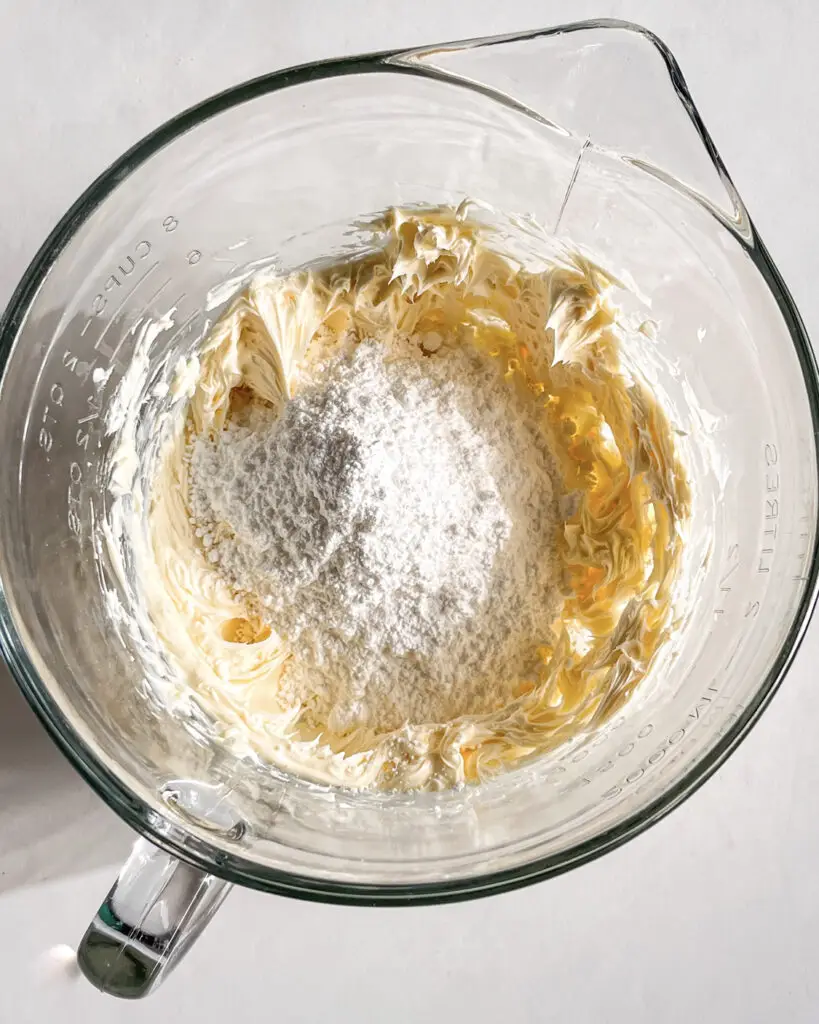
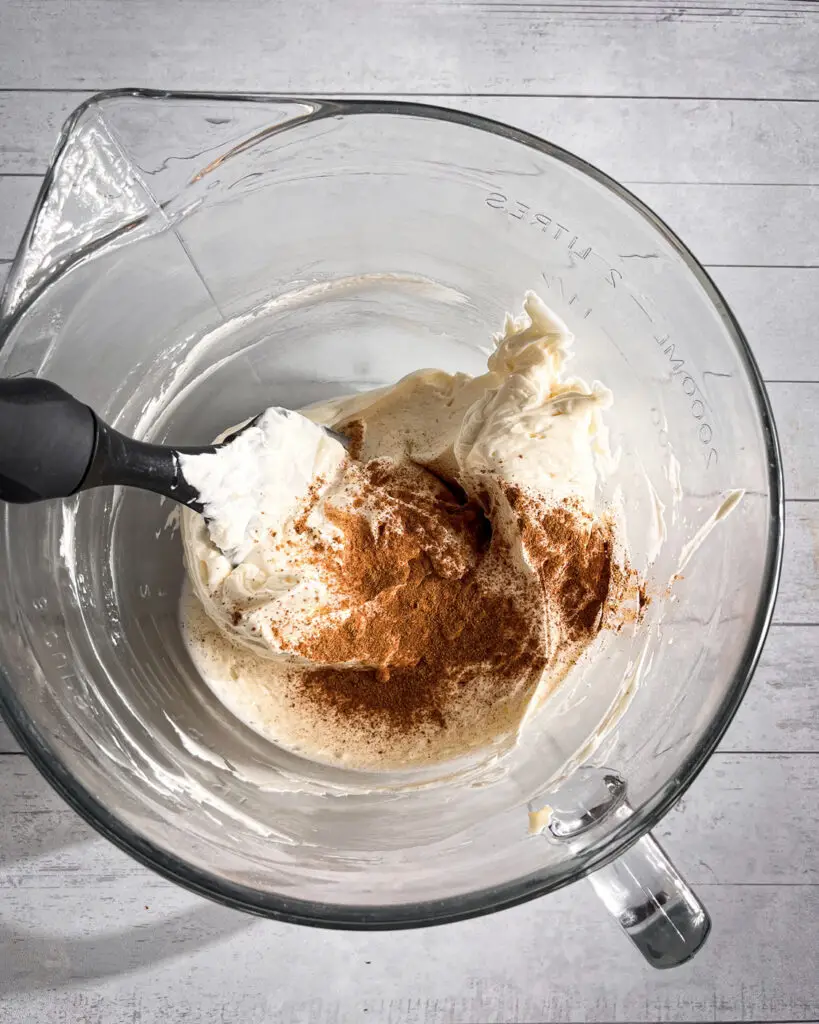
In a mixing bowl, whip the softened butter and sifted powdered sugar using an electric whisk or paddle attachment for about 5 minutes until fluffy and creamy. Add the whipping cream, cinnamon powder, and vanilla extract, and continue mixing until smooth.
Frosting Note: This recipe makes a light layer of frosting. For a fully frosted celebration cake, I recommend making 1½ times the frosting recipe.
Bake the Crumble Topping
Combine the light brown sugar, all-purpose flour, and salt in a bowl. Add the melted butter and mix until the mixture forms coarse crumbs. Spread the crumbs evenly on a parchment-lined baking sheet. Chill in the refrigerator or freezer for an hour, then bake at 350°F (175°C) until golden brown. Let the crumble cool before using it to decorate the cake.
Assemble the Cake and Decorate!
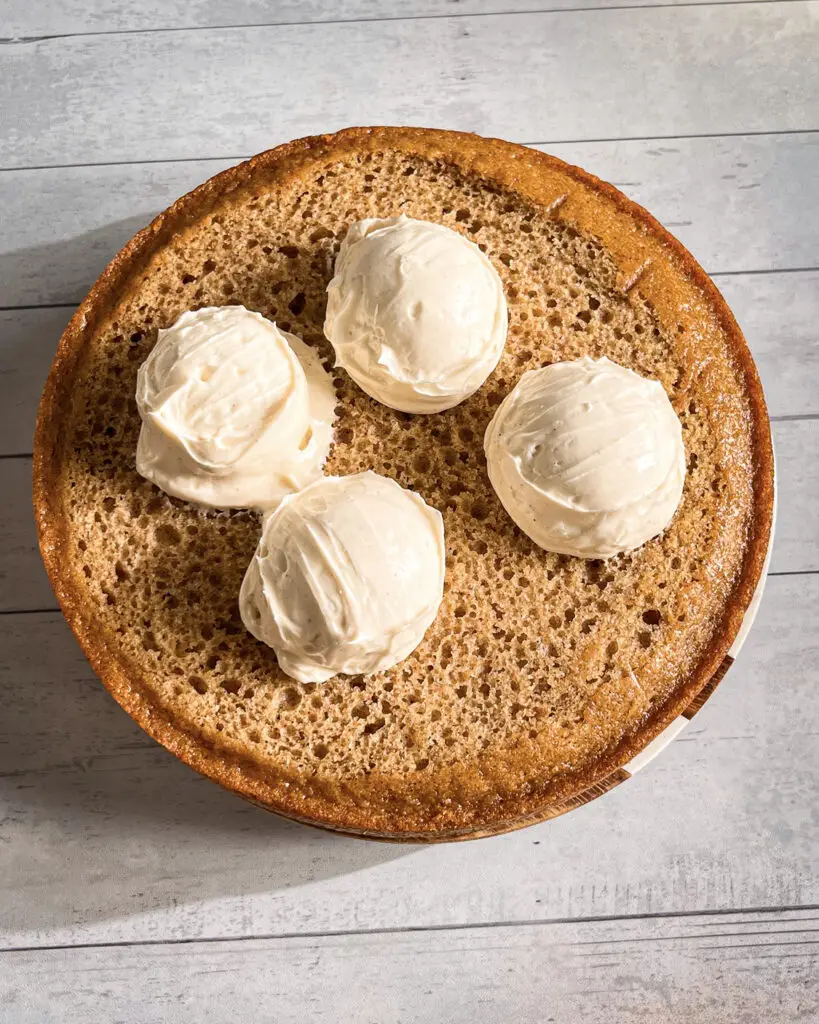
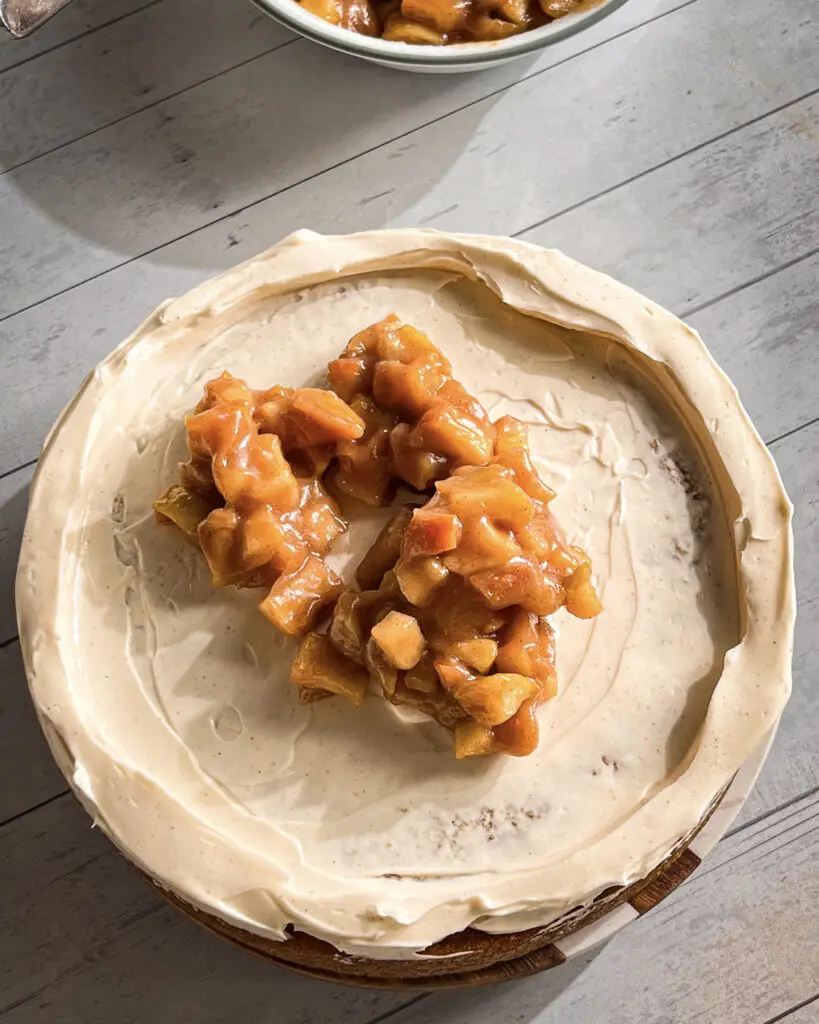
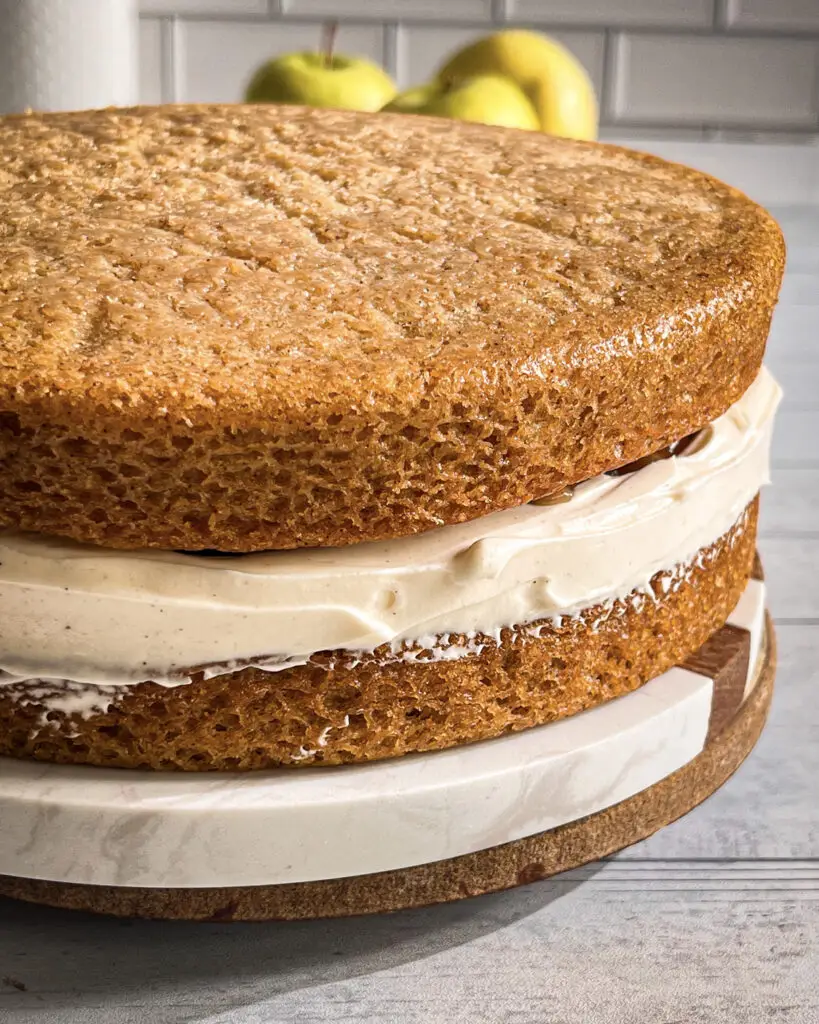
Trim the tops of both cake layers with a serrated knife to ensure they stack evenly. Place a small amount of frosting on the center of a cake stand or serving plate to anchor the cake. Lay the first cake layer on the stand and spread 4–5 scoops of frosting evenly over the top using an offset spatula or butter knife. Add a thick layer of the cooled apple pie filling on top of the frosting.
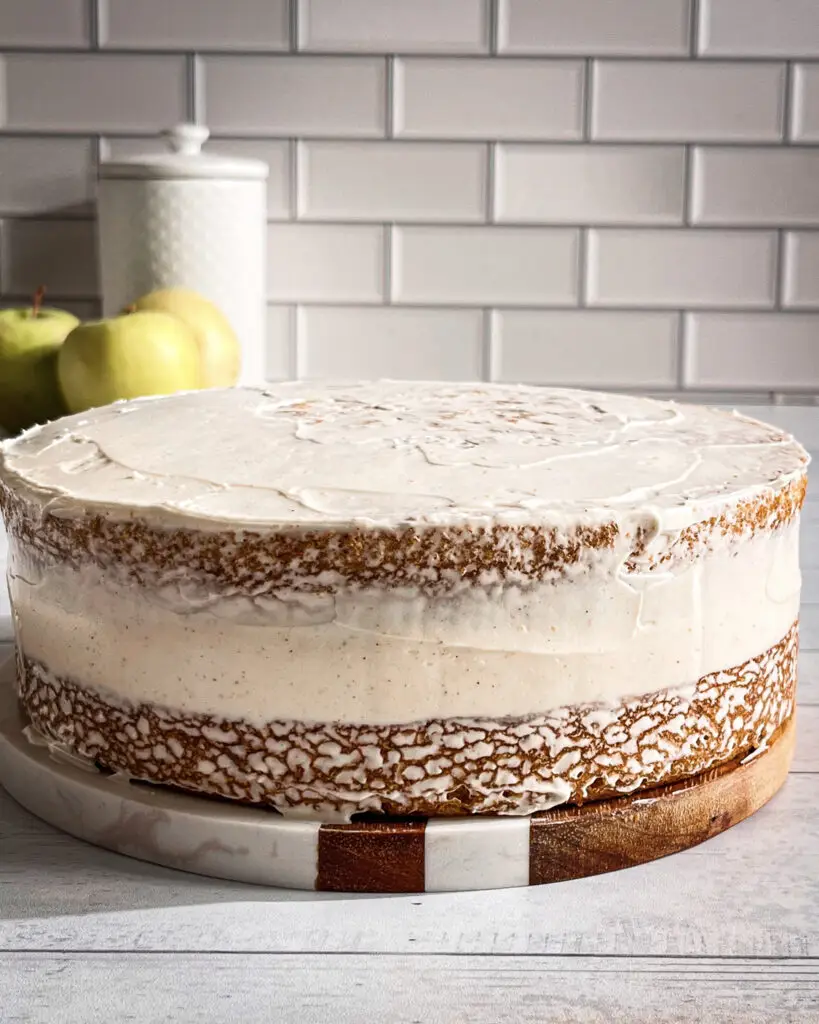
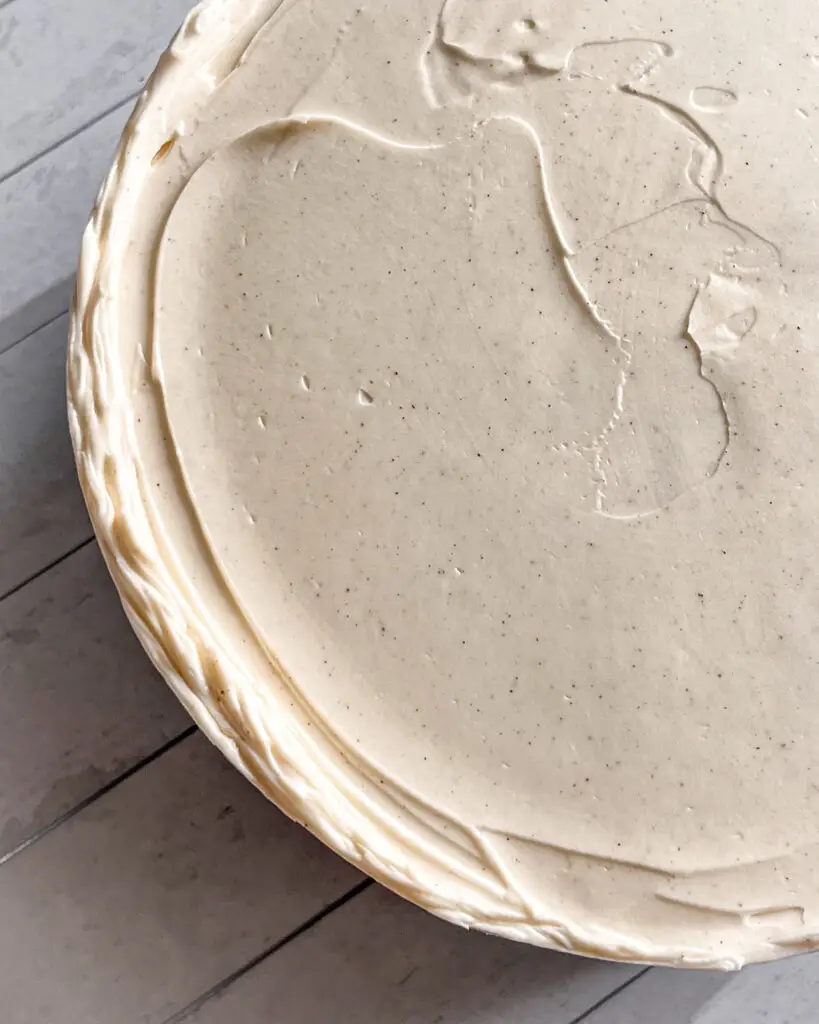
Carefully place the second cake layer on top and align it evenly. Spread a thin crumb coat of frosting over the entire cake and chill for 30 minutes to set. Frost the cake with the remaining buttercream, smoothing it out evenly.
How To Store and Serve Leftover Apple Pie Cake
Store the cake in an airtight container in the refrigerator for up to 5 days. Let it come to room temperature before serving. For longer storage, freeze individual slices for up to 3 months and thaw in the fridge overnight. Pair leftovers with a scoop of vanilla ice cream or whipped cream!
For the best flavor and texture, use a mix of tart and sweet apples, such as Granny Smith and Honeycrisp/ Gala or Pink Lady apples. This combination adds depth to the filling.
Pre-Cook the Apple Filling: Quickly sauté the apples with butter, cinnamon, brown sugar, and a touch of vanilla until they’re just tender. This reduces baking time and ensures the filling has a delicious, caramelized flavor.
Don’t Skip the Cinnamon in the Batter: Add cinnamon to the cake batter for a warm, spiced flavor that compliments the apple filling and ties everything together.
Cool Cake Layers Completely Before Frosting: To keep the frosting from melting or sliding, let the cake layers cool fully. This ensures a smooth, even frosting that holds well.
Chill the Cake for Neat Slices: After assembling, pop the cake in the fridge for 15–20 minutes. This firms up the layers, making it easier to slice neatly.
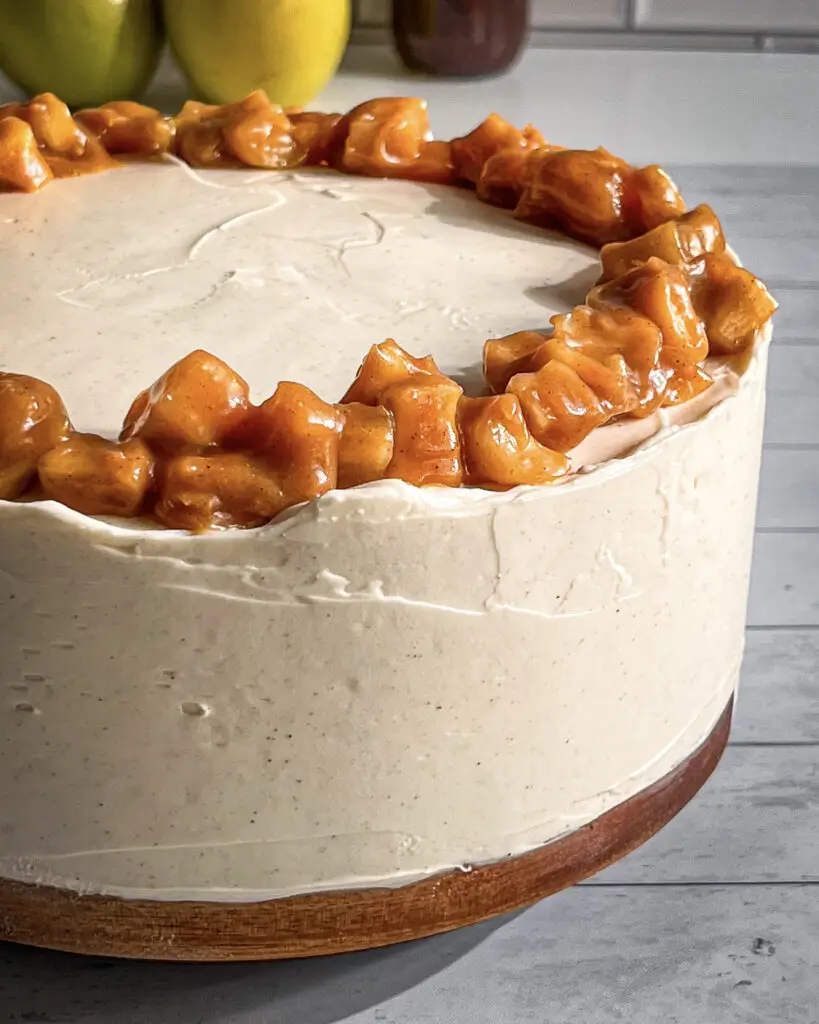
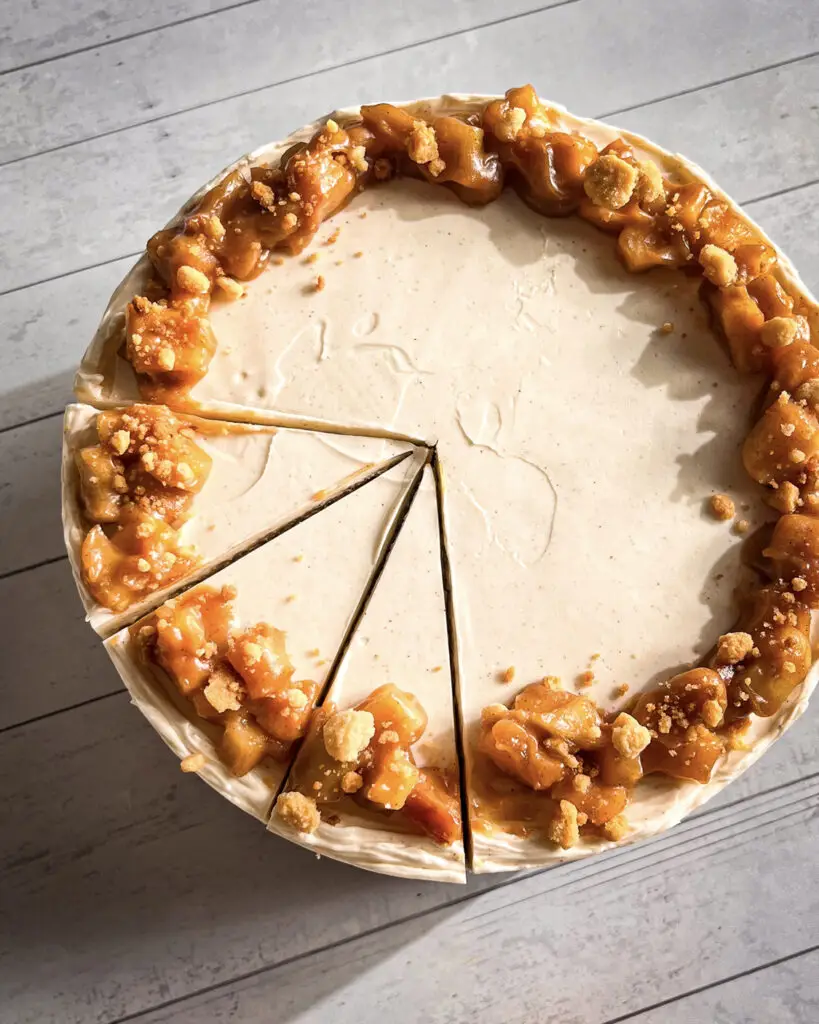
Decorate with Apple Pie Filling and Crumble: Top the cake with extra apple pie filling and sprinkle baked crumble over the top for a beautiful, rustic look and added crunch.
Did you make this Apple Pie Cake?
Let me know how you liked it by leaving a rating and review below. Try these recipes next:
I’m a former pastry chef with a love for breads, cakes and everything in between! My recipes are easy to follow, egg free and are designed to be shared with others!
Make my Apple Pie Cake this holiday season and have the family request it next year! This cake brings all the warmth and nostalgia of apple pie in an easy-to-make cake form. Regardless of the occasion, this eggless cake makes the perfect dessert to share with loved ones!
2-3Apples (medium size)cut in ½ inch cubes, red gala or granny smith apples
2tbspButter*see notes for options
50gLight Brown Sugar
1tspCinnamon Powder
1tspVanilla Extract
1tbspCornstarch
1tbspMaple Syrup
Cinnamon Sponge Cake Ingredients
300mlMilk*room temp; see notes for options
1tbspApple Cider Vinegar*or lemon juice
70gLight Brown Sugar
165gCane Sugaror castor sugar
90mlVegetable Oilor any neutral oil
2tspVanilla Extract
2tspCinnamon Powder
15gCornstarch
2tspBaking Powder
½tspBaking Soda
225gAll Purpose Flour
¼tspSalt
Buttercream Frosting Ingredients
227gButter*see notes for options
2-3tspVanilla Extract
1tspCinnamon Powder
90gPowdered Sugarsifted
55mlWhipping Cream*room temp; see notes for options
Baked Crumble Topping Ingredients
40gAll Purpose Flour
25gLight Brown Sugar
⅛tspSalt
20gButter*melted; see notes for options
Instructions
Apple Pie Filling Instructions
In a medium-sized saucepan, melt the butter over medium heat until it bubbles.
Add the chopped apples, brown sugar, cinnamon, and vanilla extract.
Stir the mixture and cook for about 7-8 minutes, until the apples are half cooked and bubbly.
Remove the saucepan from heat and stir in the maple syrup.
Transfer the filling to a container and let it cool to room temperature.
Cinnamon Sponge Cake Instructions
Preheat your oven to 350°F (175°C). Grease and line two 8-inch (20cm) cake pans with baking paper.
In a bowl, combine the milk and vinegar, and let it sit for 5 minutes until it slightly curdles.
Add both types of sugar, vegetable oil, and vanilla extract to the bowl. Mix with a whisk until the sugars are dissolved.
Sift in the dry ingredients (cinnamon, corn starch, baking powder, baking soda, flour, and salt) and mix until smooth.
Divide the cake batter evenly between the two prepared cake pans.
Bake for 25-30 minutes or until the cakes are firm to the touch and a toothpick inserted in the center comes out clean.
Allow the cakes to cool completely on a wire rack. Trim a very thin layer off the top of each sponge cake before assembling.
Buttercream Frosting Instructions
Frosting Note: This recipe makes a light layer of frosting. For a fully frosted celebration cake, I recommend making 1½ times the frosting recipe.
In a mixing bowl, whip the softened butter and sifted powdered sugar together using an electric whisk or a paddle attachment for about 5 minutes, until the mixture is fluffy and creamy.
Add the whipping cream, cinnamon powder, and vanilla extract to the bowl.
Continue to whip until the frosting is smooth and well combined.
Baked Crumble Topping Instructions
In a bowl, combine the light brown sugar, all-purpose flour, and salt.
Pour in the melted butter and mix until the mixture resembles coarse crumbs.
Spread the crumbly mixture evenly onto a small baking sheet lined with parchment paper.
Chill it in the refrigerator or freezer before baking for an hour.
Preheat your oven to 350°F (175°C) and bake the crumble topping until it turns golden brown.
Cake Assembly Instructions
Trim a thin layer of both cakes to level them with a serrated knife to ensure they stack evenly.
Place a small amount of frosting on the center of your cake stand or serving plate.
Place one layer of the cake on the prepared cake stands or plate.
Using an offset spatula or butter knife, spread a layer of frosting (about 4-5 scoops) evenly over the top of the first cake layer. Smooth it out to ensure an even surface.
Add a thick layer of cooled apple filling on top of the buttercream.
Carefully place the second cake layer on top of the frosted first layer. Align it as evenly as possible.
Apply a crumb coat by spreading a thin layer of frosting over the entire cake. Chill the cake in the refrigerator for about 30 minutes.
Frost the cake with the remaining frosting.
Chill the cake for 30 minutes in the fridge for the frosting to set.Decorate the cake with the remaining apple filling and sprinkle baked crumble.
Notes
Cup vs. Weighing Scale: U.S. cup measurements can vary depending on how ingredients are measured. For the most accurate results, use a digital kitchen scale and measure in grams.
Apples: Granny Smith, Honeycrisp, Gala, and Pink Lady all work well. For the best flavor, use a combination of tart and sweet apples.
Milk: Use whole milk or unsweetened dairy-free milk such as Oatly or Silk.
Butter: Use salted or unsalted butter. For a vegan version, I recommend Country Crock Plant Butter, Miyoko’s Plant Milk Butter, or Earth Balance.
Whipping Cream: Use full-fat whipping cream. For a vegan version, use an unsweetened dairy-free whipping cream such as Silk Dairy-Free Heavy Whipping Cream Alternative or Country Crock Plant Cream.
Sugar: Cane, granulated, or castor sugar can be used. For a vegan version, use a vegan-friendly sugar such as Zulka Organic Cane Sugar.
Frosting Amount: This recipe makes a light layer of frosting. For a fully frosted celebration cake, make 1½ times the frosting recipe.
Hi! Saloni. My name is Alice from South Africa. Thank you for sharing the cake recipe. My family and I enjoyed it very much especially my daughter because she’s allergic to eggs. I’ll be making it very often because I always have apples. A special request from my daughter is eggless biscoff cake 🙏
Hi Alice,
thank you so much for your lovely message! I’m so happy you and your family enjoyed the cake, and especially that your daughter loved it. It means a lot to me. An eggless Biscoff cake is definitely going on my list!
Hi Frida,
You can make the apple filling up to 1 week in advance and store it in an airtight container in the refrigerator. You can also freeze it for up to 2 weeks. Just thaw it in the refrigerator overnight and give it a good stir before using. Happy early 30th birthday!
Hi! The recipe looks really good, I want to try it, but I have a couple questions. How tall is the cake approximately? If I only have one baking tray, should I still divide the cake batter and bake the two layers separately, or is it also good to bake the whole batter at once and then cut it with the serrated knife?
Thanks in advance!
Hello
So excited you want to try it! The cake is approximately 4–5 inches tall once filled and frosted (depending on how thick you layer the frosting). This quantity of frosting in the recipe may not be enough to decorate a celebration cake.You can scale it up by 1 + 1/2 time the recipe.
If you only have one baking pan, you have two options:
• Best option: Divide the batter and bake the layers separately. This gives the most even bake and soft texture. Just keep the second batch of batter covered at room temperature while the first layer bakes.
• You can bake it all at once and slice it with a serrated knife, but the cake will take longer to bake and can turn slightly denser in the center.
If possible, I recommend baking the layers separately for the best result.








9 Responses
when does the cornstarch need to be added? I can’t find anything in the instructions 🙂
Hi Carolin,
Add the cornstarch along with the dry ingredients.
Hi! Saloni. My name is Alice from South Africa. Thank you for sharing the cake recipe. My family and I enjoyed it very much especially my daughter because she’s allergic to eggs. I’ll be making it very often because I always have apples. A special request from my daughter is eggless biscoff cake 🙏
Hi Alice,
thank you so much for your lovely message! I’m so happy you and your family enjoyed the cake, and especially that your daughter loved it. It means a lot to me. An eggless Biscoff cake is definitely going on my list!
I’m thinking of making this cake for my 30th birthday. Can i make the apple-filling in advance and freeze it?
Hi Frida,
You can make the apple filling up to 1 week in advance and store it in an airtight container in the refrigerator. You can also freeze it for up to 2 weeks. Just thaw it in the refrigerator overnight and give it a good stir before using. Happy early 30th birthday!
Hi! The recipe looks really good, I want to try it, but I have a couple questions. How tall is the cake approximately? If I only have one baking tray, should I still divide the cake batter and bake the two layers separately, or is it also good to bake the whole batter at once and then cut it with the serrated knife?
Thanks in advance!
Hello
So excited you want to try it! The cake is approximately 4–5 inches tall once filled and frosted (depending on how thick you layer the frosting). This quantity of frosting in the recipe may not be enough to decorate a celebration cake.You can scale it up by 1 + 1/2 time the recipe.
If you only have one baking pan, you have two options:
• Best option: Divide the batter and bake the layers separately. This gives the most even bake and soft texture. Just keep the second batch of batter covered at room temperature while the first layer bakes.
• You can bake it all at once and slice it with a serrated knife, but the cake will take longer to bake and can turn slightly denser in the center.
If possible, I recommend baking the layers separately for the best result.
the cake Is good