prep time: 15 min | chill time: 6 hr | total time: 6 hr 30 min
Home » Coconut Cream Pie
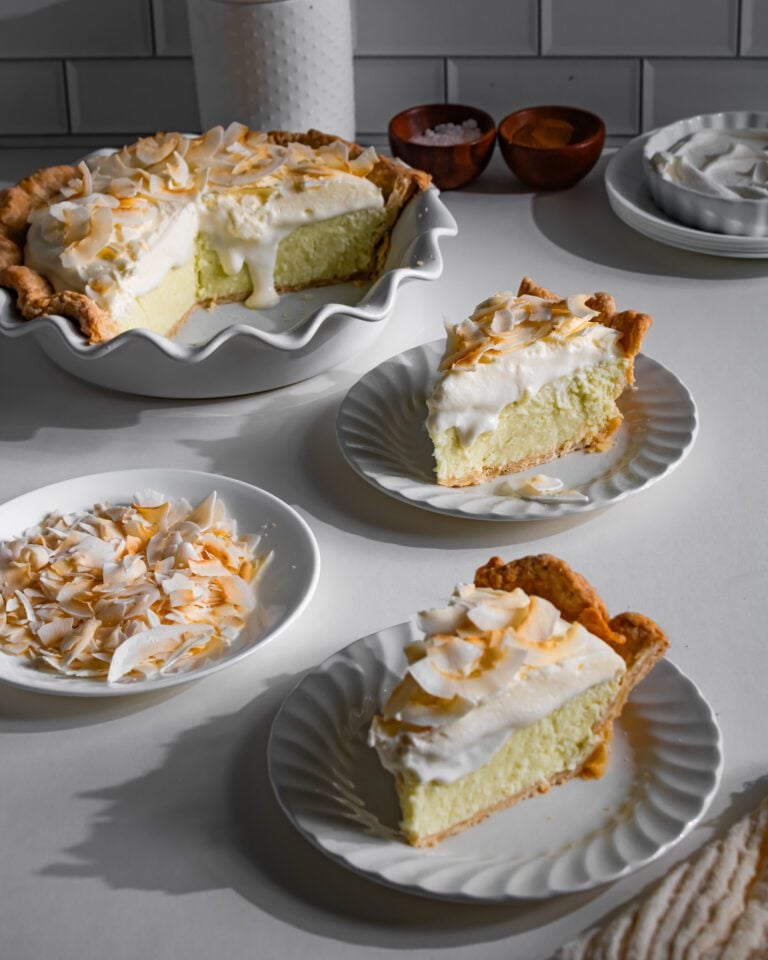
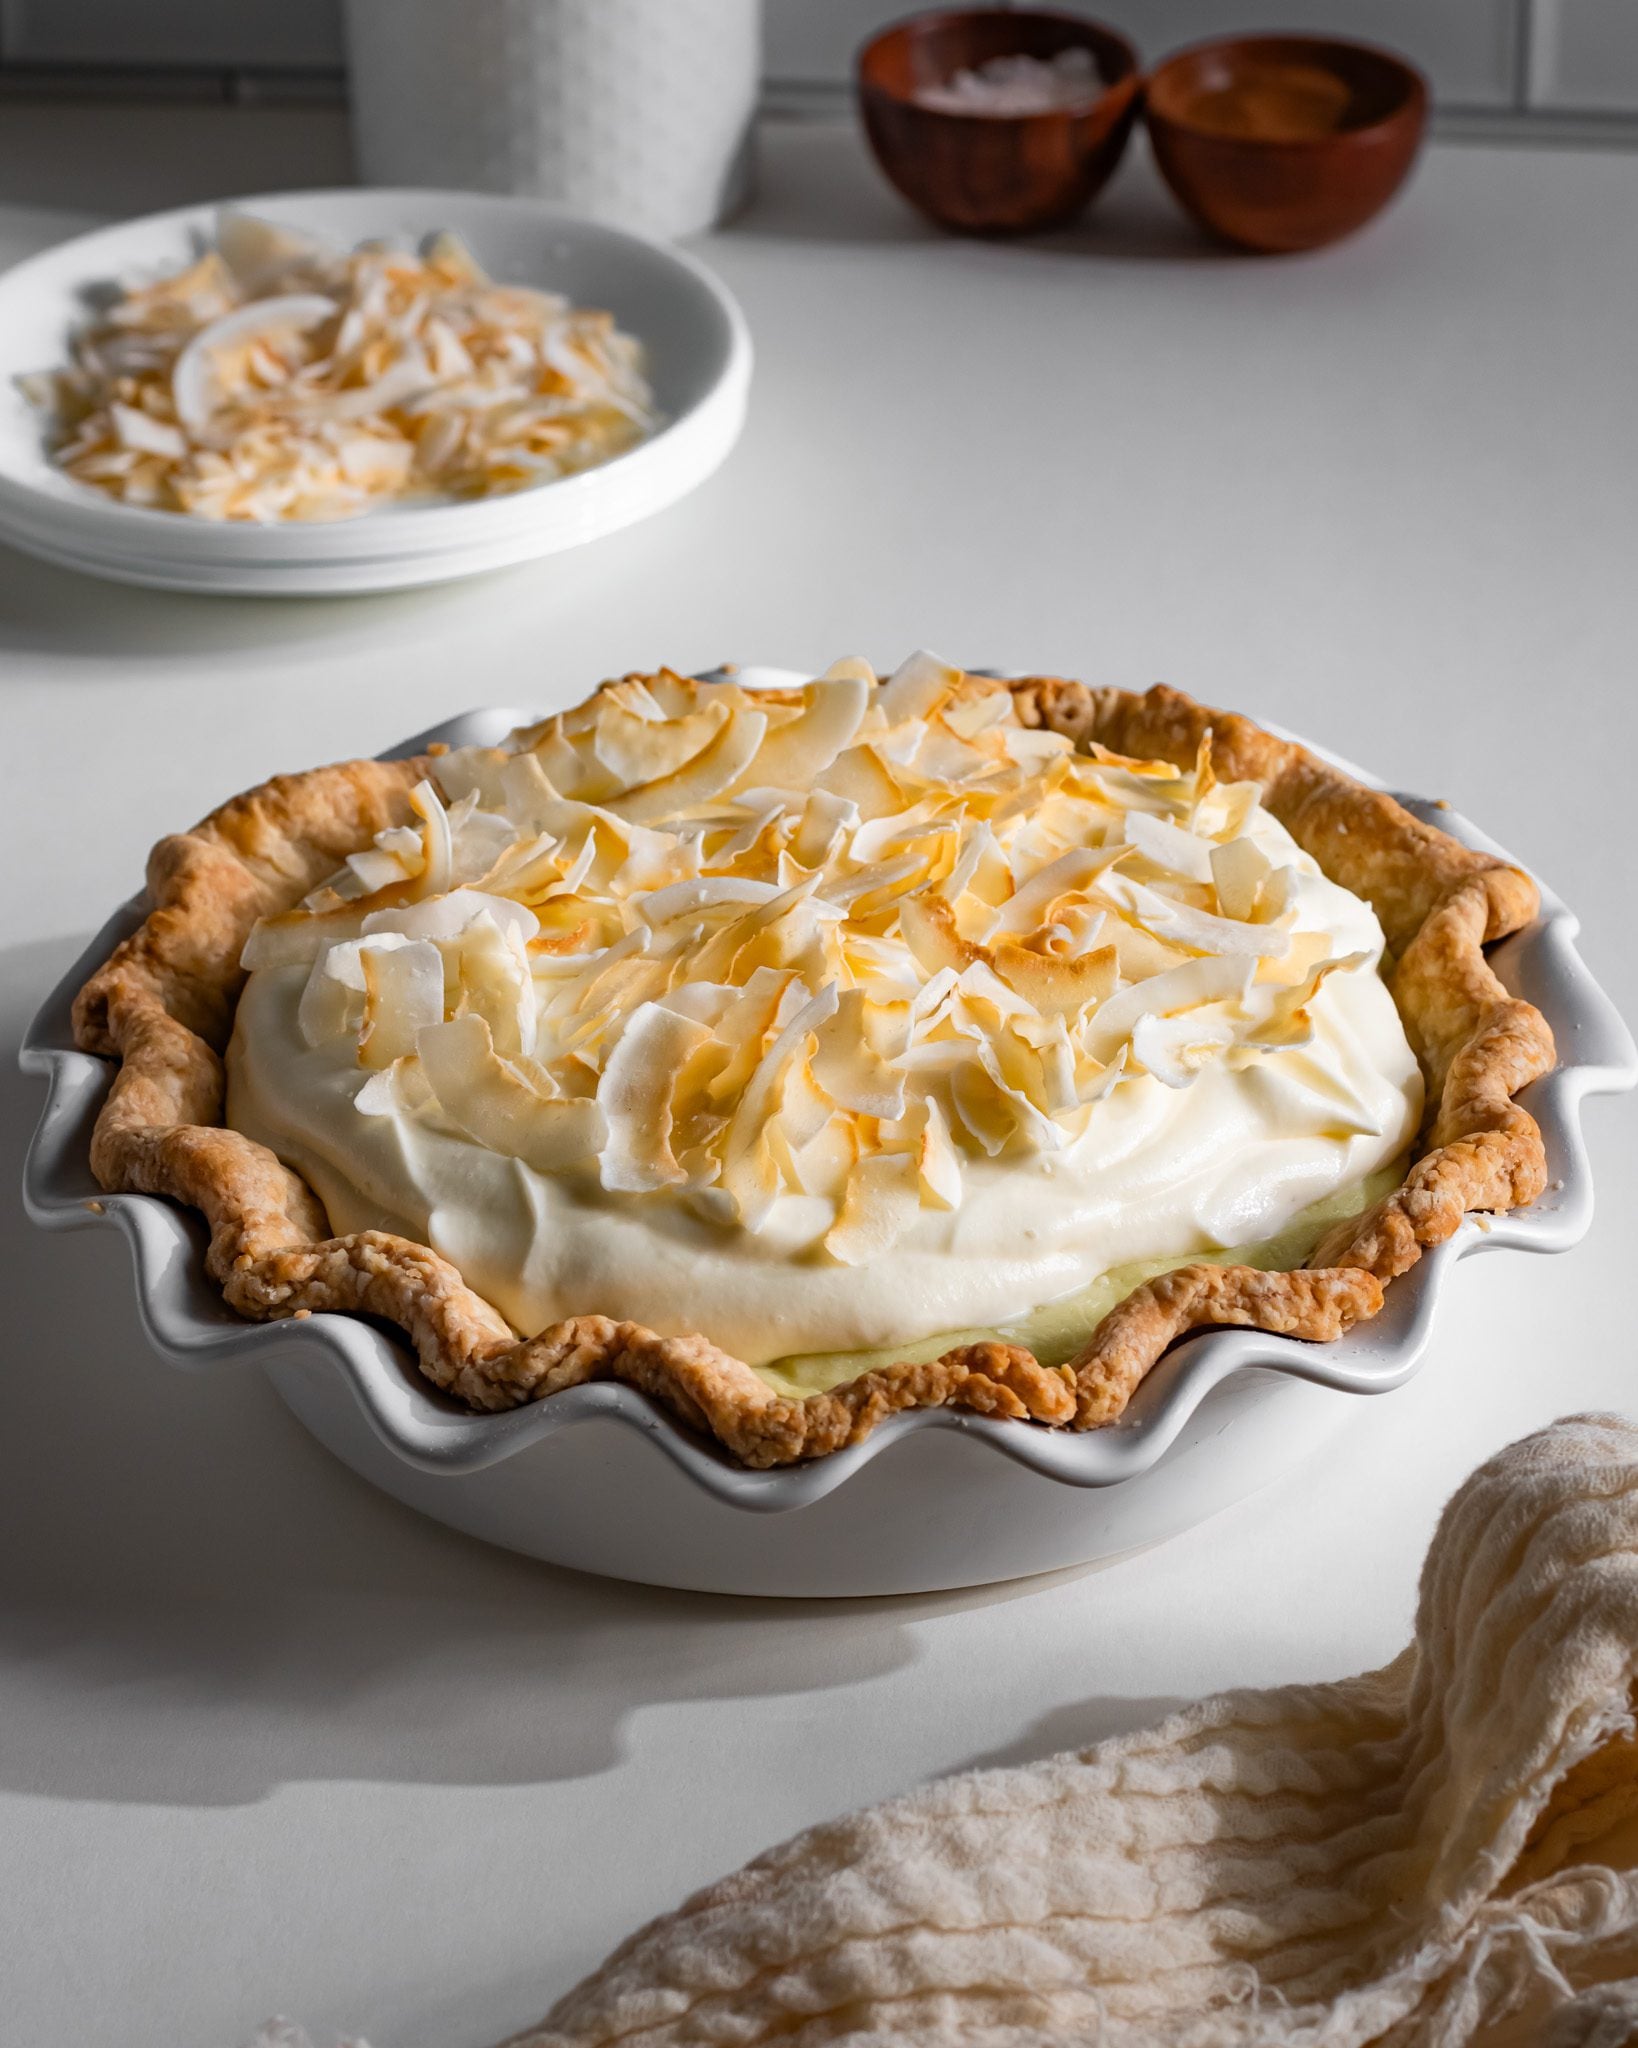
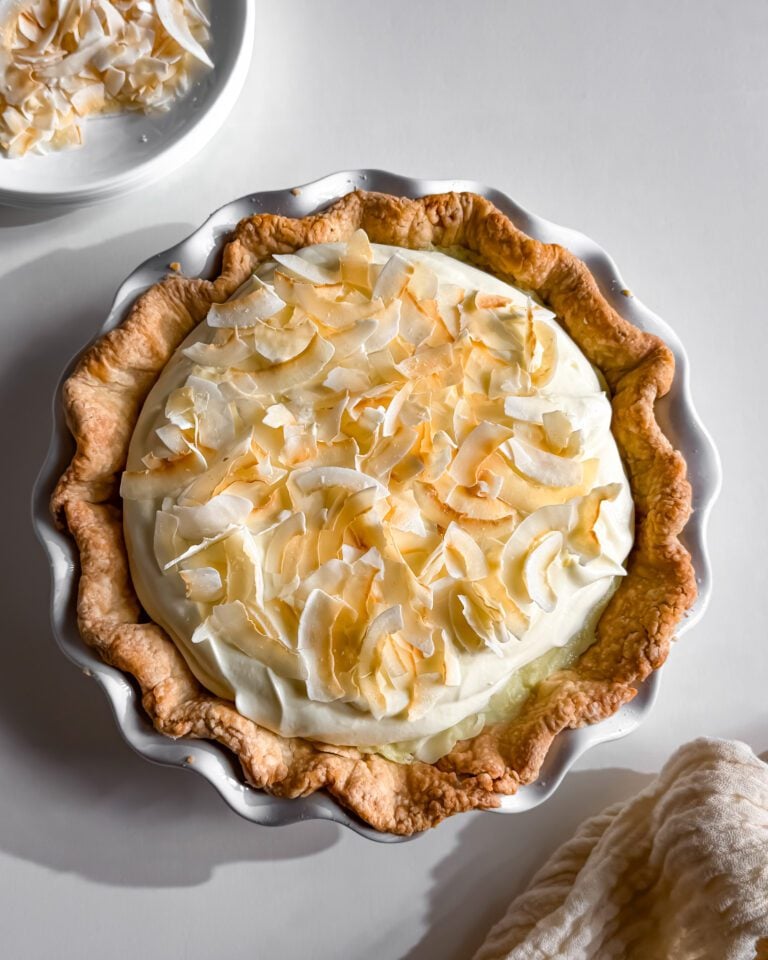
If you love coconut as much as i do, this Coconut Cream Pie is a dessert you’ll want to make for the holidays. I love how the creamy coconut pastry filling pairs with the light whipped cream and toasted coconut on top.
The coconut custard is made without eggs. It cooks on the stovetop, so there’s no need to bake the filling. Once poured into the fully baked pie crust, it simply needs time in the refrigerator to set.
I use one batch of my Homemade Pie Crust (Eggless & Dairy-Free) for this recipe. The crust can be prepared ahead, making this pie easier to put together when you’re planning your Thanksgiving or Christmas desserts.
This recipe is eggless, and I’ve also tested it with dairy-free ingredients, so you can make a dairy-free/vegan version too!
Eggless coconut custard: Cornstarch thickens the filling without the need for eggs or egg yolks.
Rich coconut flavor: Canned coconut milk and shredded coconut give the filling plenty of coconut flavor.
Flaky homemade crust: A homemade pie crust provides a lovely contrast to the creamy filling.
Dairy-free option: Use dairy-free butter in the crust and a suitable plant-based whipping cream for the topping.
Make-ahead friendly: The pie needs several hours to chill, making it a convenient dessert to prepare ahead for the holidays.
Homemade Pie Crust: I use one batch of my Homemade Pie Crust, which makes enough for one 9-inch pie. It is eggless and includes a dairy-free option Or You can also use a store bought pie crust.
Canned Coconut Milk: Use full-fat canned coconut milk for a rich, creamy filling. I use it at room temperature. Avoid refrigerated coconut milk beverages, as they are not the same product.
Granulated Sugar or Caster Sugar: Adds sweetness to the coconut custard. Any type of sugar works in this recipe.
Cornstarch: The main thickener in this eggless pastry cream. It helps the custard become thick and firm enough to slice once chilled.
Vanilla Extract: Adds warmth and rounds out the coconut flavor.
Turmeric (Optional): A tiny pinch adds a subtle yellow color to the custard. It is optional and does not affect the flavor when used sparingly.
Unsweetened Shredded Coconut: Adds texture and more coconut flavor throughout the filling.
Cold Whipping Cream: Gives the pie a light, fluffy topping. For a dairy-free version, use a dairy-free whipping cream alternative such as Silk Dairy-Free Heavy Whipping Cream Alternative.

Powdered Sugar: Sweetens the whipped cream and helps give it structure.
Vanilla Extract: Adds flavor to the cream.
Toasted Shredded Coconut or Coconut Chips: Adds a little crunch and makes a lovely finishing touch.
You can use store bought pie crust or Prepare one batch of my Homemade Pie Crust. Follow the instructions for rolling and shaping the dough in a 9-inch pie dish.
Chill the shaped crust, then blind bake it until fully baked and golden. Allow it to cool completely before adding the coconut filling.
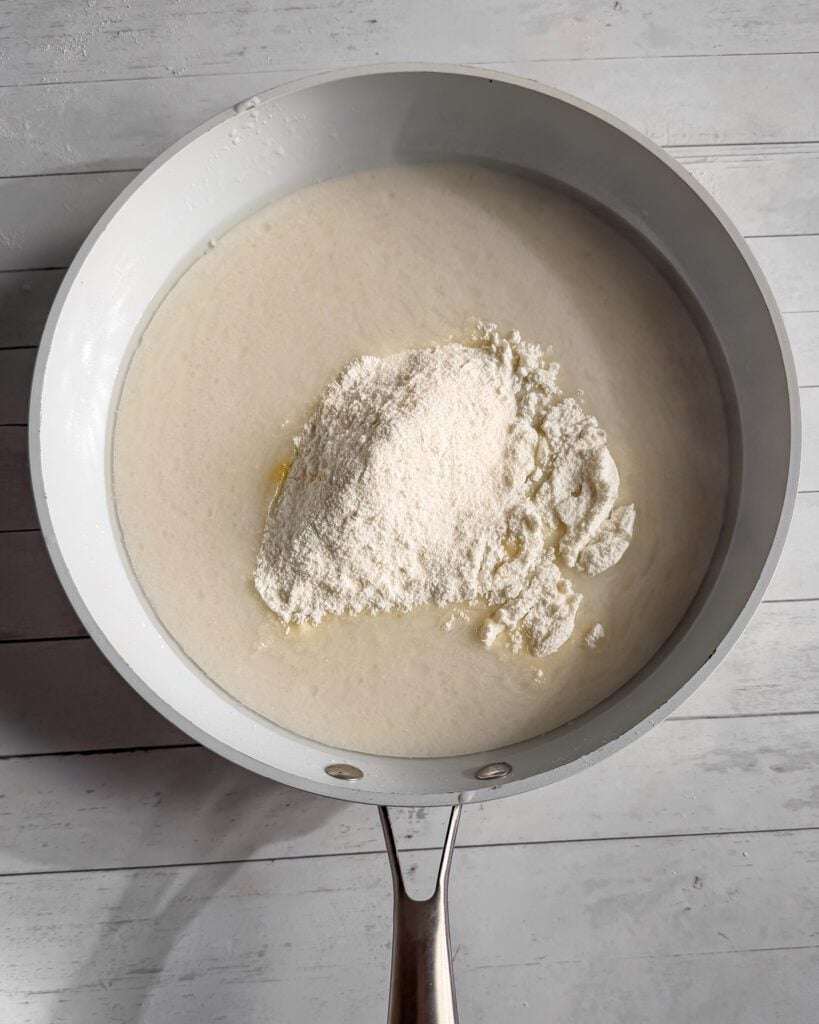
Add the canned coconut milk to a saucepan.
In a separate bowl, whisk together the sugar, cornstarch, and optional turmeric (if using, for color only). Add this mixture to the saucepan, whisking to combine.
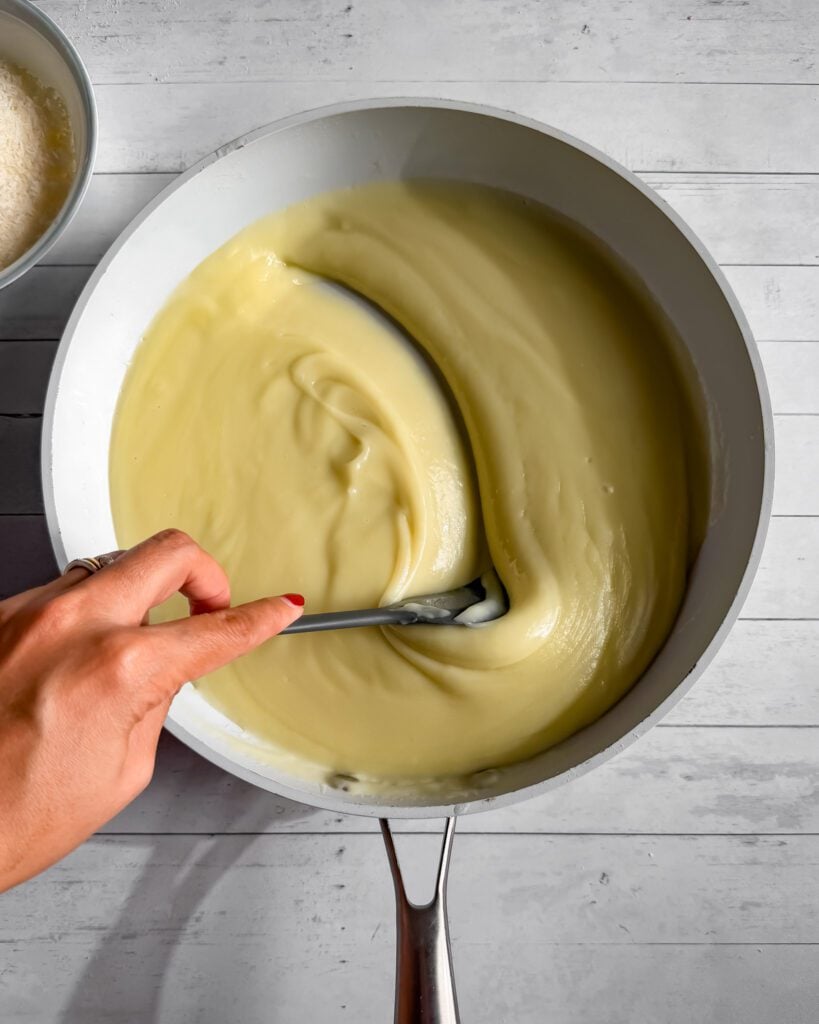
Bring the mixture to a simmer over low-medium heat, whisking as it heats. Once it comes to a boil, whisk continuously and let it boil for 30 seconds. The custard will become thick and smooth.
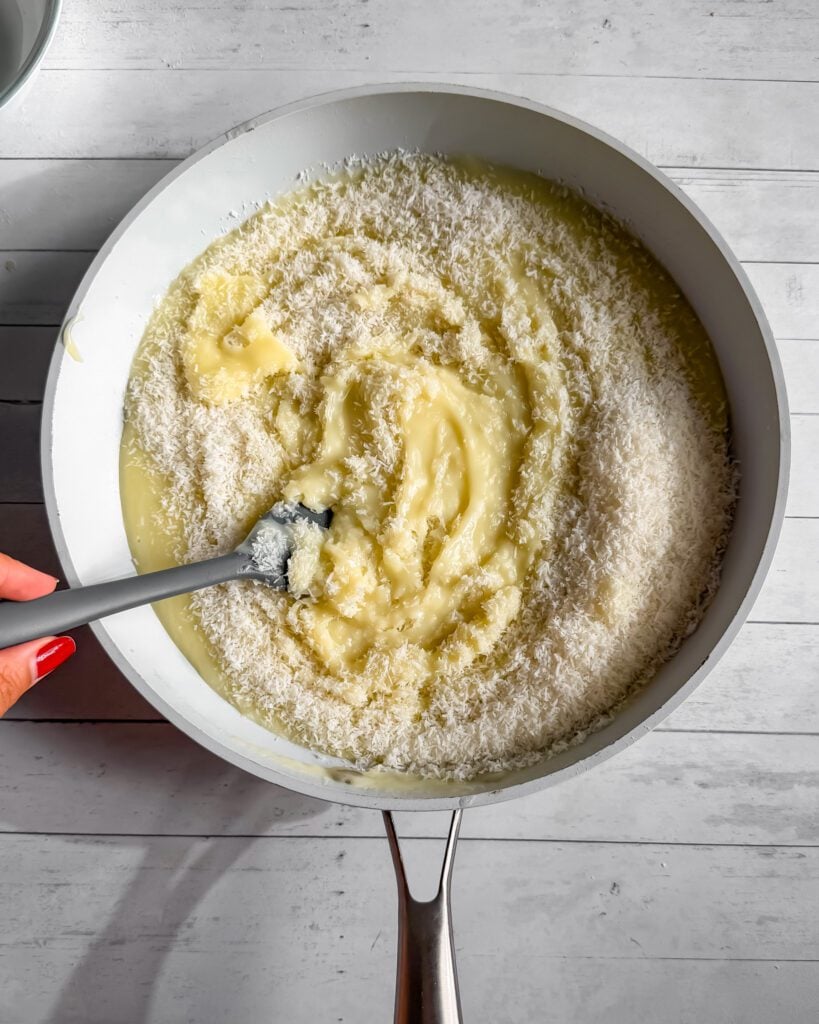
Remove the saucepan from the heat. Stir in the vanilla extract and shredded coconut.
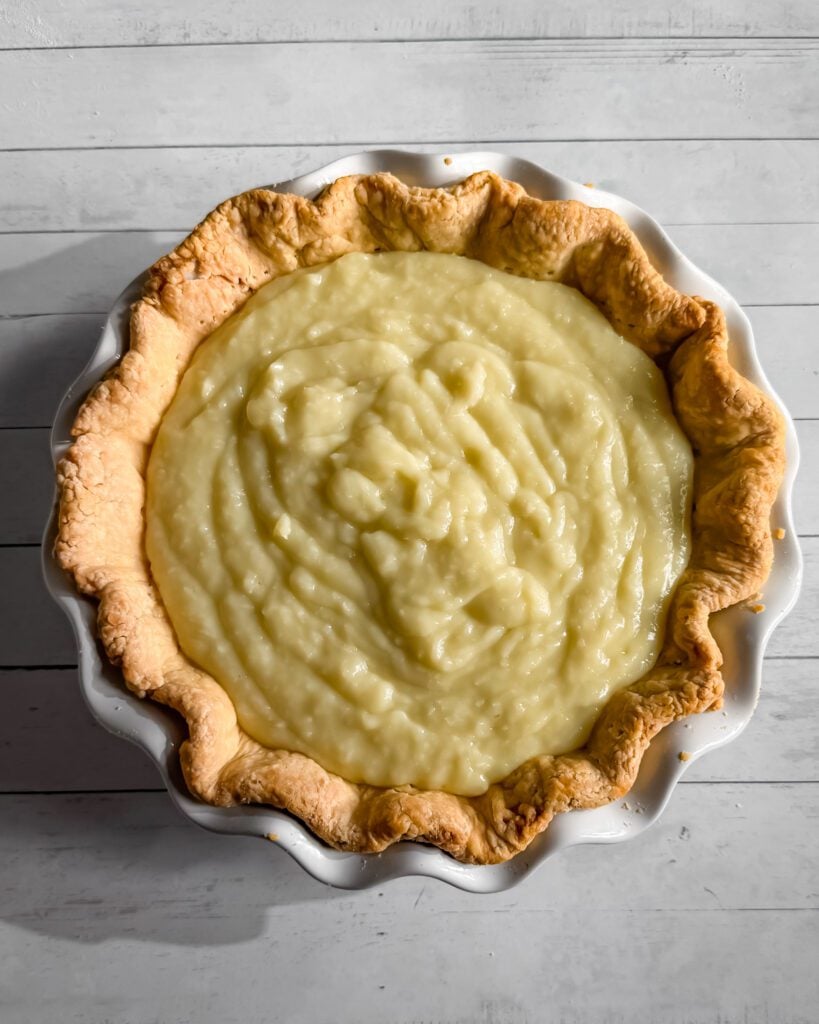
Spread the coconut pastry cream evenly into the baked pie crust.
Place plastic wrap directly against the surface of the custard to prevent a skin from forming. Refrigerate for 5–6 hours, or until the filling is completely set.
Once the coconut filling has set, add the cold whipping cream, powdered sugar, and vanilla extract to a mixing bowl. Whip until medium peaks form. Be careful not to overwhip, as the cream can become grainy.
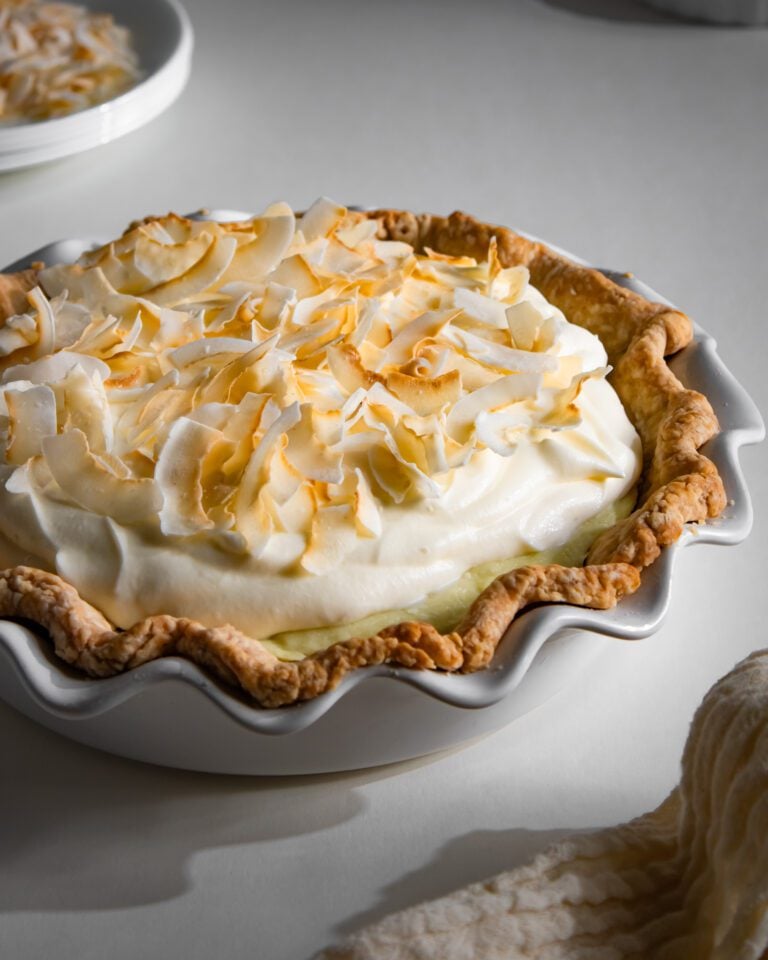
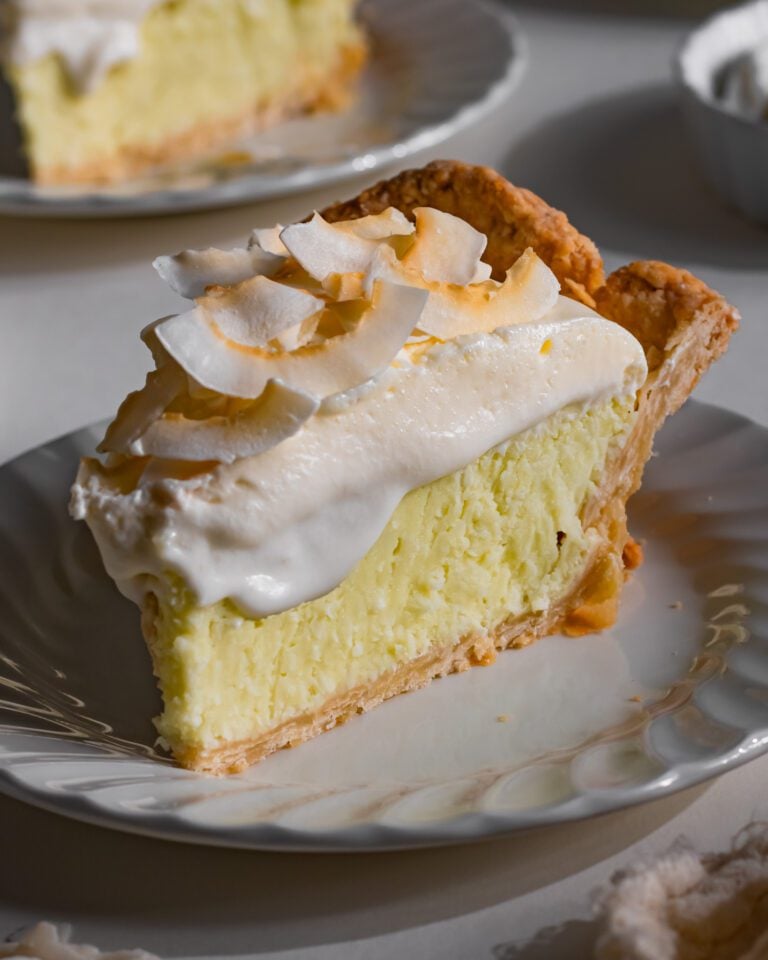
Spread or pipe the whipped cream over the chilled coconut filling. Finish with lightly toasted shredded coconut or coconut chips. Slice and serve chilled.
Traditional coconut cream pie often uses egg yolks in its pastry cream filling. This recipe is eggless and uses cornstarch to thicken the coconut custard instead.
Yes! The coconut custard is already dairy-free. For the crust, use a plant-based butter such as Country Crock Plant Butter or Earth Balance. For the topping, use a dairy-free whipping cream alternative such as Silk Dairy-Free Heavy Whipping Cream Alternative.
I recommend full-fat canned coconut milk rather than refrigerated coconut milk beverage. Carton coconut milk is much thinner and will not give the same richness.
Lumps can form if the cornstarch isn’t properly mixed with the sugar before being added to the coconut milk, or if the custard isn’t stirred consistently while cooking. Whisk the dry ingredients together first and stir constantly as the custard thickens.
You can prepare the pie crust ahead and store it according to the pie crust recipe instructions. You can also make and chill the filled pie up to 2 days ahead. Add the whipped cream and toasted coconut closer to serving for the freshest topping.
I don’t recommend freezing the fully assembled pie, as the custard and whipped cream may change texture after thawing. For the best results, prepare the pie fresh and keep it refrigerated.
Traditional pastry cream uses egg yolks for thickening and richness. This version uses cornstarch to create a smooth, sliceable coconut custard without eggs.
Cornstarch Thickens the Filling: When heated with the coconut milk, cornstarch absorbs liquid and forms a gel that thickens the custard. Bring the mixture to a boil and cook for 30 seconds, stirring constantly, to activate the starch.
Coconut Milk Adds Richness: Full-fat canned coconut milk gives the pastry cream its creamy texture and coconut flavor. Use it at room temperature, as directed in the recipe.
Chilling Helps It Set: The custard needs time to firm up as it cools. Refrigerate the assembled pie for 5–6 hours, or until fully set, before adding the whipped cream and slicing.
Use full-fat canned coconut milk: This gives the filling its rich texture. Don’t substitute it with carton coconut milk.
Whisk the sugar and cornstarch first: Combining them before adding to the coconut milk helps prevent lumps.
Stir constantly: Keep stirring while the custard cooks so it thickens evenly and doesn’t stick to the bottom of the saucepan.
Cook after it boils: Once the custard begins to boil, cook for another 30 seconds to activate the cornstarch.
Don’t rush the chilling time: The pie needs 5–6 hours in the refrigerator to set properly. For clean slices, make sure it is thoroughly chilled.
Add the whipped cream after chilling: Wait until the coconut layer has set before adding the topping.
Planning your holiday dessert menu?
Here are a few more homemade pie recipes to add to your baking list: